Set up Proxy
Optionally, you may wish to set up a proxy for your assets. A proxy enables you to play your media assets and view your image assets in the Core / MAM / Reviewer UIs.
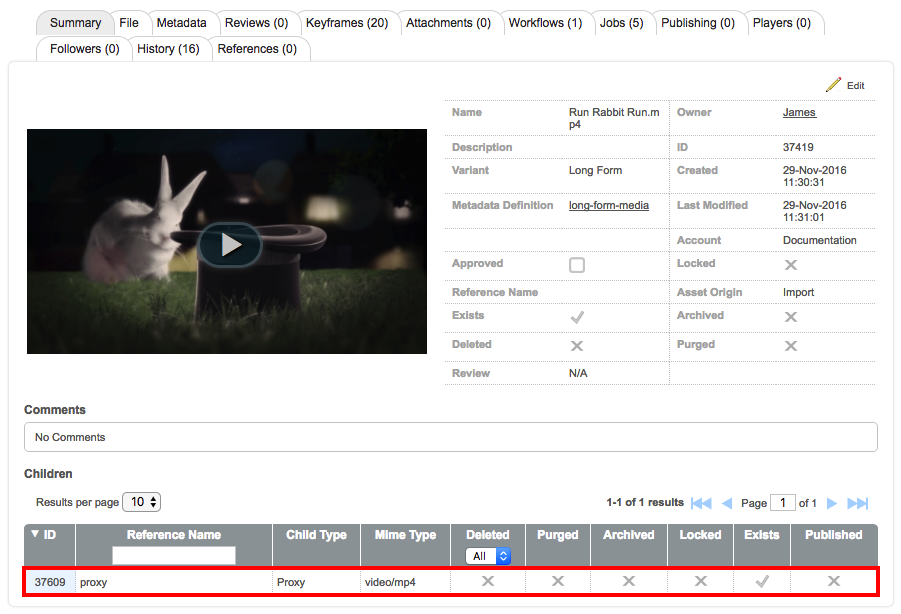
When you upload an asset, and you have set up a proxy, the proxy is treated as a child of that asset. This is shown below:
To set up a proxy, you will need to do the following:
- Create and configure a transcode resource
- Create and configure a transcode profile
- Create a proxy action
- Update your import workflow so that it contains the proxy action
Creating a Transcode Resource
-
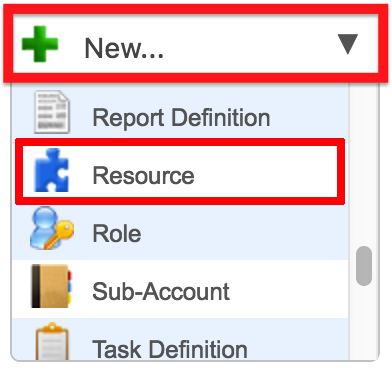
From the toolbar in the Dalet Flex console, click New and select Resource from the drop down menu.
-
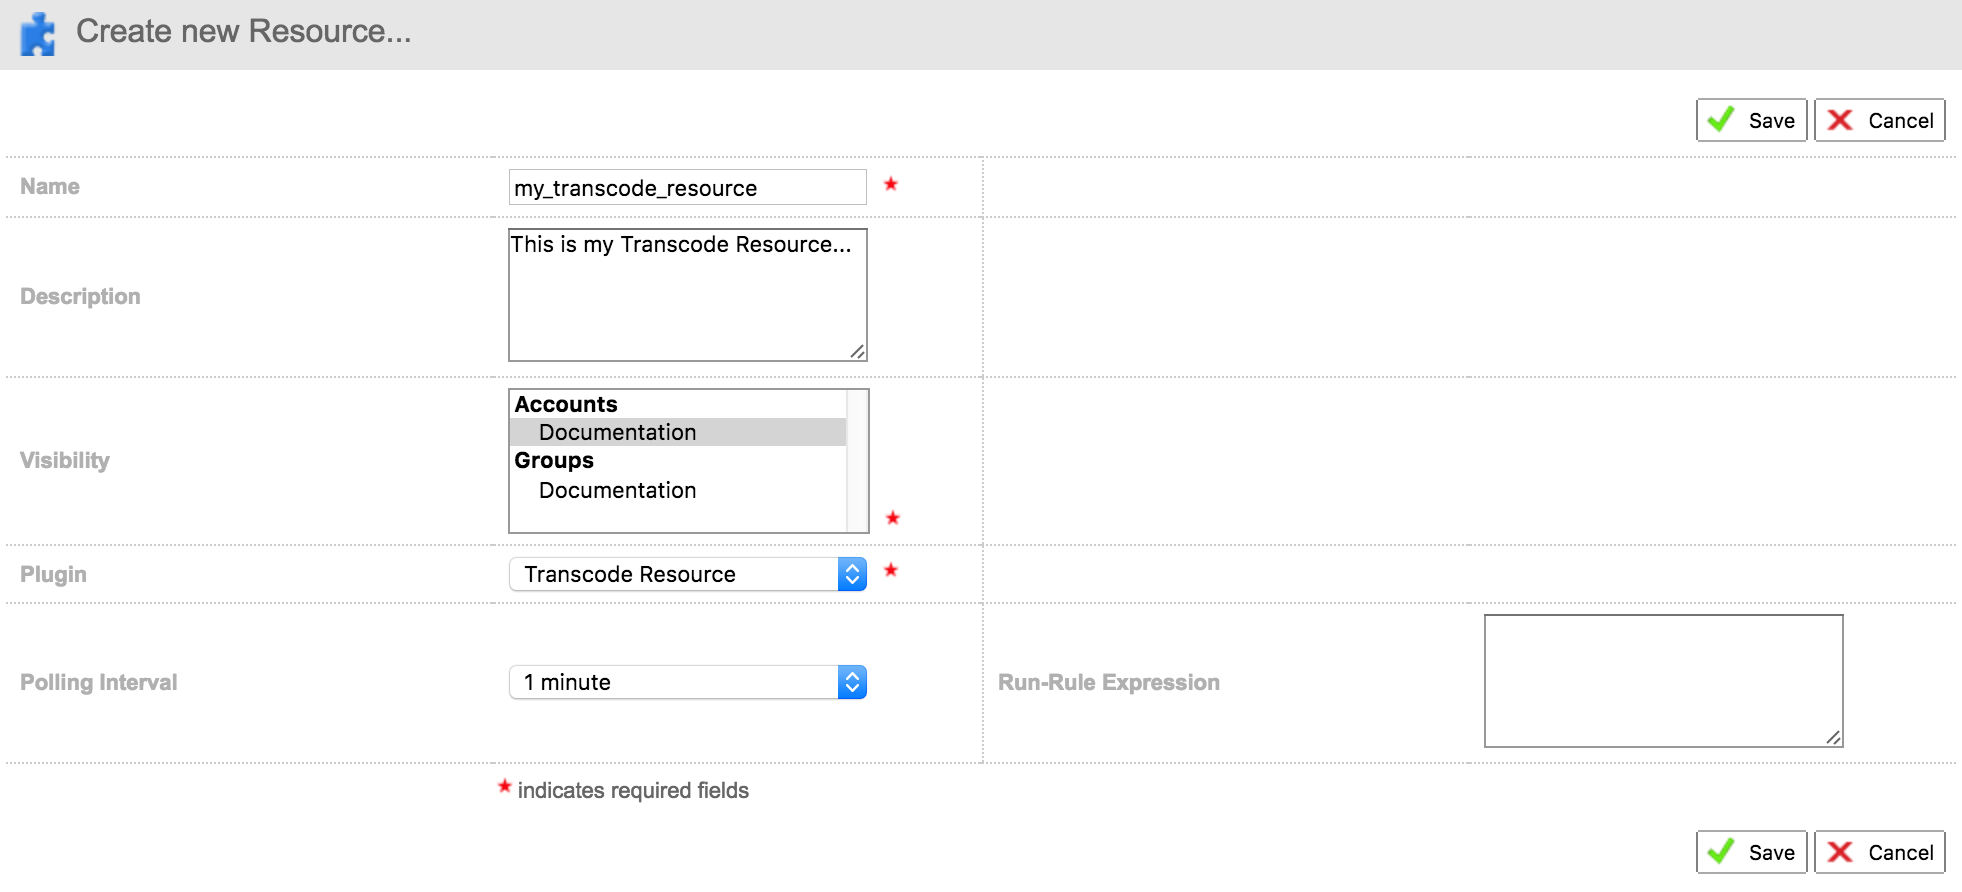
In the Create new Resource… screen, you will need to enter the details for your transcode resource.
- Name: enter a name for your transcode resource
- Description: enter an optional description
- Visibility: select the workspaces, accounts, and groups that will have access to this transcode resource
- Plugin: select Transcode Resource from the drop down menu
- Polling Interval: select a polling interval from the drop down menu, e.g. 1 minute
-
Click Save.
-
Next, click the Configuration sub-tab.

-
Click the Edit option.
-
In the Transcode Engine field, select Flex Stream Processor.

-
In the Transcode Host Names field, specify a hostname.

-
In the Transcode Management Host field, specify the host name.

-
In the Transcoder Management Port field, enter the following port: 18110.

-
In the Transcode Platform field, select Unix.

-
In the Path field, specify a path.

-
Click Save.
-
Click Enable.
-
Click Start.

Creating a Transcode Profile
-
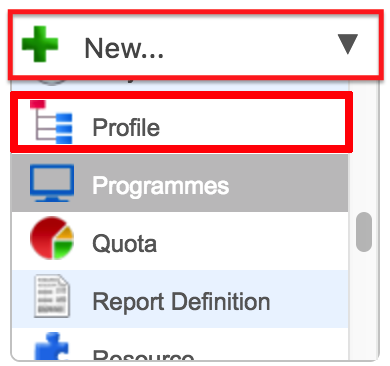
From the toolbar in the Dalet Flex Console, click New and select Profile from the drop down menu.
-
In the Create new Profile… screen, you will need to enter the details for your transcode profile.
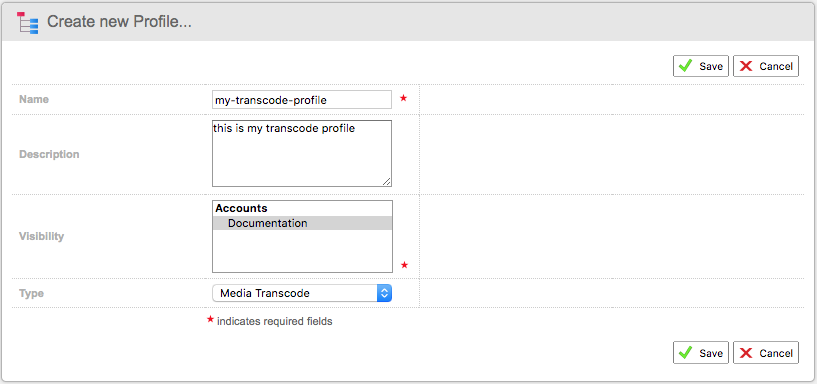
- Name field, enter a name.
- Description field, enter an optional description.
- Visibility field, select the workspaces, accounts, and groups that will have access to this transcode profile.
- Type field, select Media Transcode.
- If you are creating an image proxy, you must select Image Transcode, otherwise the transcode will not work.

- If you are creating an image proxy, you must select Image Transcode, otherwise the transcode will not work.
-
Click Save.
-
Click Enable.

Creating a Proxy Action
-
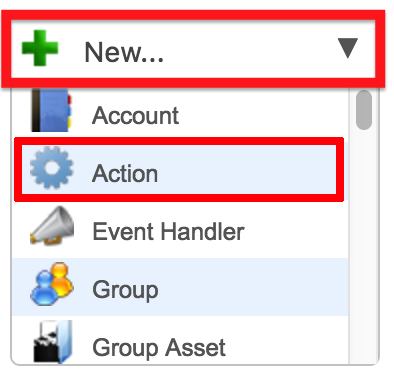
From the toolbar in the Dalet Flex Console, click New and select Action from the drop down menu.
-
In the Create new Action… screen, you will need to enter the details for your proxy action.
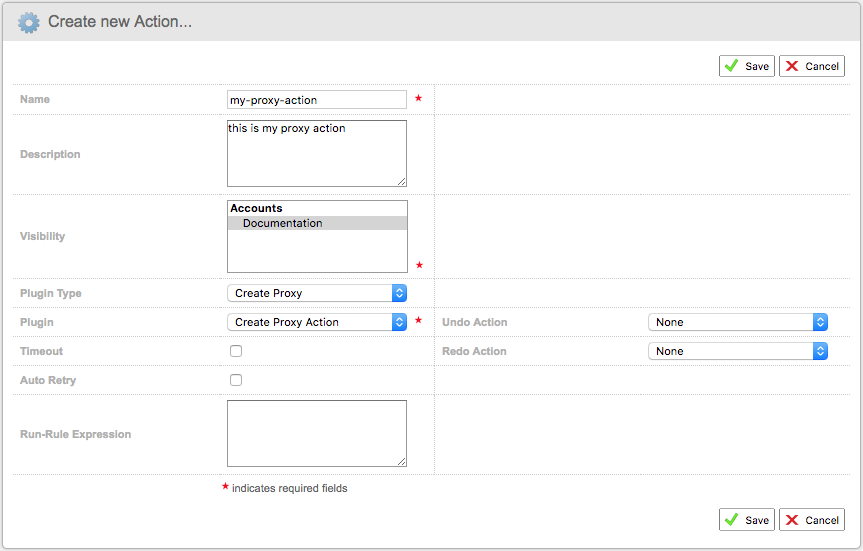
- Name: enter a name for your proxy action
- Description: enter an optional description
- Visibility: select the workspaces, accounts, and groups that will have access to this proxy action
- Plugin Type: select Create Proxy from the drop down menu
- Plugin: select Create Proxy Action from the drop down menu
-
Click Save.
-
Next, click the Configuration sub-tab.

-
Click Edit.
-
From the Transcode Profile field, select the transcode profile that you have just created.

-
From the Folder Resource field, select a destination that is pointing to a storage.

-
Click Save.
-
Click Enable.

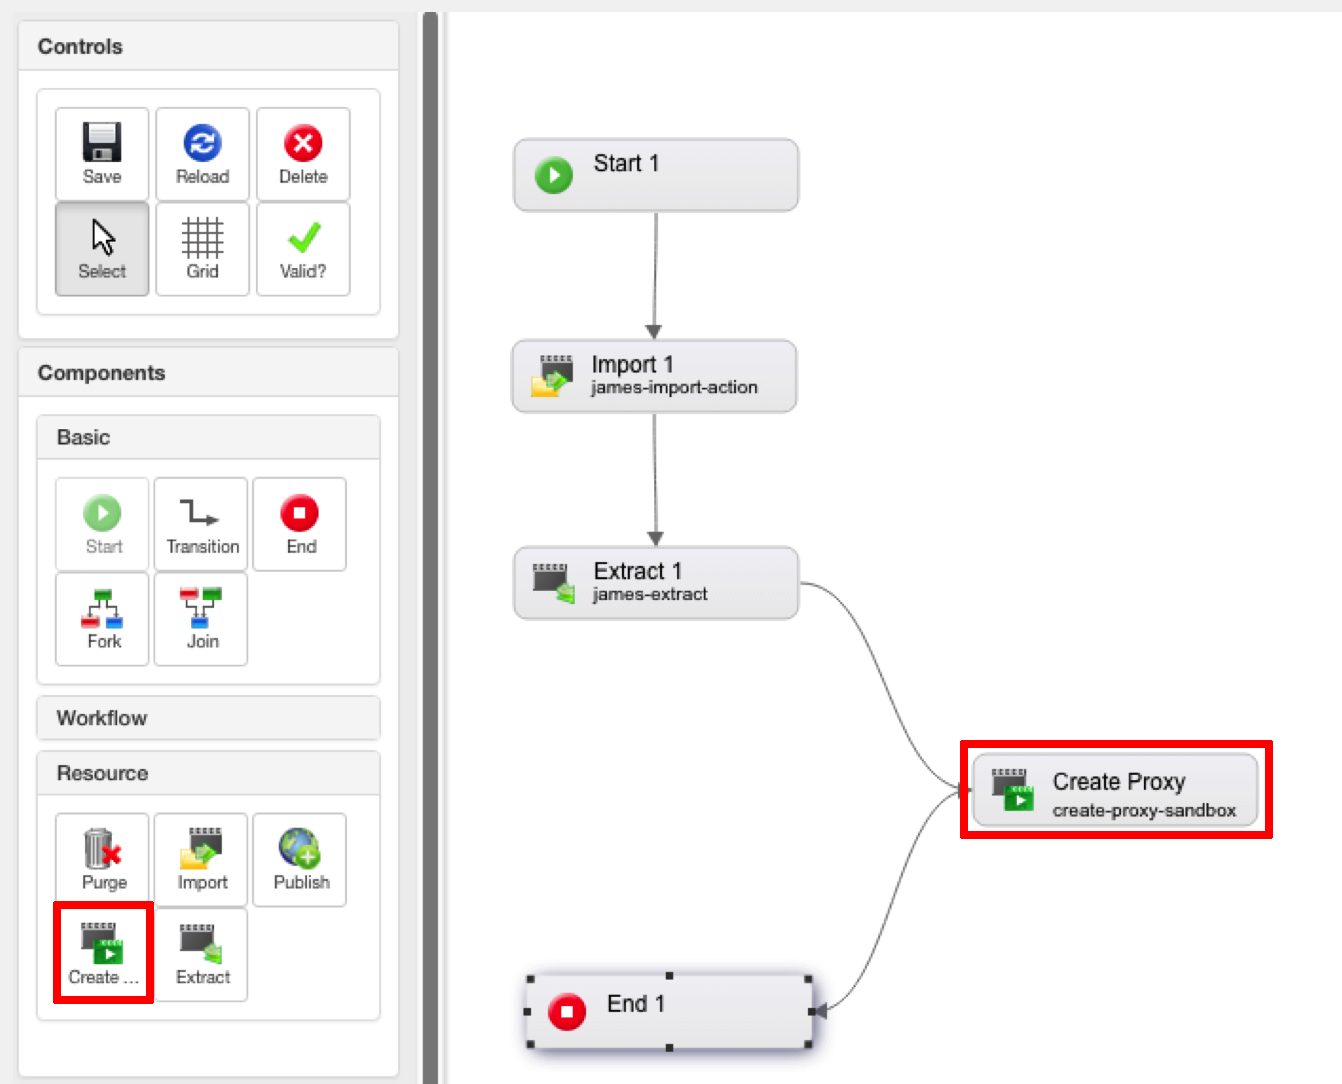
Updating Your Asset Import Workflow
In order to use the proxy you have created, you must update your import workflow. Simply add in your create proxy action, as a step in the workflow, so that any assets you import into the system can be played directly in the Asset Details screen.