Reviewing Image Assets
To access an image asset review session
-
Click the filter drop down, and select Image Asset.
-
Select an image review session and the Review Summary panel appears on the right-hand side of the screen.

-
At the bottom of the Review Summary panel, click the Review option.

-
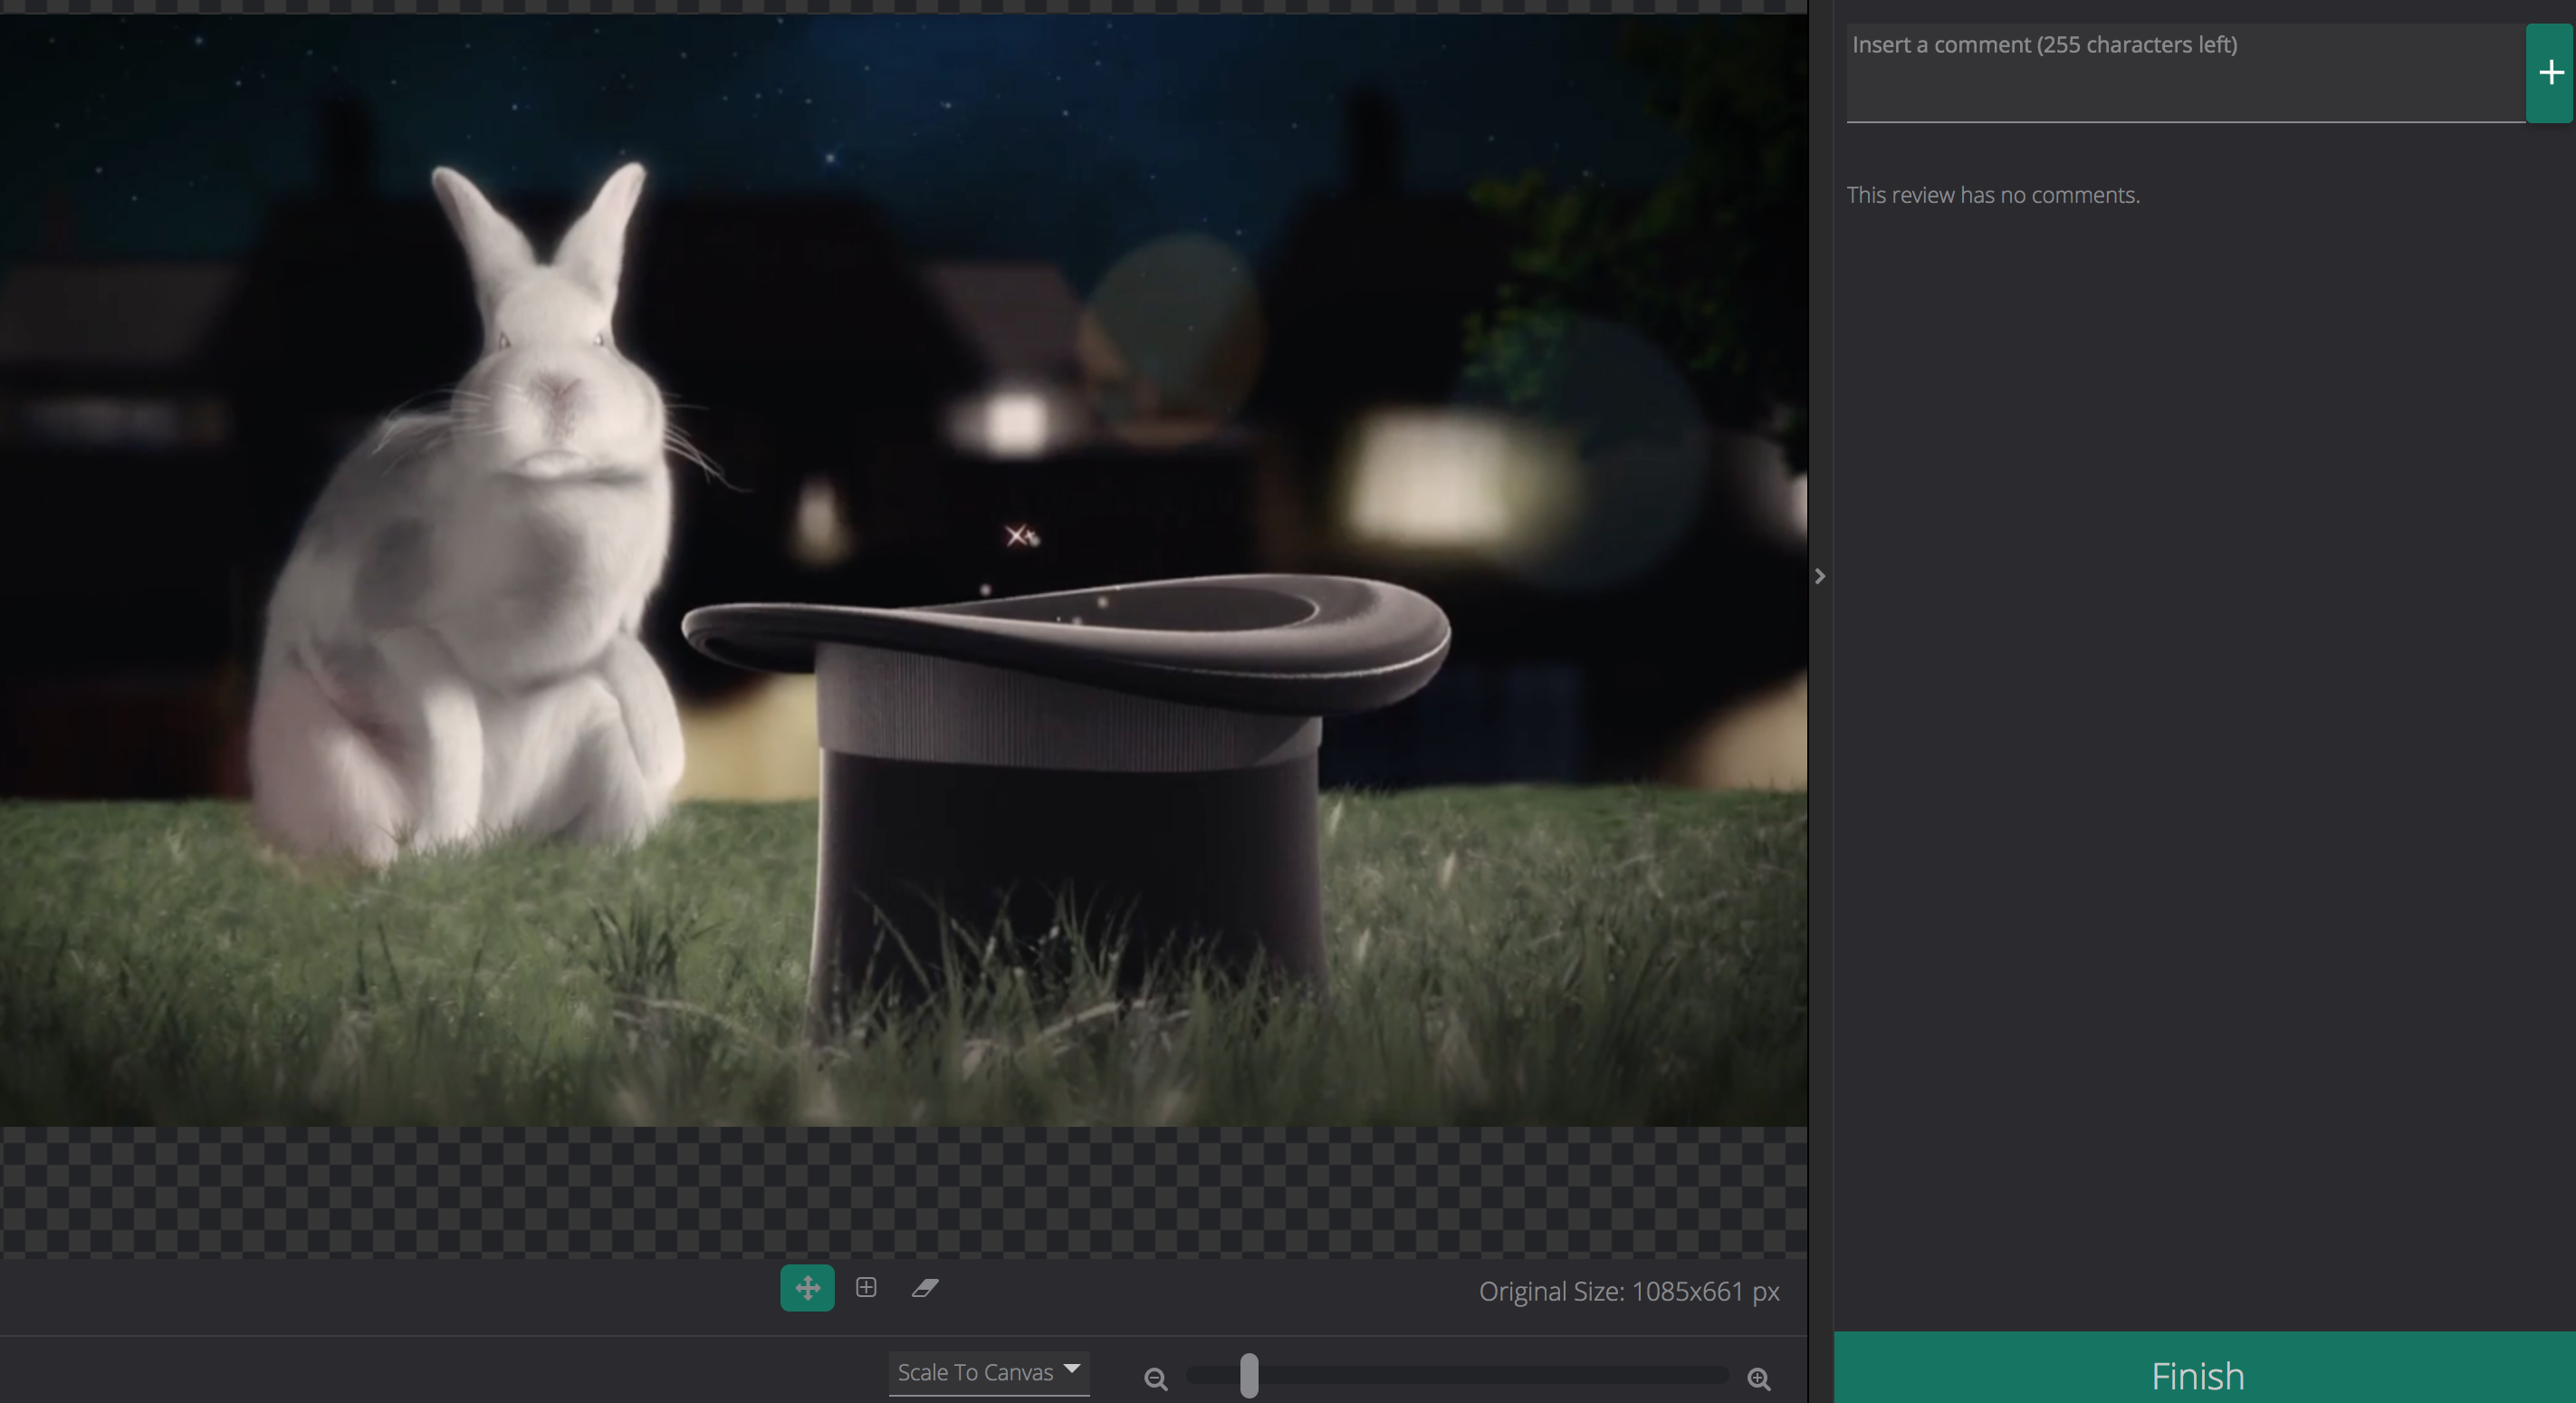
You are taken to the Image Asset Review screen, where you can start reviewing the asset that has been assigned to you.
While viewing this page, you will see the review expiry date on the top toolbar. This is the date by which you must complete your review. This date is present in the top-right corner of the page.
Image Asset Review Session Components
When you are in the Image Asset Review screen, you will see the following:
-
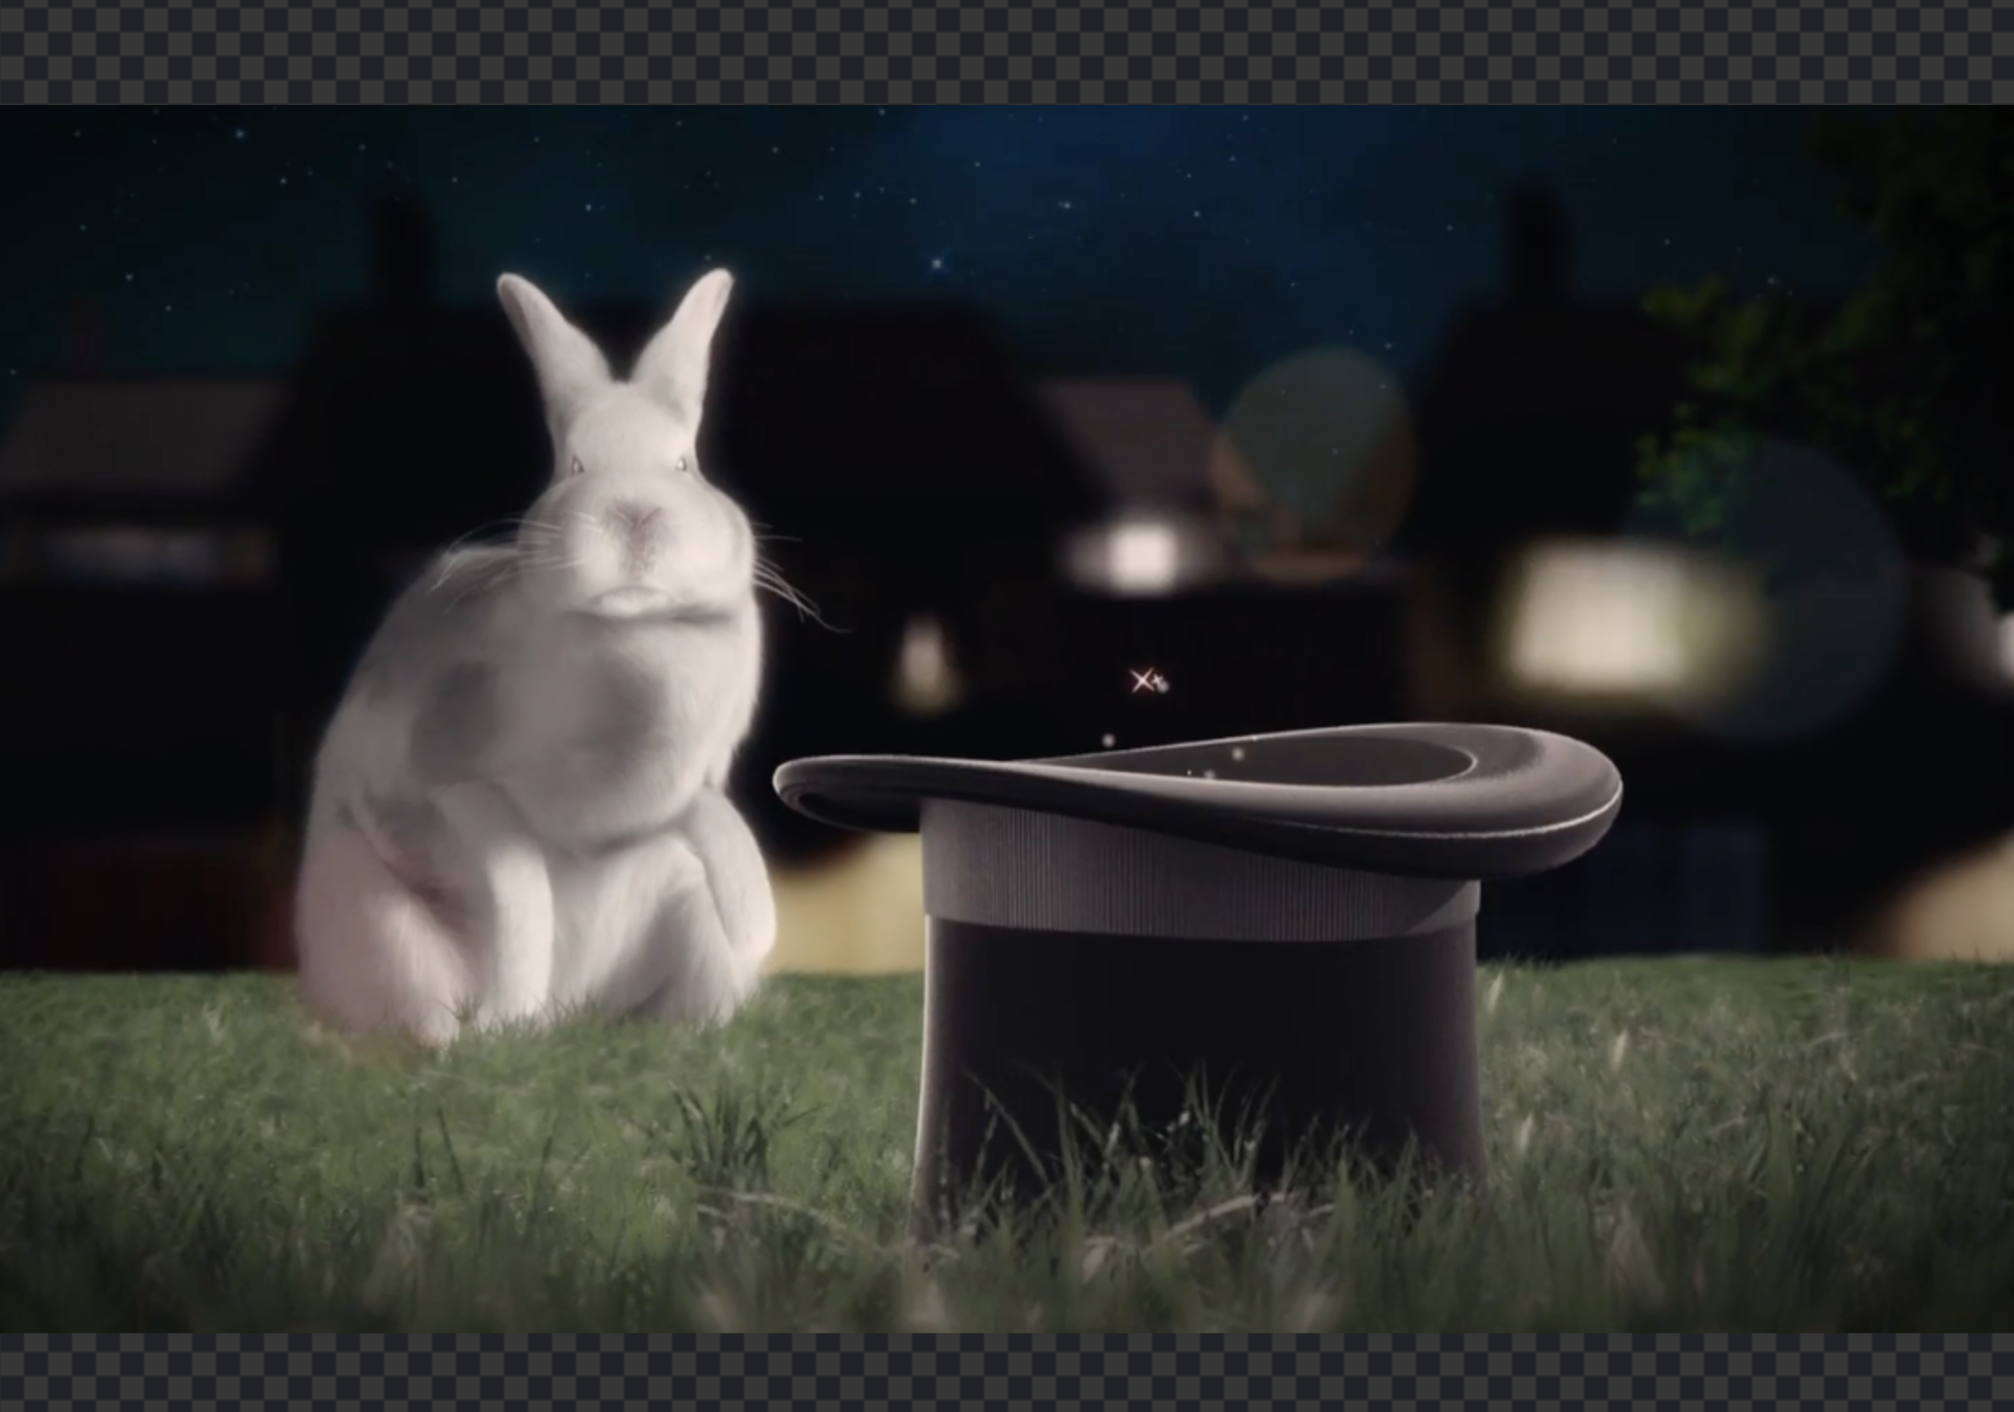
The Canvas: Here you can view the image asset in full. You can collapse the panel so that the image canvas fills the entire screen.
-
The Image Toolbar: At the bottom of the canvas, you will see a toolbar. This toolbar houses the following options:

- You can zoom in by selecting the appropriate zoom percentage.
- You can use the + and - keys to zoom in and out.
-
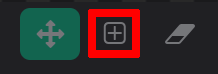
Annotate: This option
 enables you to highlight one or more areas in an image asset, and then make comments against those selected areas. For example, there may be an area in an image asset that has a defect, and you might want to point that out to one of your colleagues such as a graphic designer, by leaving a comment.
 -
Pan: This option
 enables you to carefully move around a specific area of an image asset. This is done by clicking and dragging. This tool helps you to carefully examine an area you have zoomed in on. This is particularly useful when you are working with high resolution images.
 -
Clear: This option
 enables you to clear the image of any selections you have made.
###ß# Table 1. Keyboard Mapping for the Image Toolbar
| Key | Function |
|---|---|
| + | Zoom in on the image canvas |
| - | Zoom out of the image canvas |
| a | Annotate an image |
| f | To optimize the image for full view on the canvas |
| c | Post a comment |
| p | Pan around the image |
-
Comment tab: Here you can post a comment against the image asset, or against a particular area within the image asset.
-
Information tab: Here you view information about the asset, such as:
- What you must do in the review session
- The relationship of the asset in terms of other assets
- The creation date
-
Finish: You will need to click
 when you are done reviewing the asset. When you click this option, the Finish Review Session popup will appear. This allows you to select from a range of options to end the review, and then to leave a final overall comment against the review session.
Image Asset Canvas
As previously mentioned, the canvas enables you to view your image asset. It also enables you to comment against the image asset.
Commenting on an Image
-
In the Insert a comment box, enter your comment and click the + icon.

-
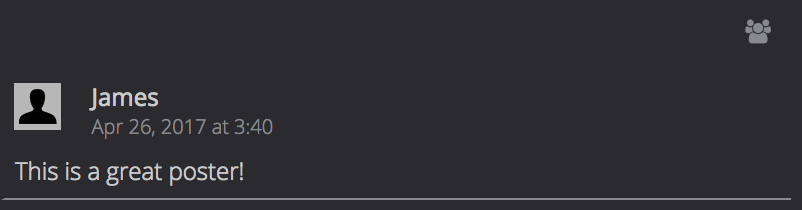
The comment will be posted below the image.
Posting a comment against a specific area
-
Click the Annotate icon, located on the toolbar beneath the asset.
-
Hold the left mouse button down, and drag the cursor across the image until the square has covered the desired area.
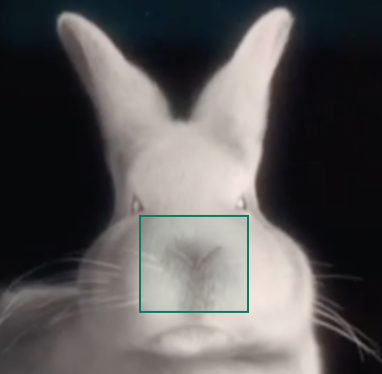
- To clear a selection, click the Clear option.
- You can add multiple boxes to the image if your comment is aimed at multiple areas.
-
In the Insert a comment box, enter a comment and click the + icon.

-
The comment is then posted against the selected area. If you click on a specific comment in the list, the area that the comment was made against will be highlighted.
Completing a Review
In order to complete a review, click , which is located in the bottom-right of the Image Asset Review screen.
The Finish Review Session pop-up then appears.
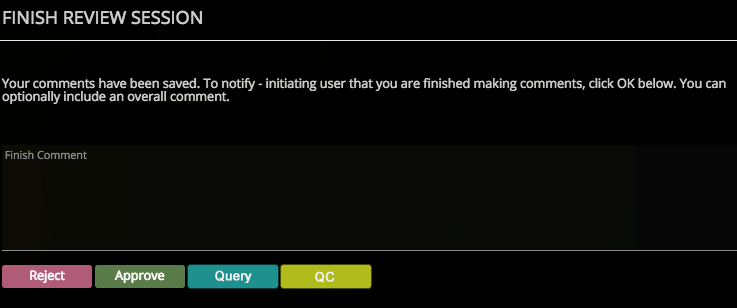
This pop-up contains:
-
Finish Comment: Here you can write an overall final comment, which summarizes your review session. For example, you want to include some information to explain why you are choosing a particular option to end the review.

-
The buttons displayed below this comment might vary from those shown above, which are as follows:
- Approve: This option enables you to approve the asset for progression.
- Reject: This option enables you to reject the asset.
- Query This option enables you to request more information about the asset.
- QC This option enables you to request that an error in the asset be fixed.