Creating an Import Workflow
You will need to use the Workflow Designer to create a basic import workflow. The Workflow Designer is a “what you see is what you get” tool, and so, you are able to build workflows in a visual way.
To create a basic import workflow:
-
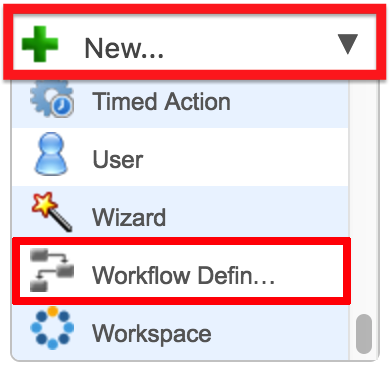
From the toolbar in the Dalet Flex console, click New and select Workflow Definition from the drop down menu.
-
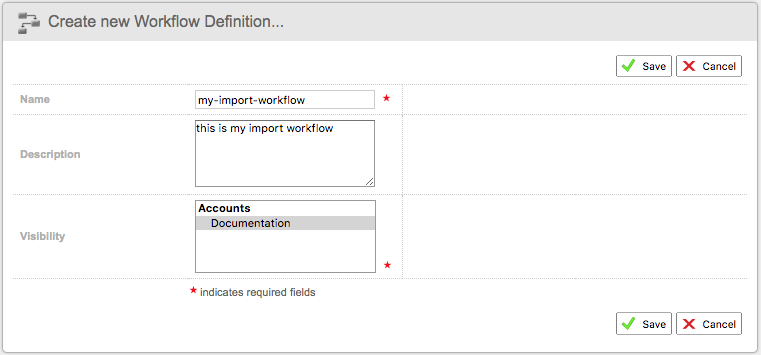
In the Create new Workflow Definition… screen, complete the following fields:
- Name: enter a name for your workflow definition.
- Description: enter an optional description.
- Visibility: select which workspaces, accounts, and groups have access to the workflow definition.
-
Click Save.
-
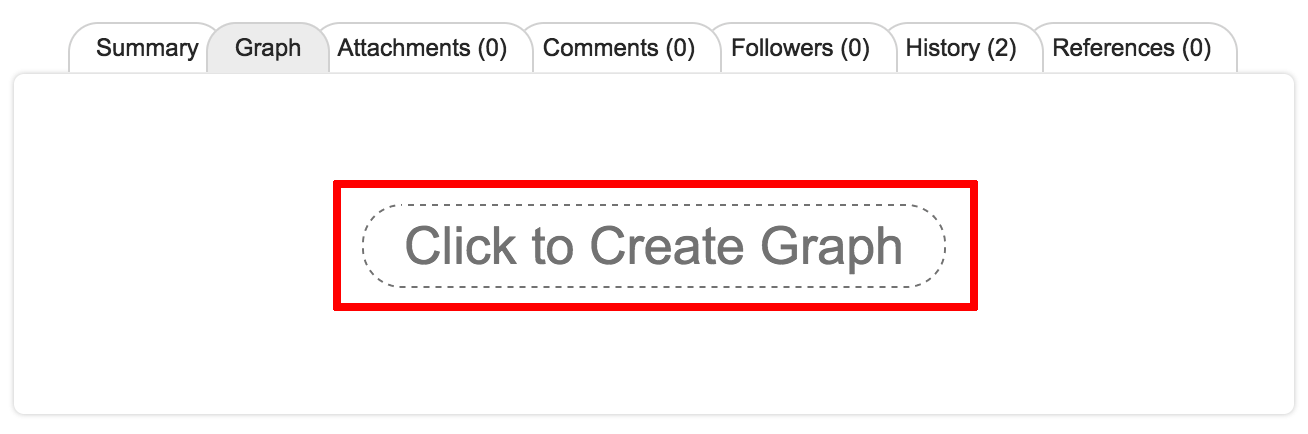
In the workflow definition details screen, click the Graph sub-tab.

-
Click the Click to Create Graph option, and the Workflow Designer will open in an separate tab in the browser.
-
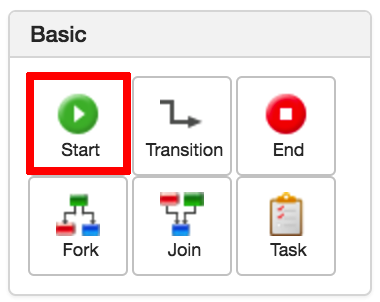
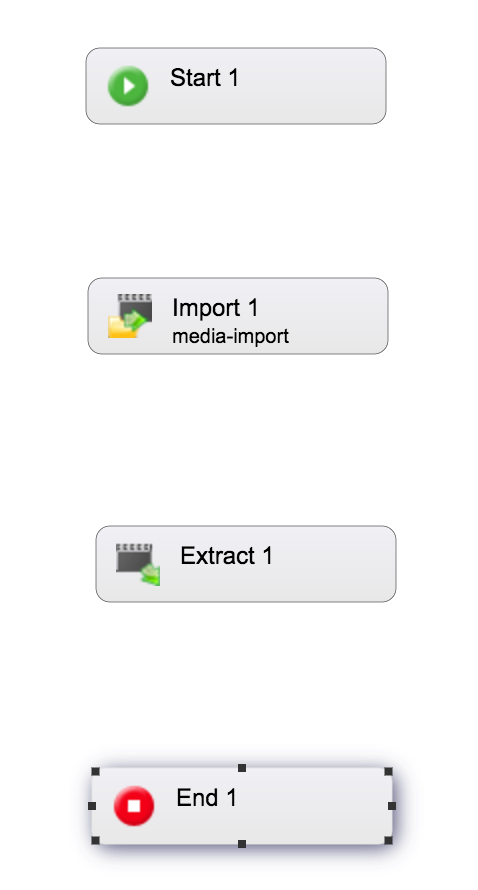
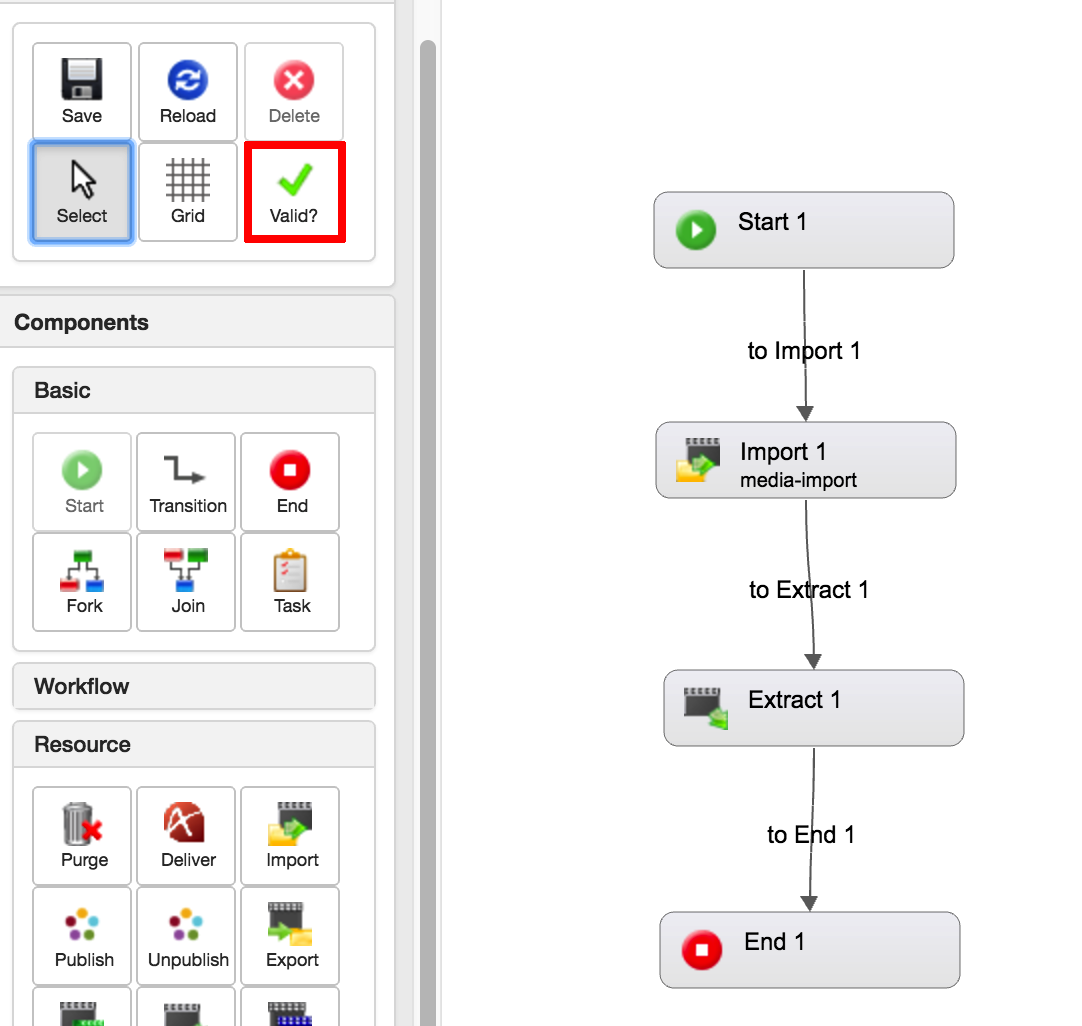
In the panel on the left-hand side, in the Basic section, select the Start option.
-
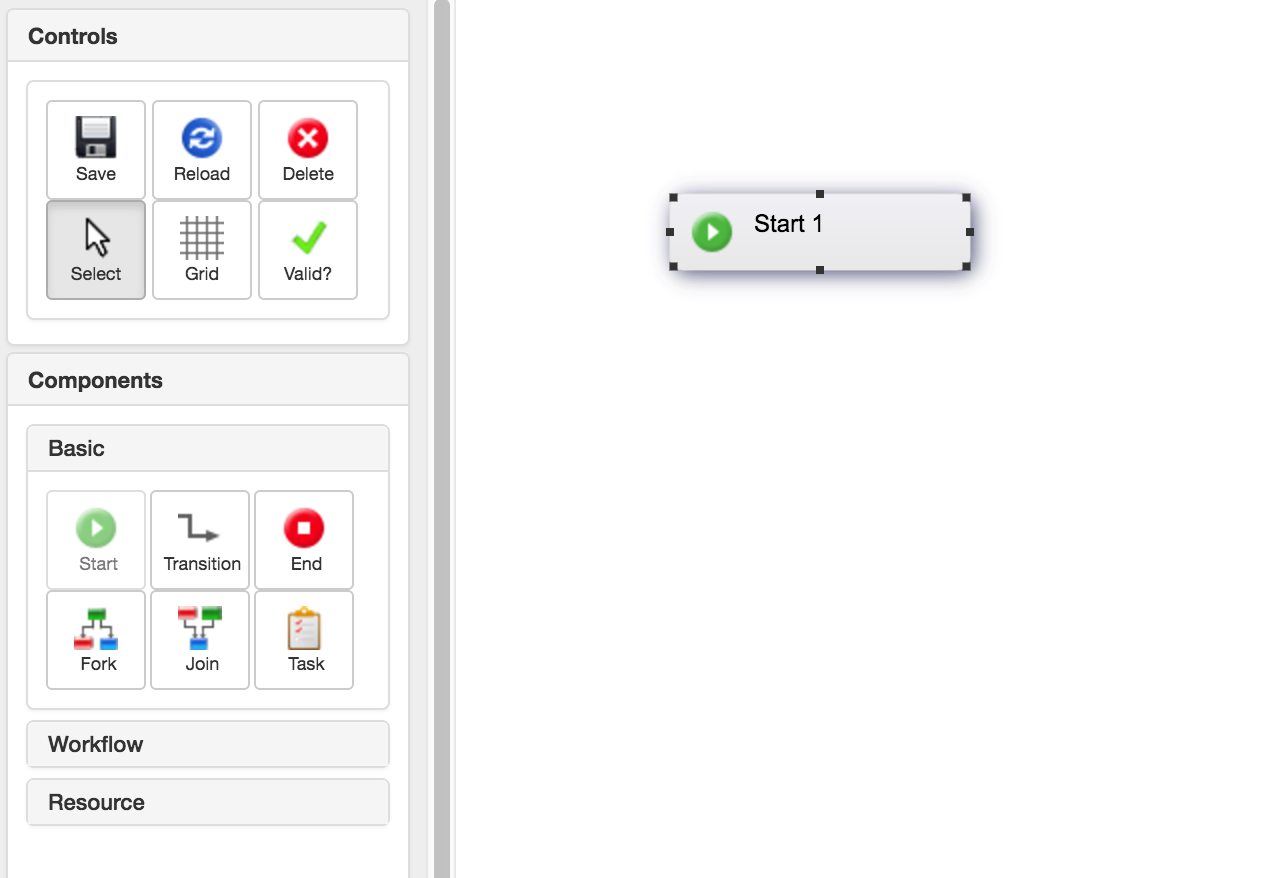
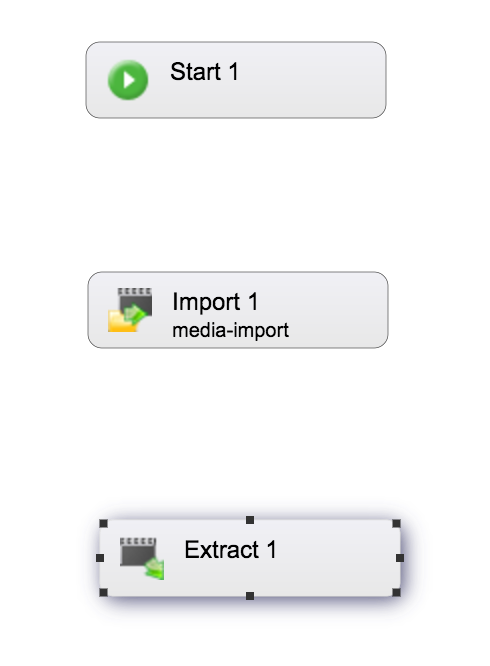
Click on the canvas, and the Start node will appear on the canvas.
-
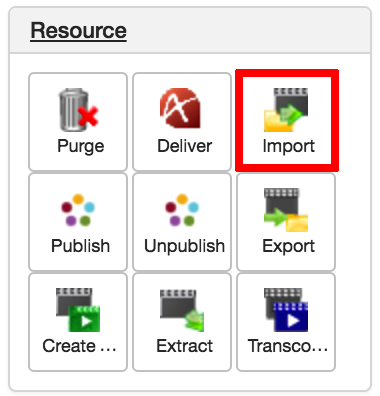
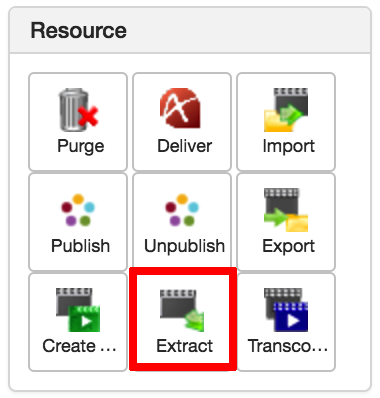
Expand the Resource section, and select the Import option.
-
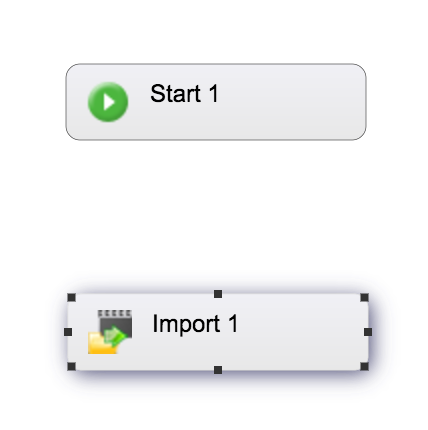
Click on the canvas, and the Import node will appear on the canvas.
-
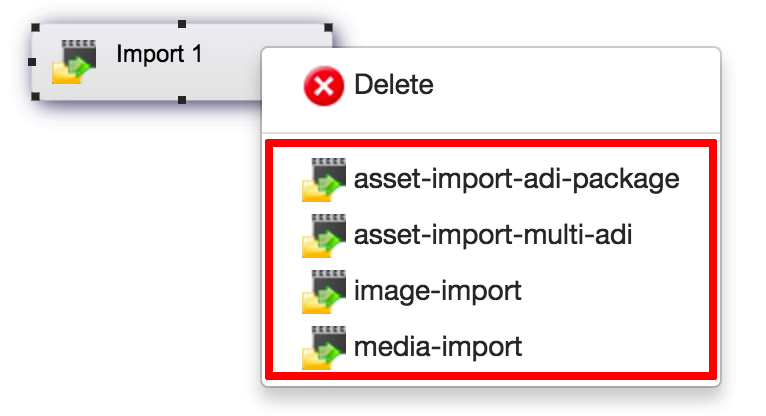
Right-click the Import node, and select the import action that you created.
-
In the panel on the left-hand-side, select the Extract option. This option enables the workflow to extract keyframes from your asset.
-
Click on the canvas, and the extract node will appear on the canvas.
-
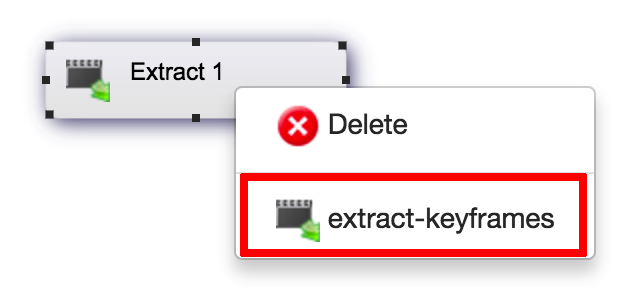
Right-click the Extract node, and select the extract keyframes action that you have created, from the list.
-
In the panel on the left-hand side, in the Basic section, select the End option.
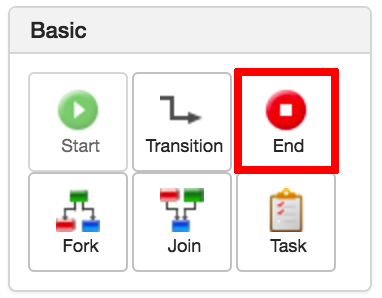
-
Click on the canvas, and the End node will appear on the canvas.
-
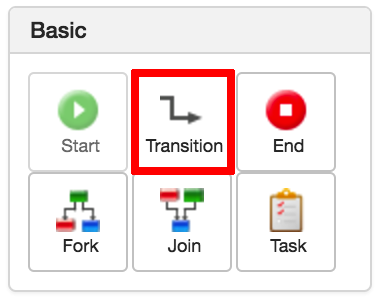
Now, you must link up all of your nodes, so that the workflow runs in the correct order. To do this, click on the Transition option.
-
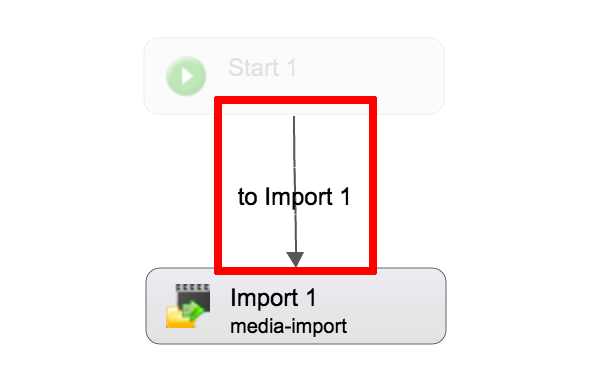
Wipe over a node, and the icon will become a cross. Simply click on the node, and then drag the arrow to the node you want it to connect to. Do this for all the nodes from start to end, so that all the steps in the workflow are connected up.
-
When you have linked up all your nodes in the correct order, you must validate your workflow to ensure that it will not fail. To do this, click the Valid? option.
-
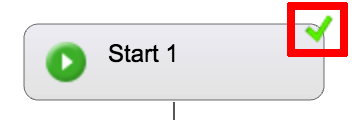
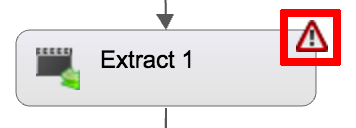
If your workflow is valid, a green tick will appear next to each of the nodes. If you have any invalid nodes, then a warning symbol will be present next to them. In order to save your workflow, you must correct any invalid nodes.
-
Valid Node: A valid node will have a green tick symbol in the top-right corner.
-
Invalid Node: An invalid node will have a red exclamation mark in the top-right corner. For example: a node may be invalid because you have not selected a configuration for that node.
-
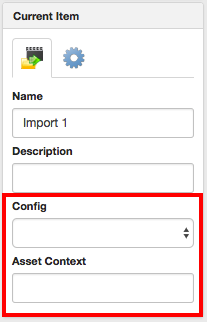
To correct an invalid node, click on the node, navigate to the Current Item panel, and select the correct configuration.