Web Transfer Resource
Before FlexMOVE can be used, you must first do the following:
- Create and configure an Dalet Flex HTTP Transfer Resource.
- Create a storage resource.
- Create and configure an inbox resource.
Once these steps have been completed, you can use FlexMOVE to upload files.
Creating a HTTP Transfer Resource
-
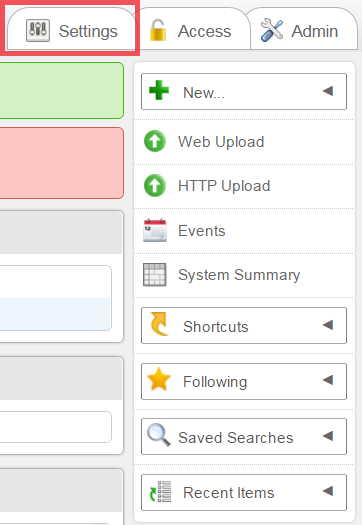
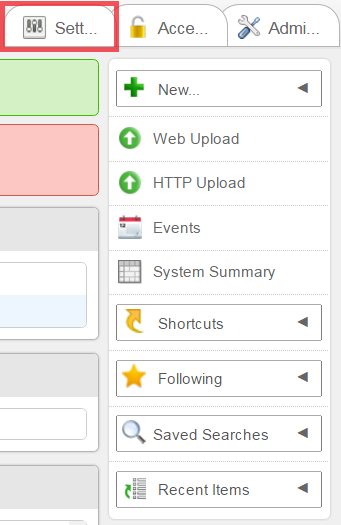
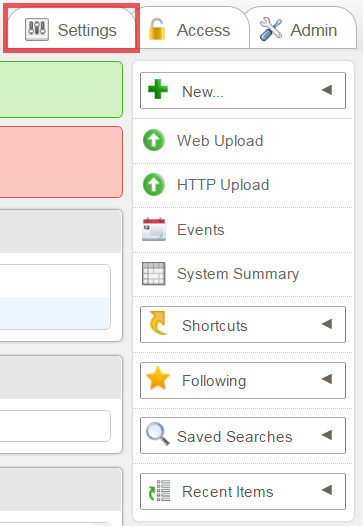
In the Dalet Flex console, on the right-hand side of the screen, click the Settings tab.
-
From the toolbar, click the Resources option.
-
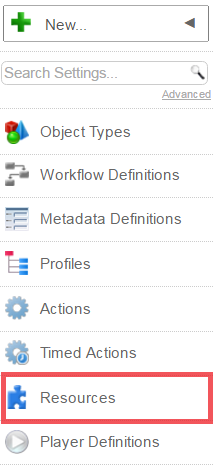
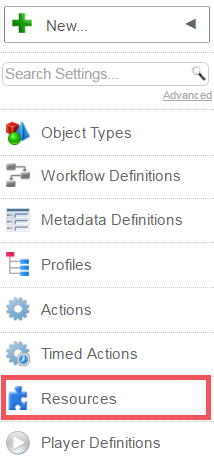
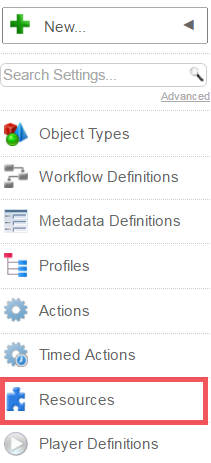
On the Resources screen, click the New option.

-
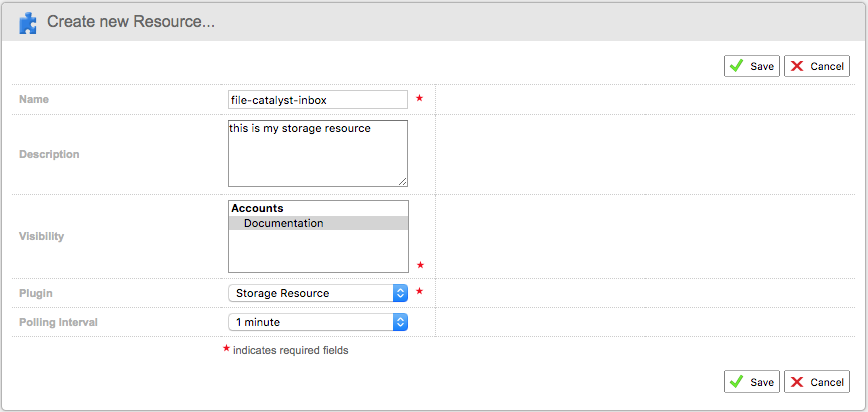
In the Create a New Resource… screen, complete the following fields:
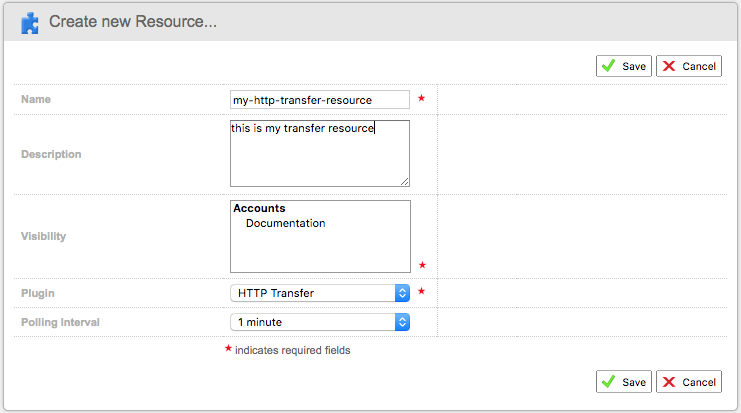
- Name: enter a name for your HTTP transfer resource
- Description: enter an optional description
- Visibility: enter a visibility for your resource, e.g. which accounts, sub-accounts, and groups that the resource can be viewed by
- Plugin: select the HTTP Transfer Resource option from the drop down menu
- Polling Interval: select a polling interval from the drop down menu
-
Click Save.
-
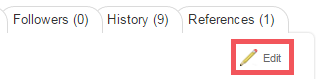
On the Transfer Resource screen, click the Configuration sub-tab.

-
Click the Edit
 option.
 -
In the Public End Point field, enter the URL of the web transfer instance associated to this resource.

-
In the Internal End Point field, enter the URL used by enterprise to communicate the web transfer instance associated with this resource (For example: when starting / stopping the resource).

-
Click Save.
-
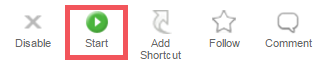
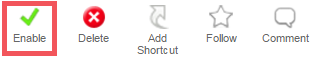
Click the Enable option.

-
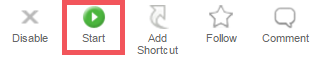
Click the Start option.

Creating a Storage Resource
-
In the Dale Flex console, on the right-hand side of the screen, click the Settings tab.
-
From the toolbar, click the Resources option.
-
In the Resources screen, click the New option.

-
In the Create a new Resource… screen, enter the details for your storage resource.
- Name: enter a name for your storage resource
- Description: enter an optional description
- Visibility: enter a visibility for your resource, e.g. which accounts, sub-accounts, and groups that the resource can be viewed by
- Plugin: select the Storage Resource option from the drop down menu
- Polling Interval: select a polling interval from the drop down menu
-
Click Save.
-
On the Storage Resource screen, click the Configuration sub-tab.

-
Click the Edit option.
-
From the Protocol drop down, you must select either SFTP or FILE. SFTP and FILE are currently the only two supported protocols.


-
In the Path field, enter the path for the physical storage location.

-
Click Save.
-
Click Enable.
-
Click Start.
Creating an Inbox Resource
-
On the right-hand-side of the Dalet Flex console, click the Settings tab.
-
From the toolbar, click the Resources option.
-
In the Resources screen, click the New option.

-
On the Create a new Resource… screen, enter the details for your inbox resource.

- Name: enter a name for your inbox resource
- Description: enter an optional description
- Visibility: enter a visibility for your resource, e.g. which accounts, sub-accounts, and groups that the resource can be viewed by
- Plugin: select the Inbox Resource option from the drop down menu
- Polling Interval: select a polling interval from the drop down menu
-
Click Save.
-
Click the Configuration sub-tab.

-
Click the Edit
 option.
 -
From the Storage Resource field, select a storage resource that you have created.

-
Click Save.
-
Click Enable.
-
Click Start.