Quotas
Perhaps one of the most advanced elements of Dalet Flex’s access control is the quota. A quota defines a level of user access to a resource. As explained in the Resources section, resources are external services that are used by Dalet Flex to store, transfer, and process media. With any Dalet Flex deployment, resources are finite and can be costly to license and run, so it’s important to set rules for who can access which resource and what they can do with it. This is purpose of the quota.
To provide an example, a user might decide that a certain account or user in Dalet Flex can have access to a transcode resource outside office hours, and will only be able to run a maximum of 5 concurrent Jobs. This rule can be set up through the configuring of a quota.
Resources are a type of Dalet Flex object, so they already support visibility on a per account basis. Therefore, you can already securely isolate which accounts and sub-accounts can access a resource. However, quotas simply provide more fine-grained rules around access as well as a way of safely sharing resources between users and accounts.
A typical instance of Dalet Flex will have a default quota for each quota type. The default plugins are highly configurable to allow for lots of scenarios. When the default quota does not deliver the functionality you need, then you would utilise a more specialised quota plugin. The quota framework is part of Dalet Flex’s API.
Global Quotas
It is possible to set what is known as a “global quota”. This means that the limit is not bound to any particular account. It simply means that the limit is bound to the resource itself.
Quota States
A quota can exist in one of three states:
- Under Limit: The quota is within normal bounds and no limits have been exceeded.
- Over Soft Limit: The quota has exceeded the soft limit.
- Over Hard Limit: The quota has exceeded the hard limit (at this point the resource is no longer usable).
Quota Timeouts
Each quota has a timeout period. When a quota has exceeded a limit, a Quota Soft Limit Exceeded or a Quota Hard Limit Exceeded Event is fired. The timeout is used to determine how long to wait until sending another event.
Creating a Quota
-
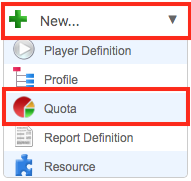
On the toolbar, click New, and select Quota from the drop down menu.
-
In the Create new Quota…* section, complete the following fields:
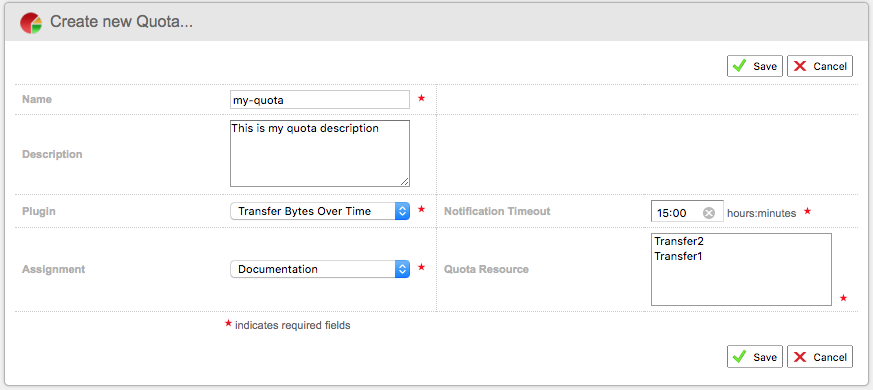
- Name: specify a name for your quota
- Description: enter an optional description
- Plugin: select a plugin from the drop down menu, e.g. Transfer Bytes over time.
- Assignment: select an account or a sub-account that you want to set the quota for.
- Timeout: select a timeout period from the drop down menu, e.g. 15 minutes.
- Quota Resource: select a quota resource
-
Once you are happy with your settings, click Save.
-
Next, click the Configuration sub-tab, and then click the Edit button in order to specify configuration details for your quota.

-
Specify the configuration details for your quota.
-
In the Soft Limit field, specify a soft limit.
-
in the Hard Limit field, specify a hard limit.
-
In the Time Period field, specify a time period.
-
In the Time Period In field, select a unit of time, e.g Hour.
-
When you have finished configuring your quota, click Save to finalize.
Checking Quota Details
To check the details and status of a quota, click the Access tab, and on the toolbar, click Quotas.

Quota Details
In the Quota Settings section you can see a list of all quotas and their current status, for example : funder limit, over soft limit, and over hard limit. The colour of each row indicates the status. Orange implies the soft limit has been breached. Red implies the hard limit has been breached.
 Dalet
Dalet