File Uploads
Single File Uploads
To upload an asset to Dalet Flex, follow these steps:
-
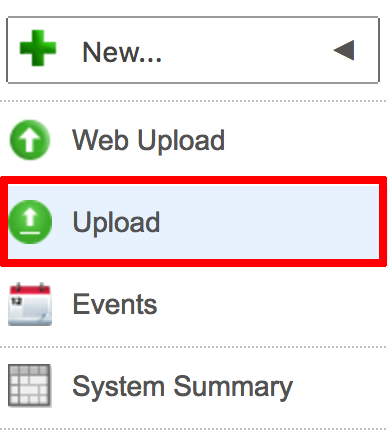
If you are in the Dalet Flex console, click Upload on the toolbar.
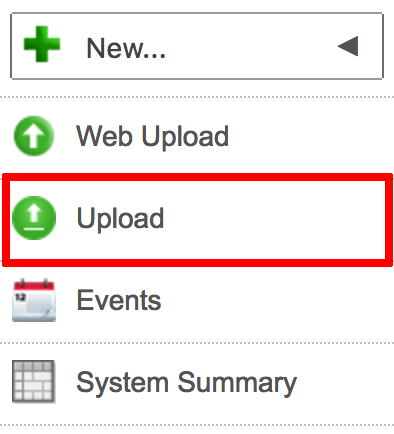
- If you are in MAM, click Upload on the top toolbar.
- If you are in MAM, click Upload on the top toolbar.
-
FlexMOVE opens in a separate window.
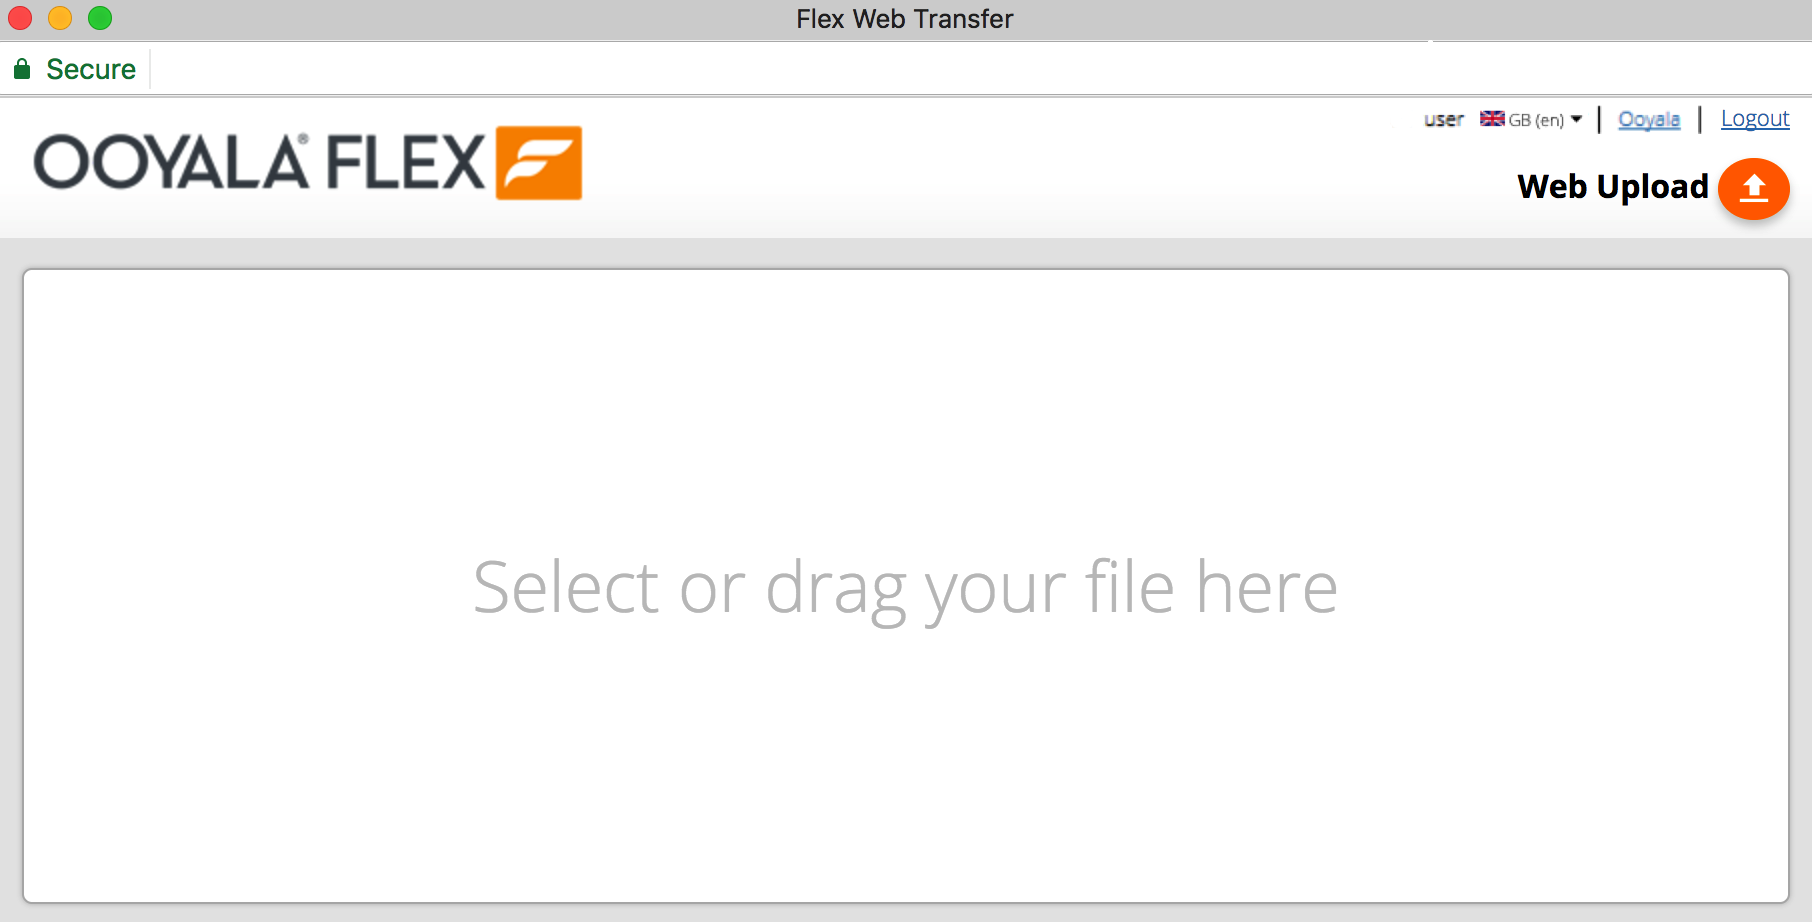
-
Click the text to browse for your file, or click Web Upload.

-
Browse to the file you wish to upload, and select it.
-
Click Open.
-
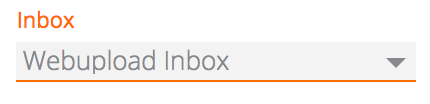
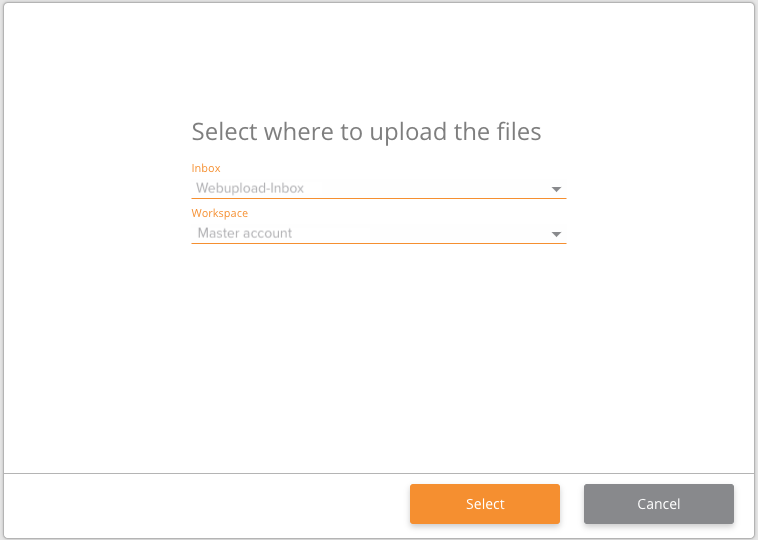
From the Inbox drop down, select an inbox.
-
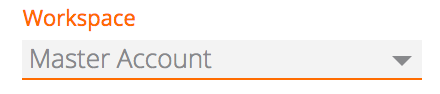
From the Workspace drop down, select a workspace.
-
If a metadata schema is associated with the inbox, you must fill in any mandatory metadata fields before uploading the asset.
-
Click Upload File.
-
The file uploads. You will see a bar showing the progress of the upload.

Canceling an Upload
To cancel an upload while it is in progress, click the Cancel icon, located on the right-hand side of the asset.
Pausing an Upload
To pause an upload, click the Pause icon, on the right-hand side of the asset.
![]()
To resume the upload, click the Play icon.
![]()
Bulk Uploads
FlexMOVE supports bulk uploads. This means you can upload multiple assets to Dalet Flex simultaneously. In a bulk upload, each file is still processed individually, by individual workflows, but these workflows are grouped together as a single event from a UI perspective.
To perform a bulk upload, follow these steps:
-
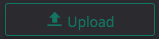
On the toolbar, click the Upload option.
-
FlexMOVE opens in a separate window.
-
Click the text to browse for your file, or click Web Upload.
-
Select the files you wish to upload and click Open.
-
Click Open.
- Alternatively, you can drag multiple files into the upload area, instead of manually navigating to them.
- If you intend to upload using FileCatalyst, you must manually select the file. Dragging the file into the uploader window will not work, as FileCatalyst needs to use its own selector to access the asset.
-
Set an Inbox and Workspace from the drop down menus and click Select.
-
Here you can add more files to upload by clicking the + icon, or remove files by clicking the x on the right of the file names.
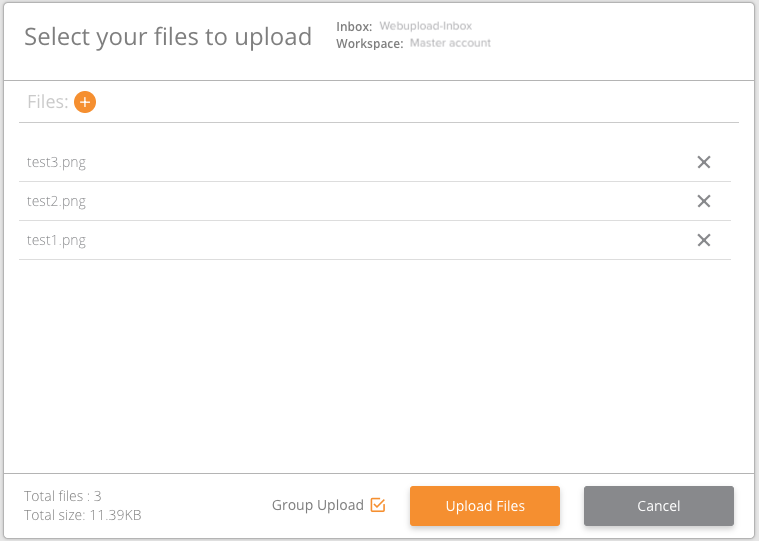
- The Group Upload
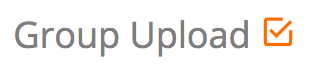 checkbox determines
whether the upload is treated as a bulk upload. If this checkbox is selected, the upload is a bulk upload. If it is not selected, the files upload independently of each other.
checkbox determines
whether the upload is treated as a bulk upload. If this checkbox is selected, the upload is a bulk upload. If it is not selected, the files upload independently of each other. - If a metadata schema is associated with your selected inbox, you must fill in any mandatory metadata fields before uploading the asset.
- The Group Upload
-
Click Upload Files.
-
A progress bar is displayed for the bulk upload.
