Workflow Designer
A workflow is an ordered sequence of tasks that are carried out to fulfil a business or technical process. Each individual step in a workflow is referred to as a node and each link between nodes (represented as an arrow) is referred to as a transition.
Workflows can be started and run by a user or they can be started by Dalet Flex automatically when various events occur, such as when a file is dropped into an inbox. Workflows can also be started using the Application Program Interface (API).
The Workflow Designer is a “What you see is what you get” or WYSIWYG design tool. It allows you to design your workflows graphically and then run them using the same graphical representation to track progress. It also runs using HTML5, so it can be run in most mainstream browsers, such as Google Chrome, Firefox, Internet Explorer, and Safari.
Before you can create a workflow, you must first create a workflow definition.
To create a workflow definition
- Log in to Dalet Flex console.
- Click New in the toolbar on the right, and in the drop down menu, select Workflow Definition.
- In the Create new Workflow Definition page, configure the following fields:
- Name: Enter an appropriate name for your workflow definition.
- Description: Enter an optional description to make it easier to search for your workflow definition later.
- Visibility: Select which accounts have access to this workflow definition.
- Click Save and you will be directed to the Summary tab of your newly created workflow definition.
Accessing the Workflow Designer
You can access the Workflow designer by selecting a workflow definition from Dalet Flex console.
For workflow definitions with no workflow design
Under the Graph you will see you will see Click to Create Graph option.

Clicking on Click to Create Graph will open Workflow Designer in a new window, where you can begin to create a new workflow.
For workflow definitions with existing workflow designs
-
Edit: Clicking the Edit button will load the Workflow Designer in edit mode for the currently selected version.

-
Edit Layout: Clicking on the Edit Layout button will load the Workflow Designer in edit layout mode. In this mode you can only change the layout of the workflow and not the structure, meaning that the Workflow panel is not available and when you save your changes, a new version will not be created. Edit Layout mode is useful when you wish to change the layout of your workflow design. Laying your nodes and transitions elegantly can make it easier for you to interpret the workflow’s flow and logic.

Workflow Designer Interface
Once you launch the Workflow Designer, you will see the workflow panel on the left. This panel houses three sub-panels, Controls, Components, and Current Item.
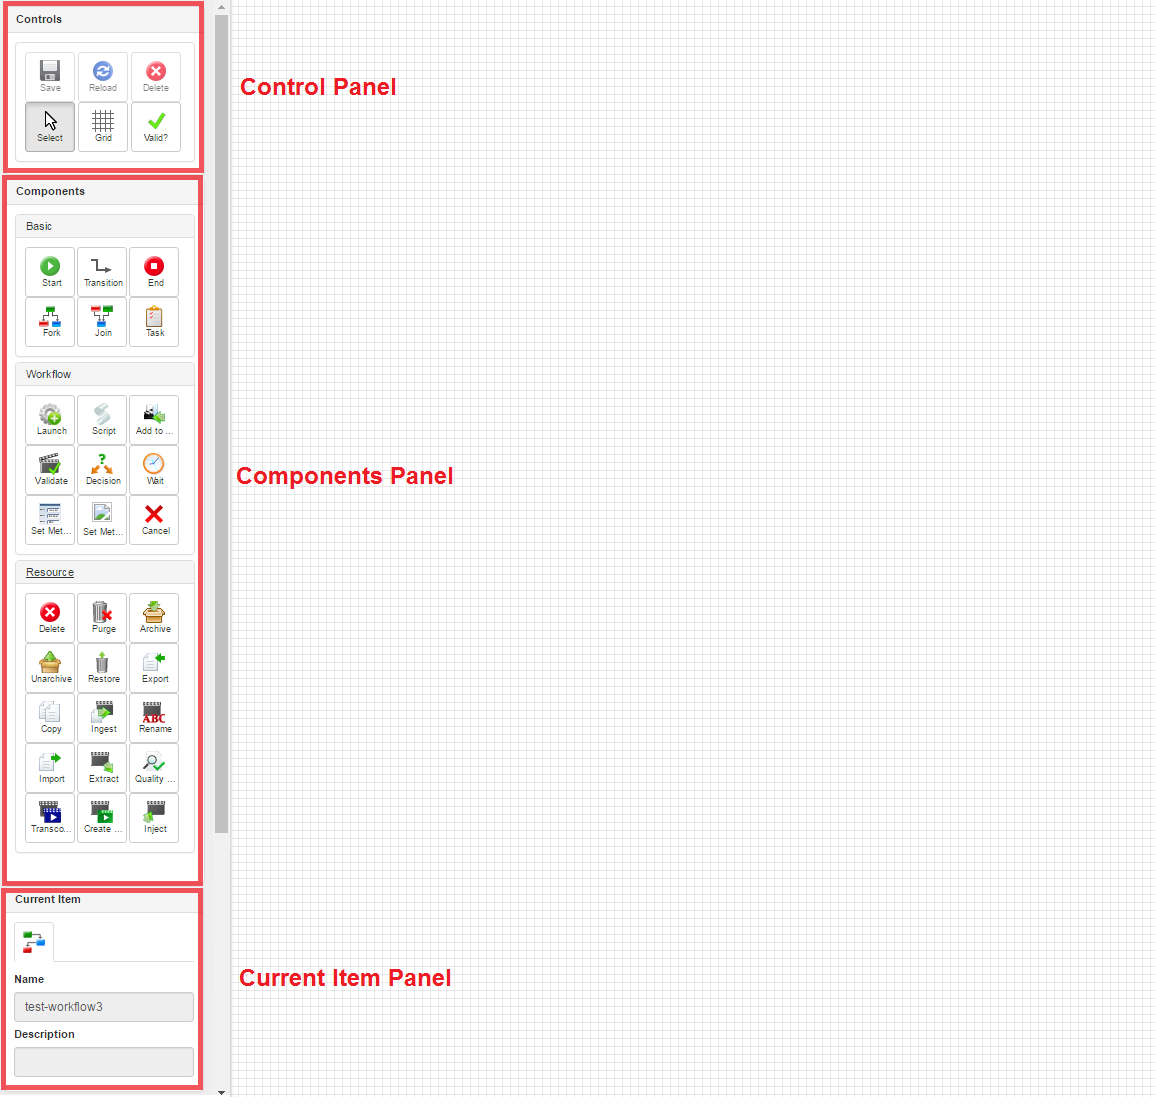
Controls Panel
The Controls panel houses several options which help you control the Workflow Designer. These options are as follows:
![]() The Save icon enables you to save your workflow definition once you are
happy with it.
The Save icon enables you to save your workflow definition once you are
happy with it.
![]() The Reload icon enables you to reset the edits you made to the workflow
since the last time you saved it.
The Reload icon enables you to reset the edits you made to the workflow
since the last time you saved it.
![]() The Delete option can be used to delete a currently selected node or
transition on the canvas.
The Delete option can be used to delete a currently selected node or
transition on the canvas.
![]() The Select option allows you to select, and then place new nodes and
transitions on the canvas, as well as move existing ones around the canvas.
The Select option allows you to select, and then place new nodes and
transitions on the canvas, as well as move existing ones around the canvas.
![]() The Grid option lets you show/hide the grid squares. The grid can make it
easier for you to neatly position your nodes.
The Grid option lets you show/hide the grid squares. The grid can make it
easier for you to neatly position your nodes.
![]() The Valid option gives you the ability to validate your workflow definition
once it has been created. You must validate your workflow in order to ensure that there are no errors.
If there are errors in your workflow definition, you will not be able to save and run it.
The Valid option gives you the ability to validate your workflow definition
once it has been created. You must validate your workflow in order to ensure that there are no errors.
If there are errors in your workflow definition, you will not be able to save and run it.
Components Panel
The Components panel houses all the different types of nodes that can be put into your workflow definition. The components panel is divided up into three sections. These sections are as follows:
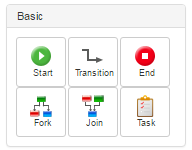
-
Basic: The Basic section contains essential workflow nodes. For example, every workflow definition must have a start node and an end node.
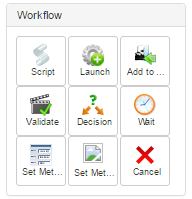
-
Workflow: The Workflow section contains various automated workflow nodes, such as Launch, Validate, Wait, and Set Metadata.
-
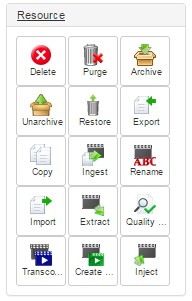
Resource: The Resource section contain asset related nodes, such as Delete, Purge, Export, and Rename.
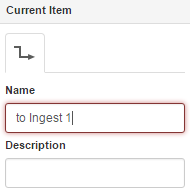
Current Item Panel
The Current Item panel displays a list of editable fields that are associated with the currently selected node or transition. For example, if you were to select an existing transition on the canvas, you would see Name and Description fields in the Current Item panel, which can be edited.