Edits
MAM enables you to perform rough edits on your assets. You can create clips out of your existing assets, rearrange those clips so that they appear in a sequence, and render them as an entirely new asset.
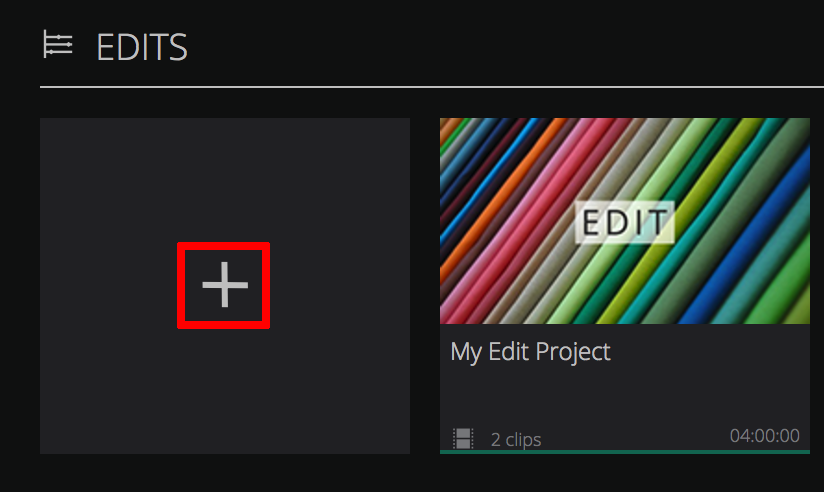
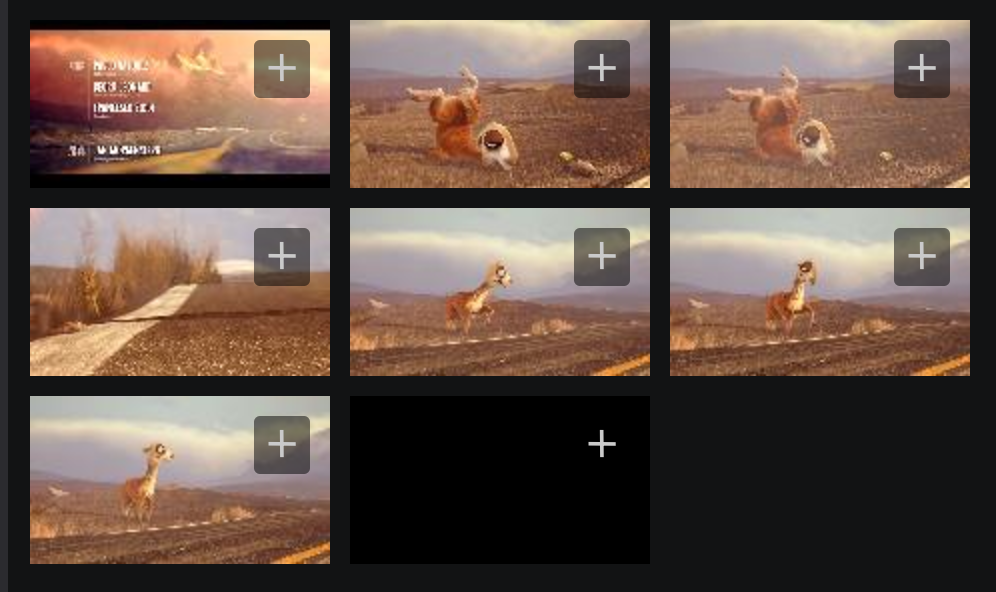
If you have started an edit session, and then saved it, that session will appear in the Edit carousel in the form of a tile.
Each tile shows you basic information about that specific edit session including:
- The name of the session.
- How many clips have been added to the storyboard sequencer.
- The duration of those clips in total.
Edit Summary Panel
If you click on an existing edit tile in the Edit carousel, the Edit Summary panel will appear on the right-hand side of the screen.
In the Edit Summary panel, you will see:
-
The Details tab: This shows you the specific details of the edit session. This includes how many clips have been added to the storyboard sequencer, in the project.
-
View Edit option: If you click this option you will be taken to the edit session, where you can continue where you left off from.

Setting Up an Edit Session
Setting up an edit session consists of two steps:
-
Clipping Mode: In which you extract clips from one or more of your media assets. For example: You might want to extract some clips from three or four different assets, and then stitch these together to create an entirely new asset.
-
Edit Mode: In edit mode you reorder and stitch the clips together.
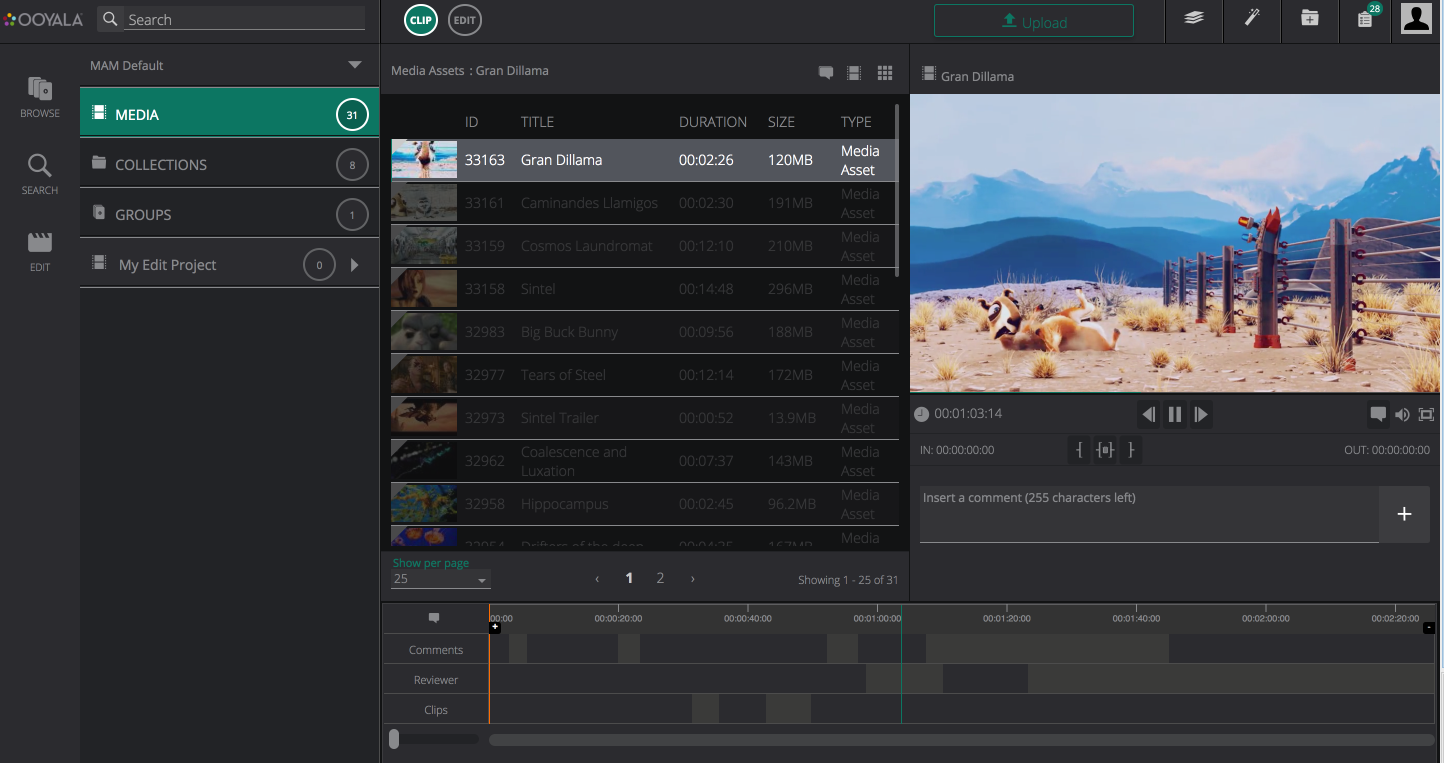
Clipping Mode
As previously mentioned, clipping mode gives you the ability to extract clips from multiple assets. You can navigate through all of your assets and collections, and extract clips from specific assets. These clips are then placed into a clip bucket. When you are in Edit mode, you can select clips from this bucket, and place them in the storyboard sequencer.
To extract clips from your existing assets, you can click on an asset, and click on Manage Asset in the side panel that is displayed. Alternatively, follow the steps below:
-
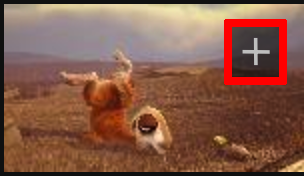
In the Edits carousel, click the + icon.
-
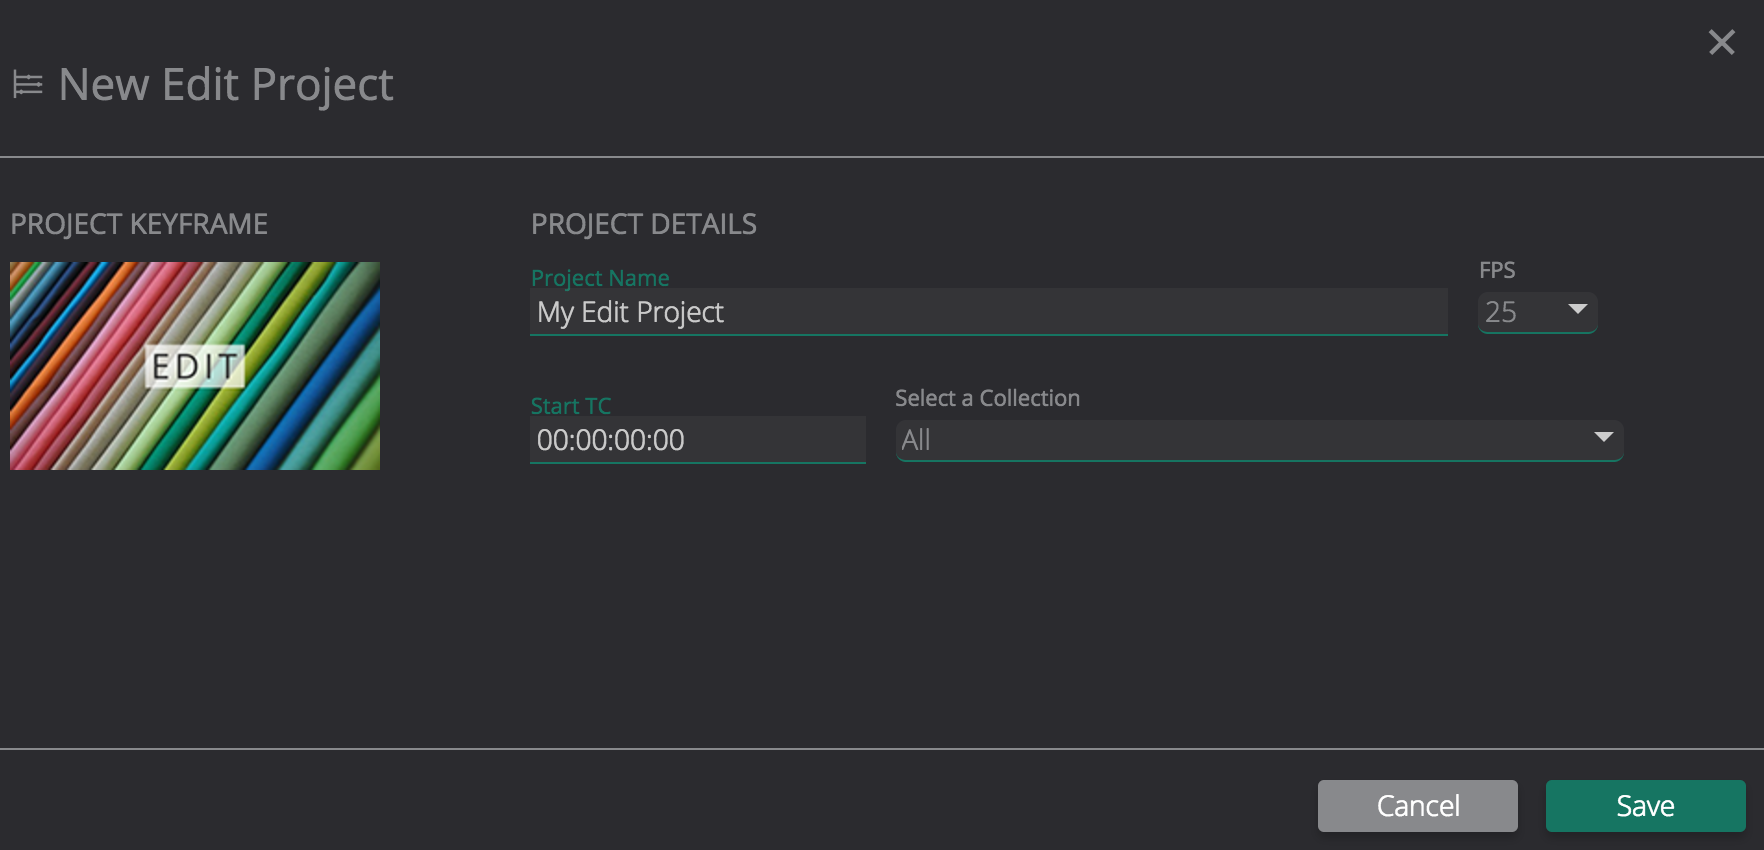
Enter the details for your project.
-
Click Save.

-
On the top toolbar, click Clip.
-
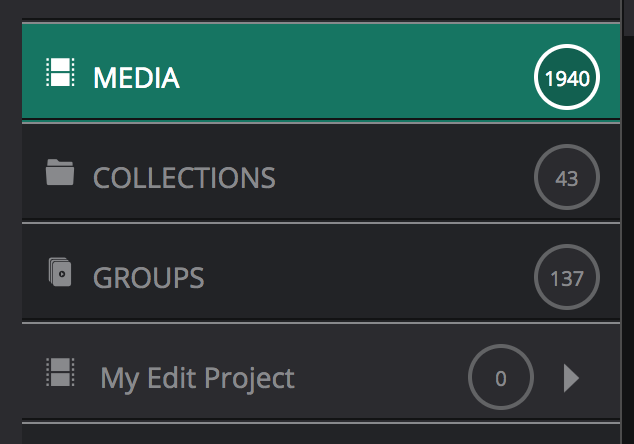
In the panel on the left-hand side of the screen, you will see several categories, including media, collections, and groups. Here you can navigate through each of these, to the assets that you intend to extract clips from. For example: if you click Media, all of your media assets will appear next to the panel.
-
Select an asset that you wish to extract a clip from.
-
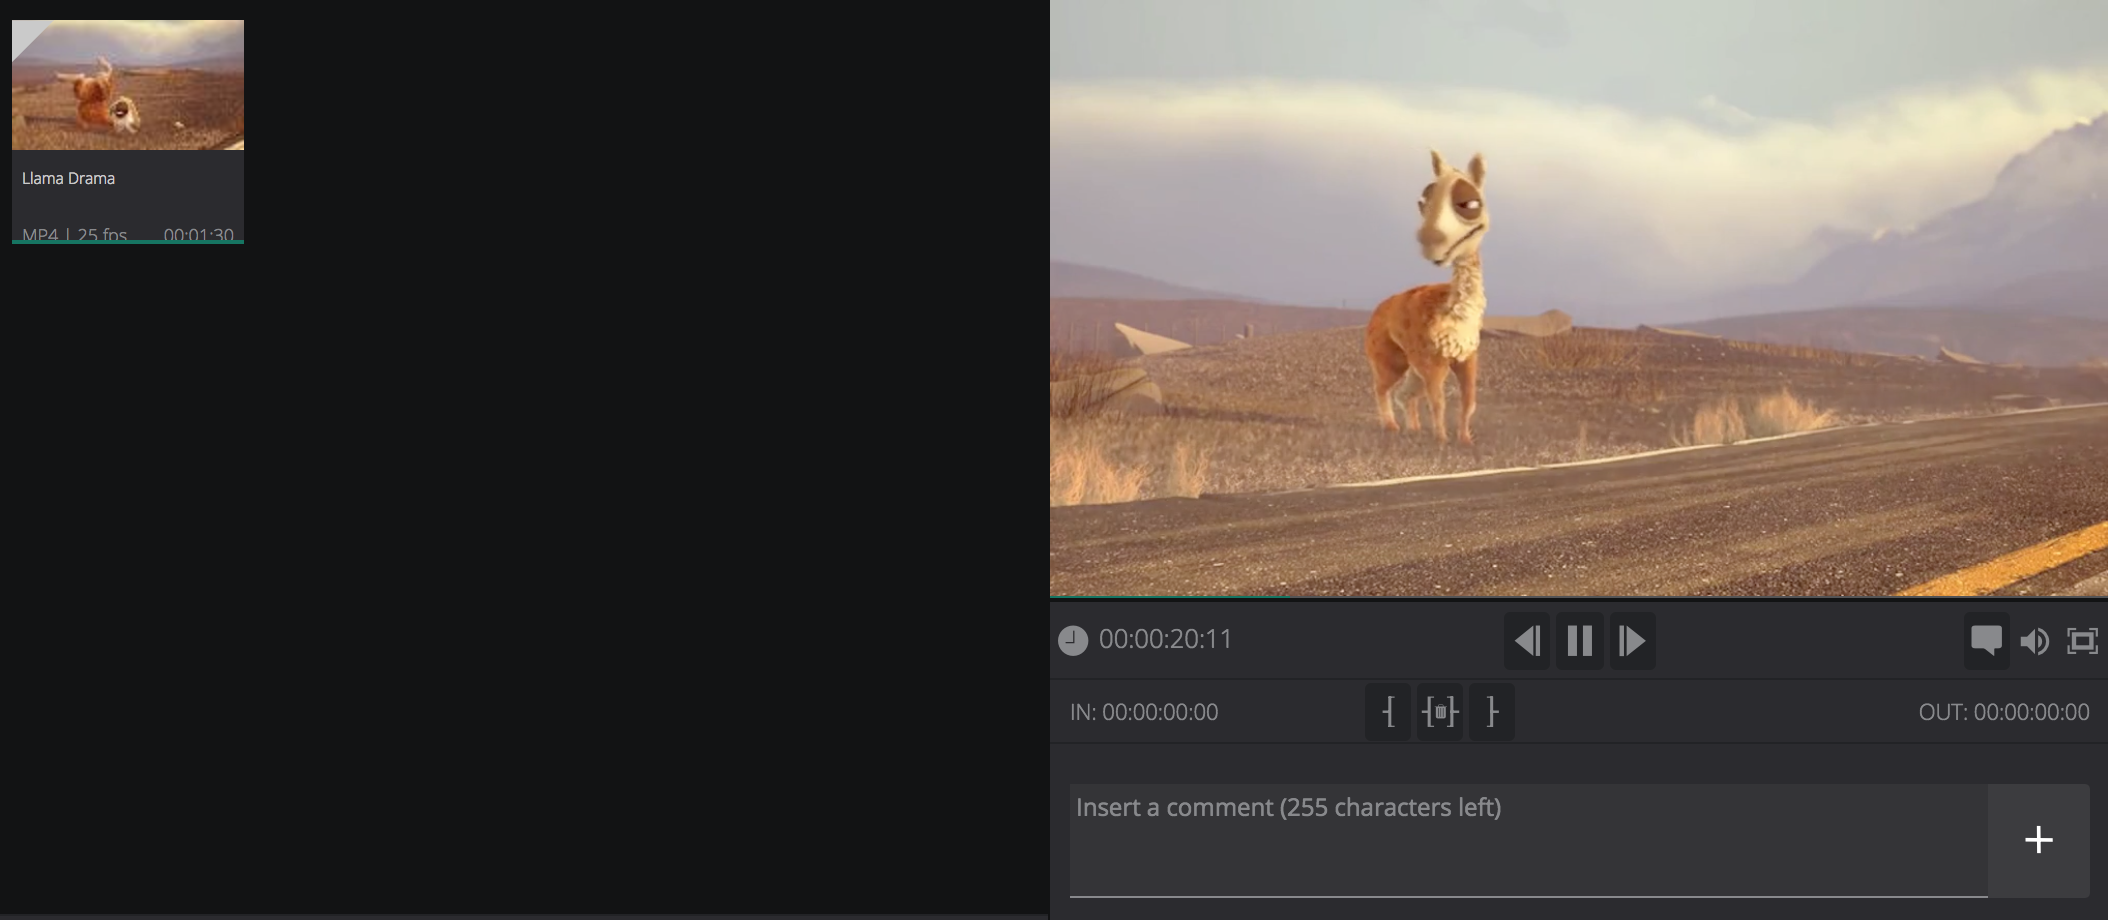
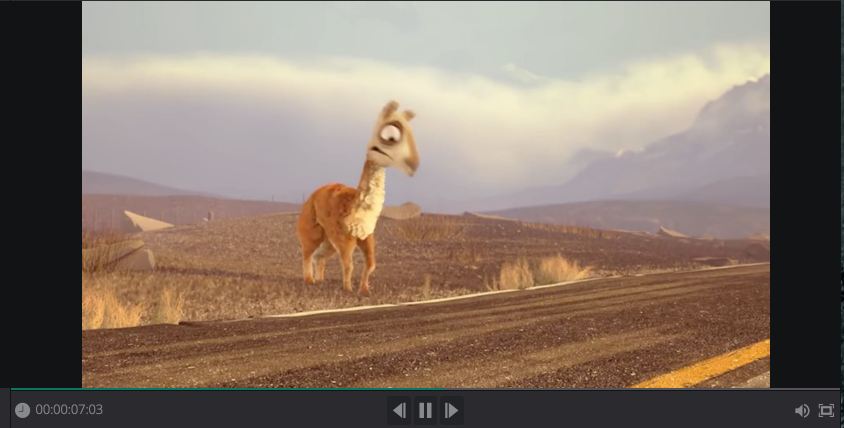
Start playing the asset.
-
When you reach the point in which you want the clip to start, click the Set In
 icon, or click “i”.
 -
When you reach the point in which you want the clip to end, click the Set Out !
 icon, or click “o”.
 -
Click the Create Clip
 icon, or click “e”.
 -
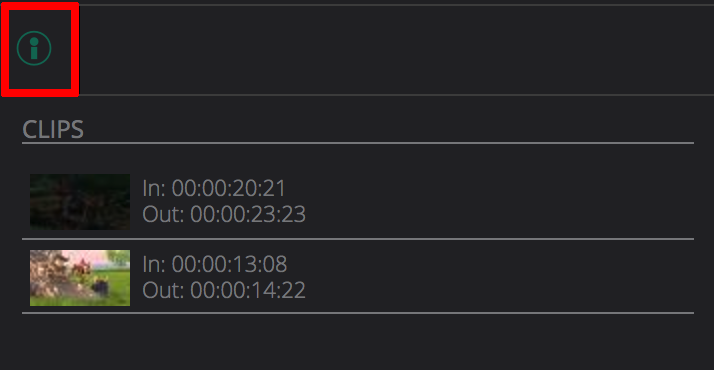
In the text box, enter a name for your clip, and click the + icon. The clip is then added to the bucket. Clips are displayed on the timeline tab
 , and filtered under the Media icon.

Edit Mode
In Edit mode, you have the ability to stitch all of your extracted clips together into an ordered sequence, and then save it.
To create a sequence of clips:
-
On the top toolbar, click the Edit icon.
-
On the left-hand side of the screen, select a clip from the bucket.
-
To add the clip to the storyboard sequencer, click the + icon, or drag and drop the clip into the sequencer.
-
When you have added all of your clips to the sequencer, you can change the order in which they appear by clicking the left and right arrows on each tile. You can also drag the tiles left and right on the sequencer to change the order in which they appear.

-
Preview the sequence of clips, using the player.
-
Click the Save
 icon.
icon.
Rendering a Clip as an Asset
- Create a clip using the steps found above in the Clipping Mode section.
- Navigate to the edit project in which your clip exists.
- Select the clip.
- In the right-hand menu, click on the ellipsis.
- From the drop down, select Launch.
- From the Action drop down, select the Launch from Clip option.
- Click Run Now and the clip is published to MAM as a new asset.