The Interface
Logging into MAM
-
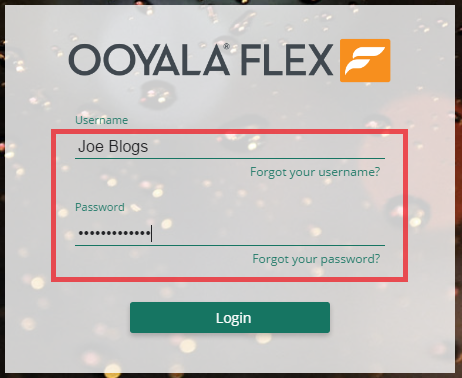
Navigate to your organisation’s MAM login page, and enter your username and password.
-
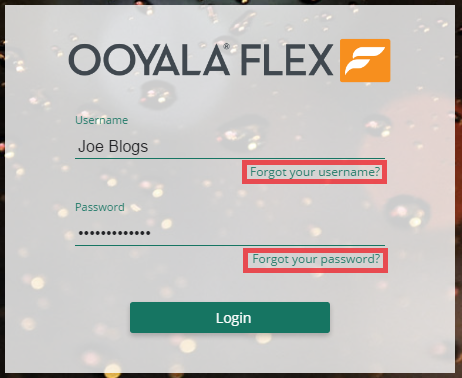
If you forget your username or password, simply click the Forgot your username? or Forgot your password? links under the respective fields.
MAM Interface
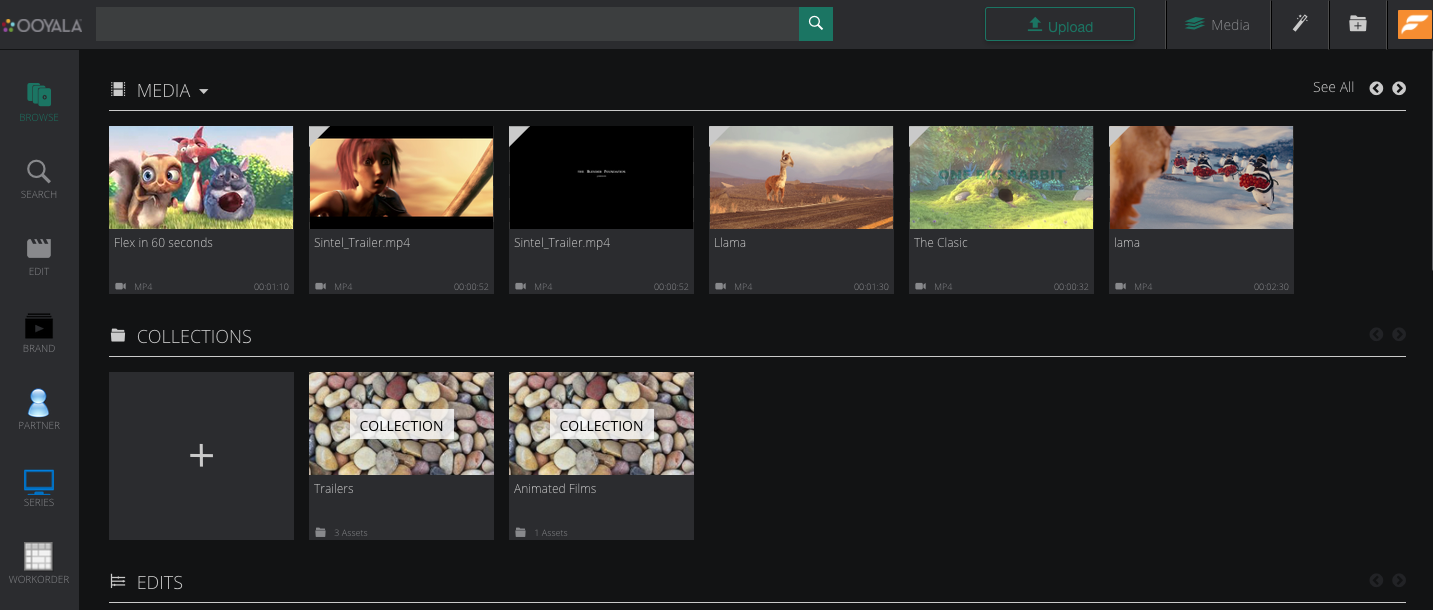
When you log in, the MAM browse page is displayed as below. In the MAM browse page, you can see the assets, collections, and edits you have permission to view. These are organised by the date they were last modified. The most recently modified item is displayed at the beginning of each carousel.
The Top Toolbar
At the top of the MAM interface, a toolbar is displayed:

Toolbar options are as follows:
-
The Search Bar: Here you can perform quick searches, by entering a keyword and pressing the Enter key. The search bar also includes an FQL drop down, that provides suggestions for search query syntax, enabling you to perform complex searches using the Dalet Flex Query Language (FQL).
-
Upload: Click this icon
 to upload assets of any size straight into MAM.
 -
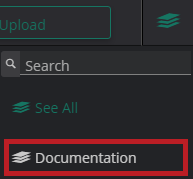
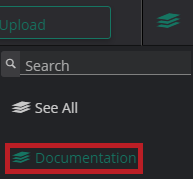
Start a Wizard: Click this icon
 to be presented with a list of existing wizards. Select one from the list to run it.
 -
Default Collection: Click this icon
 to list available collections, and set a default to add assets quickly.
 -
Metadata Tasks: Click the tasks icon
 to display the Tasks panel. This panel lists your available or assigned tasks.
 -
Bulk Actions: This icon
 is displayed when you have selected multiple items. You can select multiple items and then perform actions against those items from the Bulk Actions panel.
 -
Profile Picture: On the top right-hand corner, your profile picture is displayed. If you click this icon, a drop down menu is displayed, where you can access the Settings section, and sign out of MAM.
The Left-hand Toolbar
On the left-hand side, another toolbar is displayed.
This toolbar houses three options:
-
Browse: Click this option
 to return to the main browse page, where you can browse through your existing assets, collections, and edits.
 -
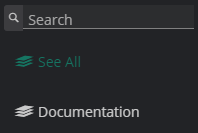
Search: Click this option
 to display the MAM search panel. Here, you can specify advanced search options.
 -
Edit: Click this option
 to display a new edit window, in which you can set up a new edit project.
Filters
Two filters are located on the MAM dashboard:
Workspace Filter: This filter enables you to select a workspace.
Asset Filter: This filter enables you to switch between asset types, such as media assets and group assets
Using the Workspace Filter
To use the workspace filter, follow these steps:
-
On the top toolbar, click the Select a Workspace icon:

-
From the drop down, select a workspace from the list:
-
When a workspace is selected, the text for that workspace turns grey:
Alternatively, if you have a very long list of workspaces, you can use the search bar at the top of the list to search for your workspace. Enter the name of your workspace, and click the Search icon.
Notes:
- Your default workspace is always selected by default.
- Only six workspaces are displayed in the drop down list at any one time. To view more workspaces in the list, scroll through the list.
Using the Asset Filter
To use the asset filter:
-
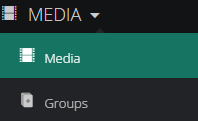
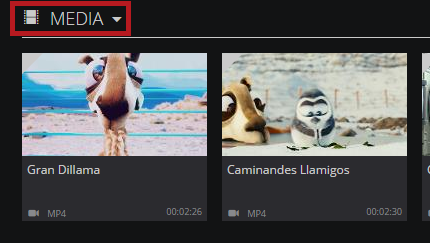
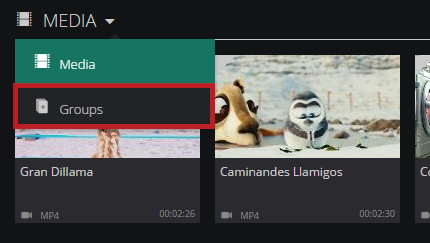
Above the Asset carousel, click the Asset Filter drop down.
-
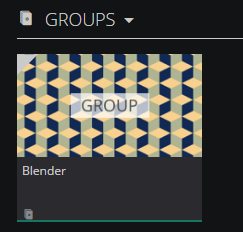
From the drop down, select either the Media Asset, or Group Asset option.
-
The Asset carousel changes accordingly, to display a list of your group assets, or your media assets.
Components
Tiles
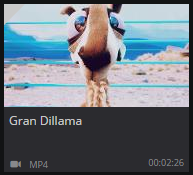
Each item in MAM, such as group assets, media assets, collections, and edits, is represented as a tile. These tiles are displayed on the MAM interface. Each tile for the different object types displays different information. The image shows an example of a tile for a media asset, where there is a representative thumbnail, title, format and duration of the media:
Panels
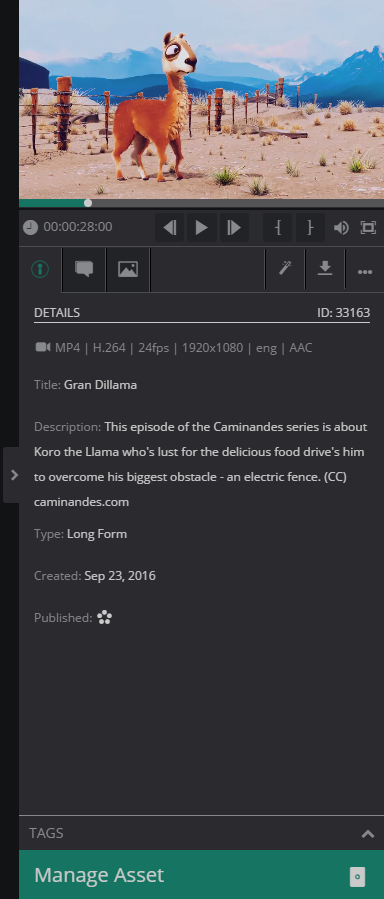
Each item in MAM, such as an asset, a collection, and edit, has a panel with an overview of the item, where you can edit various details quickly and easily. To access the panel for a specific item, click on the tile, and the panel is displayed on the right-hand side of the screen:
Player
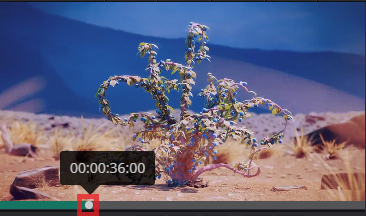
The player has several controls and features:

Drag the slider to scrub back and forth. While you hover over or drag the slider, the timecode is displayed as a pop-up,:
Keyboard Mapping on the Video Player
When using the player, you can use certain keys to perform certain functions, such as playing the asset, previewing a frame, skipping to the next frame, and marking in and out points.
The keys that can be used to control the player are as follows:
| Key | Function |
|---|---|
| Spacebar | Toggle Play |
| Left Arrow | Previous Frame |
| Right Arrow | Next Frame |
| i | Marks an in point |
| o | Marks an out point |
Timeline
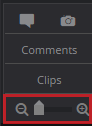
The timeline provides an indication of playback, in addition to displaying a logical reference to time-code specific attributes, such as user comments.

The example below shows a timecode specific comment made against an asset. If you press and hold the Shift key and click anywhere within one of these comments, the comment block is highlighted and the player jumps straight to that point in the video.

The timeline also has a zoom and pan feature. To zoom in on a specific section of the timeline, drag the slider to the right. To zoom out again, drag the slider to the left.