Using the Workflow Designer
Once you are in the Workflow Designer, you can begin to create or edit a workflow. Creating and editing a workflow involves adding and removing nodes from the Workflow panel, connecting them with transitions, and finally validating then saving your workflow. You can also configure your nodes and transitions by assigning names, descriptions, and other configuration details.
Adding a Node
-
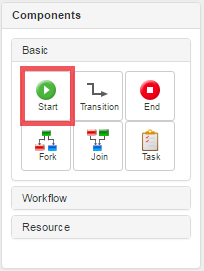
Select a node from the Components panel. Begin with a Start node, as every workflow must have exactly one Start node.
-
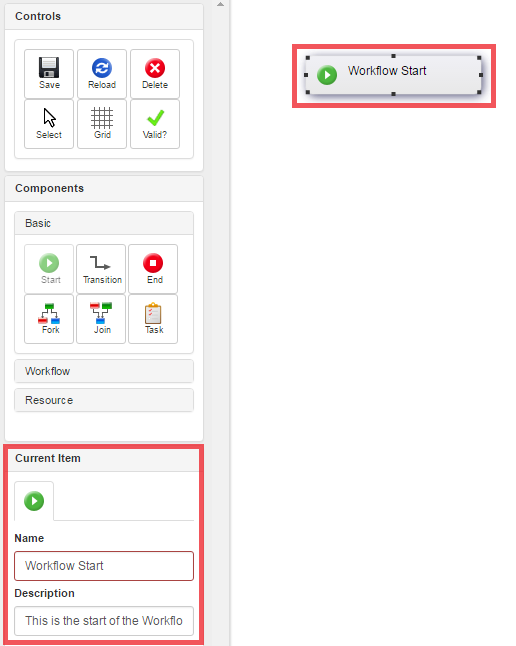
Click on the canvas to place the node. You can then drag the node to anywhere you wish on the canvas.

-
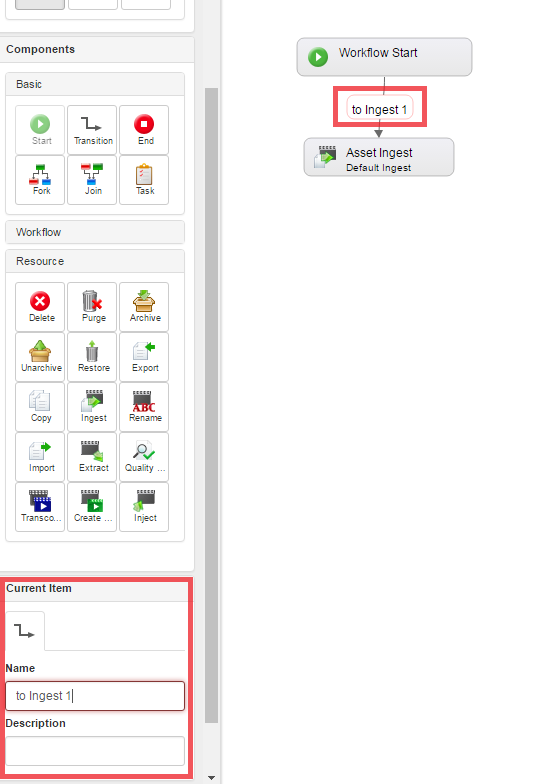
Configure the new node by filling in the fields in the Current Item panel. Although the Workflow Designer automatically creates a name, it is a good idea to create one more meaningful or relevant to you or your task.
Notes:
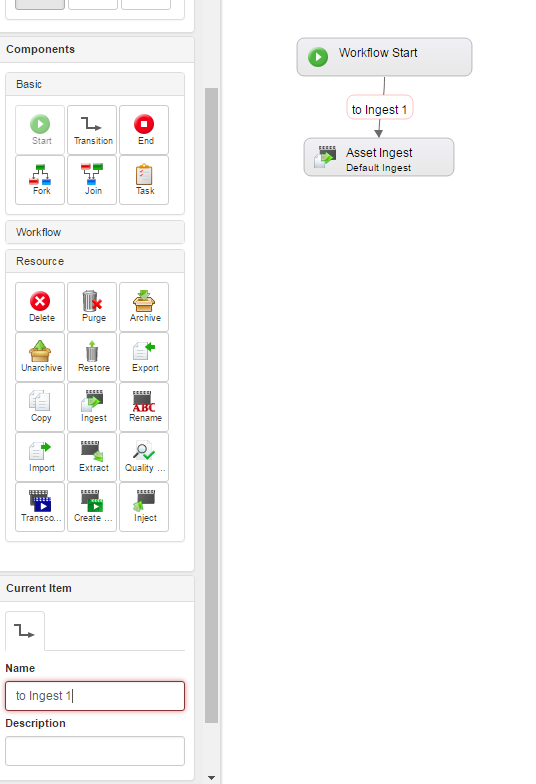
- If you add an action or task node to the canvas, you must also select a configuration from the Configuration tab. In the example below, you can see configuration selected for an ingest node.
- You can also assign a configuration to an action or task node, or delete the node by right-clicking on the node when it is selected.
Adding a Transition
Once you have more than one node on your canvas you can add a transition to link the two nodes together.
To add a transition to the workflow canvas
-
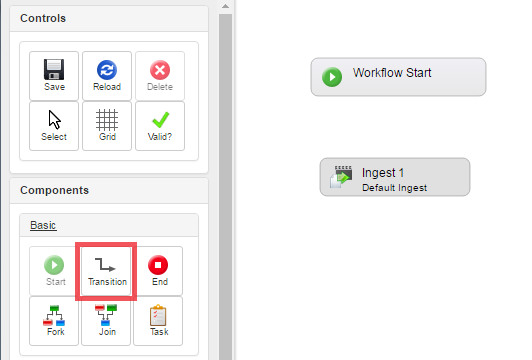
Click on the Transition button in the Components panel.
-
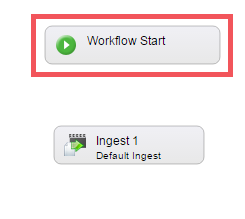
Click once on the node you would like the transition to start from. This disables all nodes that do not currently support being linked to from the Start node. This will help you identify which nodes are available for you to connect your transition to.
-
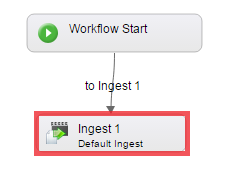
Click and drag the transition arrow to the node you would like the transition to end at.
-
Once you’ve added your transition, click the Select button, and select your new transition by clicking on it.
-
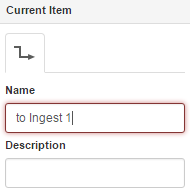
In the Current Item panel, you can edit the name and description for the transition if you wish.
Notes:
- If a transition has a name, it is displayed next to the transition on the canvas. The transition name can be highlighted in its own right and dragged around to make it more readable. If you delete this item, the name belonging to the transition is set to null.
- When assigning a name to a node or a transition, you cannot set a name that is the same as an existing node or transition in this workflow.
Selecting items
There are several ways to move select on the canvas.
- To select one item, simply click on the selected item
- To select more than one item
- hold down ctrl on your keyboard while making your selections
- click on the canvas and drag across all the items you wish to select
- To select all items on the canvas, hold down the ctrl and a keys simultaneously on your keyboard.
To unselect items, simply click on any blank space on the canvas.
Moving nodes
There are several ways to move items on the canvas. Once you have selected the node(s) you want to move you can move them by
- simply dragging it to where you want it on the canvas.
- using the arrow keys on your keyboard to move it around your canvas.
- using your mouse scroll to move it vertically on the canvas.
Removing Items
There are two ways to remove items from the workflow canvas for all item types (nodes, transitions, and transition names):
-
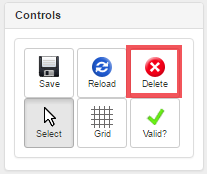
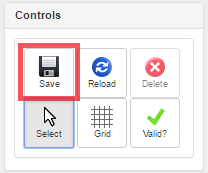
Select a node, transition or transition name and click the Delete button in the Controls panel.
-
Right click on a node, and click the Delete button.
Reloading workflow
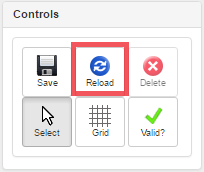
If you make changes to your workflow and want to reverse them, you can use the Reload button in the Control panel. This function loads the latest version and thus undoes your recent changes.
Click the Reload button in the Control panel, and the Workflow Designer informs you that the workflow has been reloaded
Validating a workflow
Before you save your workflow design, you must validate it. You cannot save an invalid workflow. Validation is very important, as a workflow must be complete and logical if it is to run successfully.
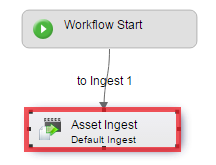
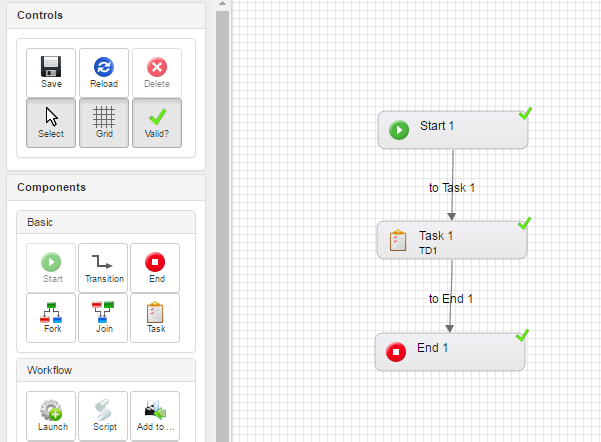
Below, you can see what a workflow looks like once it has been validated:
To check whether your workflow design is valid
-
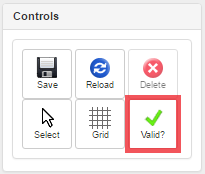
Click the Valid? option in the Controls panel.
-
Validation symbols are displayed next to each node.
- A green tick means that the node is valid.
- A red warning sign means there is an error.
-
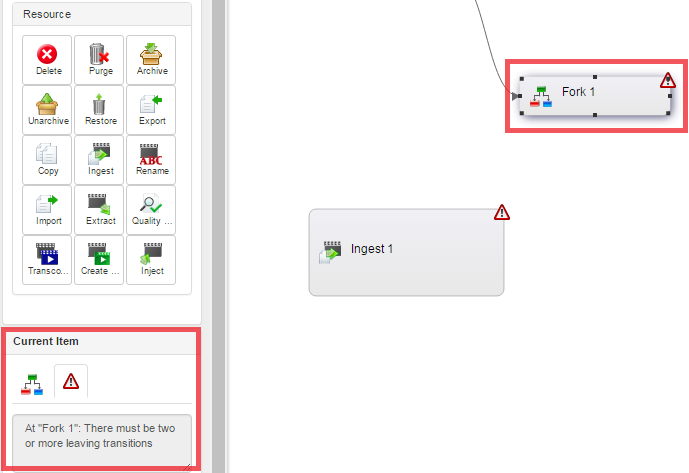
Click on each node to inspect and correct the validation errors.
-
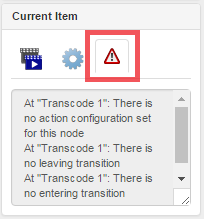
Once you have clicked on an invalid node, you can view the error under the Error tab, in the Current Item panel. In the example below, you can see that there is an error related to a transcode node.
-
Once you have finished correcting any errors, click the Valid? button in the Control panel again.
Note: If validation fails, remember a few key rules:
- Every workflow must have a Start node.
- Every workflow must have at least one End node.
- Every node must have the correct number of entering and leaving transitions.
- Some transition names are mandatory.
- Every user task and action node must have a configuration assigned.
Saving a workflow
-
Once you are happy with your workflow, click the Save button in the Controls panel.
-
If your workflow is valid, the Workflow Designer will inform you that the workflow has been stored as a new version.
Failed Saves
-
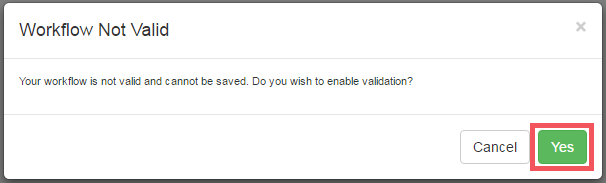
If you try and save a workflow that is not valid, you are warned and invited to enable validation mode.
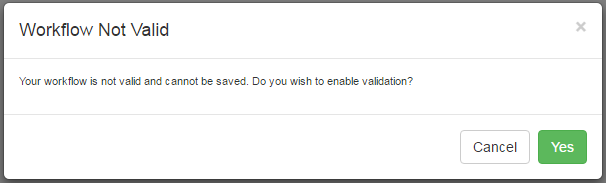
-
If you click Yes, the Workflow Designer will enable validation mode so you can see why the save failed.