Users
A user represents a single person. Every action in Dalet Flex is carried out by an authenticated Dalet Flex user, and the actions available to a user (what they can see and do) are governed by their role and associated permissions.
-
The Super User: The super user is immutable and always exists. The super user is created when a new Dalet Flex platform is installed, and is used for setting up other accounts and system-wide configuration. The super user owns the root account.
-
The System User: Users of Dalet Flex will likely see events generated by a user called “system”. The system user is immutable and always exists. This is the user that Dalet Flex uses when it carries out work on behalf of a user.
Creating a User
One of the first configuration actions to take when setting up an account for the first time is creating a user.
Before creating users, make sure you have first created roles.
To create a user:
-
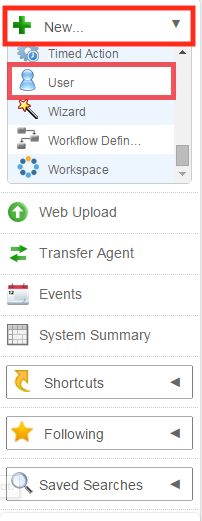
In the Toolbar on the right, click New and and select User from the drop down menu.
-
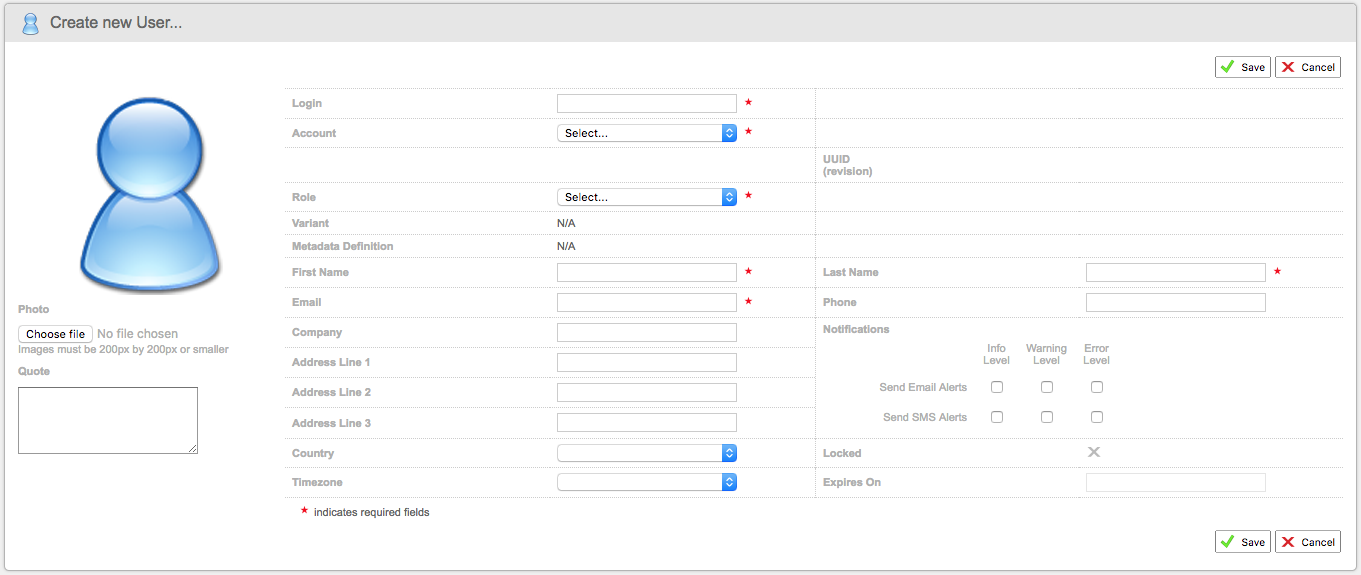
You will now see the Create new User form.
-
Fill in the following required fields:
-
Login: This is your login name. You will use it to log in to Dalet Flex. (The following characters cannot be used in a login name: ‘<’, ‘>’, ‘/', ‘', ‘#', ‘&', ‘=’, ‘?', ‘+’,
',", ‘%'.) -
Account: Select the account your user will belong to.
-
Role: Select a role for the user. Permissions are assigned to roles, so the role that the user has, will determine what they can see and do in Dalet Flex. Learn more about Roles and permissions here.
-
First Name and Last Name: Enter the user’s first and last name
-
Email: Enter the user’s email address. It is essential for notifications or when the user forgets their password.
-
-
Fill in the remaining optional fields. Learn more about these fields in Editing User Details.
-
Click Save and then Enable.
User Profile Management
There are a few rules and fields to be remembered when dealing with users.
User rules:
- A user must belong to a single account.
- A user can own objects. In fact, all objects must have an owner (Dalet Flex user).
- A user must have a single role.
- A user cannot do anything until they have authenticated themselves with Dalet Flex, either through the Flex console or through the API.
- Everything that a user does is logged through the creation of events.
User fields:
- Owner: Typically the person that created the user in the system.
- Login: The login is a unique string used by a user to identify themselves with the Dalet Flex platform.
- Role: A user has a single role.
- Account: The account that the user belongs to.
- Groups: A collection of groups that the user belongs to.
- Workspaces: A collection of workspaces that the user belongs to.
Editing User details
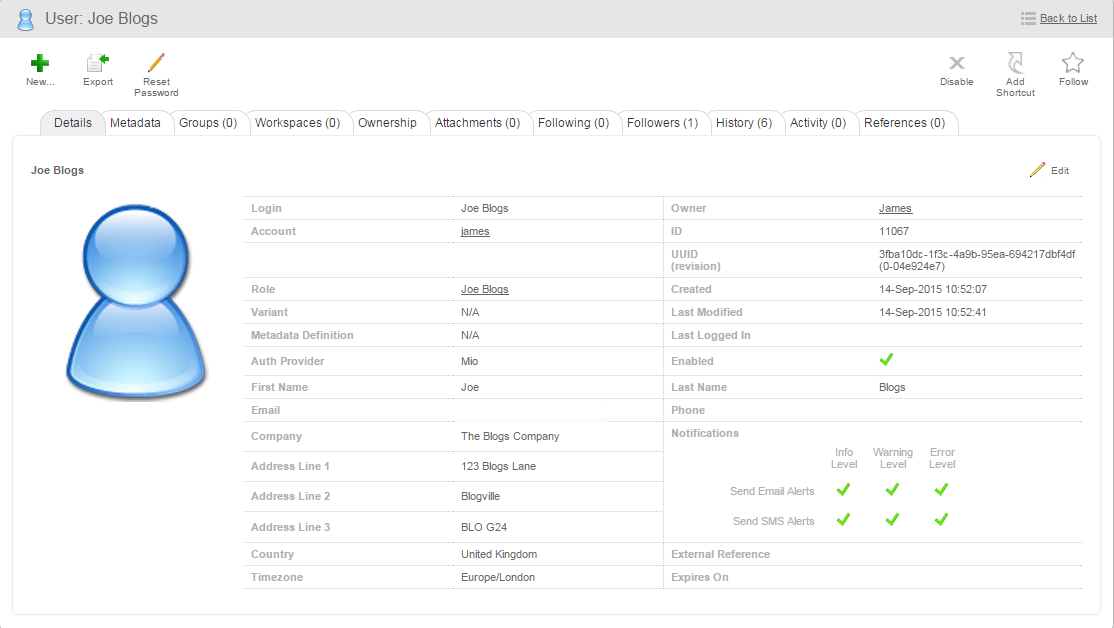
Once you have created the user, you can view and edit user information in the Details tab. You can also edit your own user details by clicking on your name in the top right corner and then clicking Edit when you are directed to the Details tab of your user account.
To edit user details:
- Click the Access tab on the right and select Users in the toolbar.
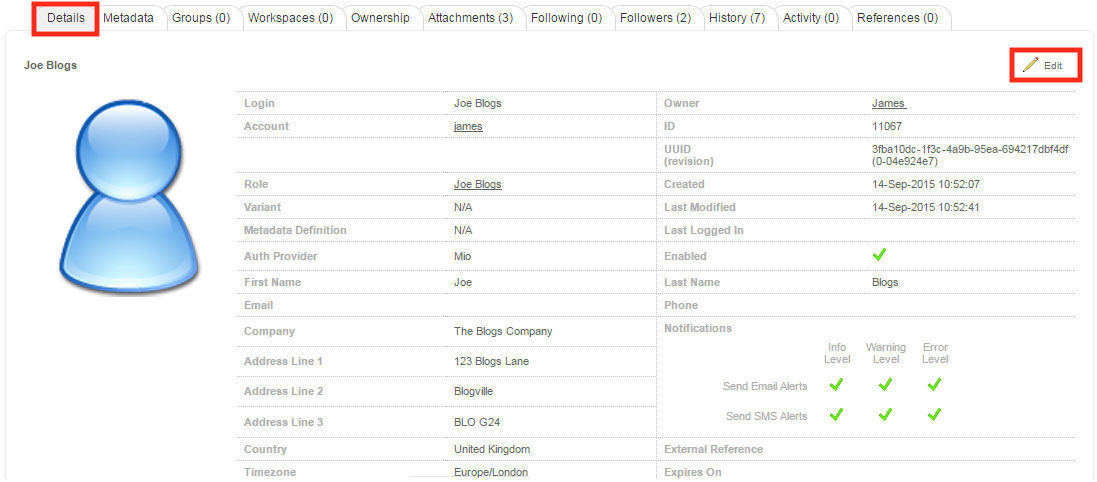
- In the Users list, click on the user you wish to edit. This will take you to the user’s Details page.
- Click Edit to make changes to user details. Aside from the required fields configured during user creation, some other important fields are detailed below:
- Phone: The user can enter their phone number to receive automated Dalet Flex SMS notifications.
- Notifications: you can choose to receive email or SMS notifications for when events of different levels (Info, Warning, Error) occur within Flex by ticking the corresponding boxes.
- Country: Defines the user’s location by country. This is used to work out time zones and calculate times.
- Timezone: Select the user’s timezone in the dropdown menu. This defines the local time zone that the user resides in and overrides the default time zone allocated to a country.
- Expires On: You can set an automatic expiry date for a user by clicking on the field and selecting a date from the calendar. Once the user is expired, they cannot log into Dalet Flex unless the expiry date is either removed or moved forwards.
- Photo: You can set a profile picture so that your user profile is distinguishable. Your chosen photo must be 200 x 200 pixels.
- Click Save when you are satisfied with your settings.
Managing User Locking
As an account administrator, you can determine rules related to locking users. A user is automatically locked when they exceed the number of permitted login attempts. In this case, they must contact their administrator in order to have their user credentials unlocked before they can log back in.
To configure locking rules:
-
Navigate to the Metadata sub-tab in the account details screen. Metadata sub-tab in the account details screen.
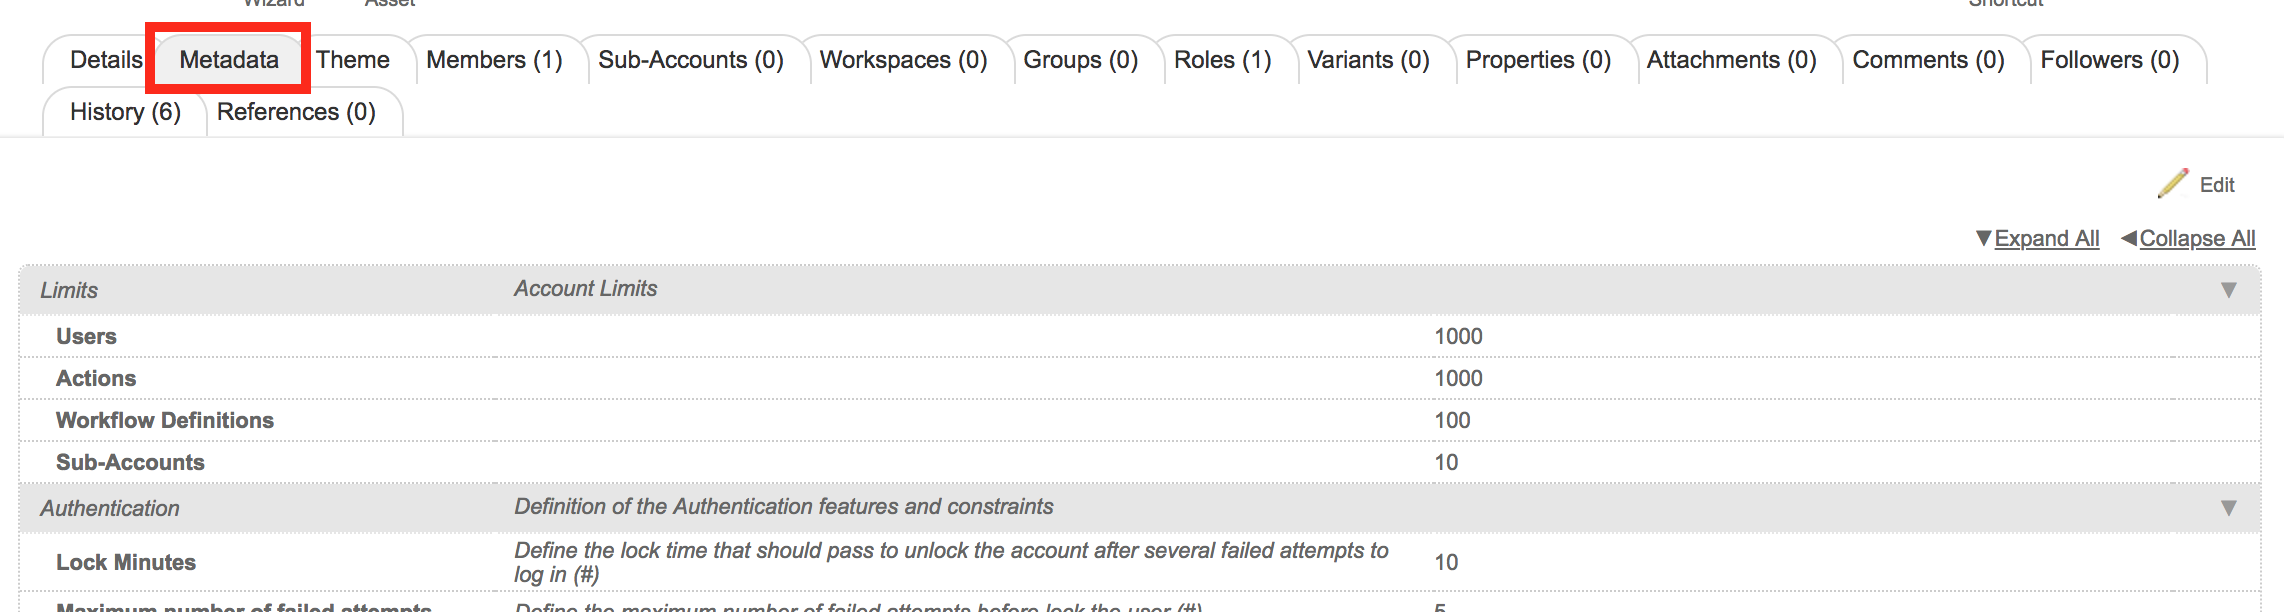
-
Specify the maximum number of failed attempts a user can make before they are locked out of Dalet Flex by entering a number in the Maximum Number of Failed Attempts field. In the following example, a user would have to enter their user credentials incorrectly 10 times before being locked out of Dalet Flex.

-
Specify the length of time a user must wait before they can attempt to log in again after they have reached the maximum number of failed login attempts in the Lock Minutes field.

Note: You cannot manually lock a user. However, it is possible to manually disable a user.
To unlock a user:
- Click the Access tab on the right and select Users in the toolbar.
- In the Users list, click on the user you wish to unlock. This will take you to the user’s Details page.
- On the power bar, click the Unlock icon to unlock the user.

Disabling and Deleting a User
If you want to stop a user from having access Dalet Flex temporarily, you can disable the user. A disabled user can always be re-enabled and this will re-establish the access that they were originally given. On the other hand, deleted users cannot be restored. You may wish to delete a user when they leave the company or is no longer associated with Dalet Flex.
To disable a user:
-
Click the Access tab on the right and select Users in the toolbar.
-
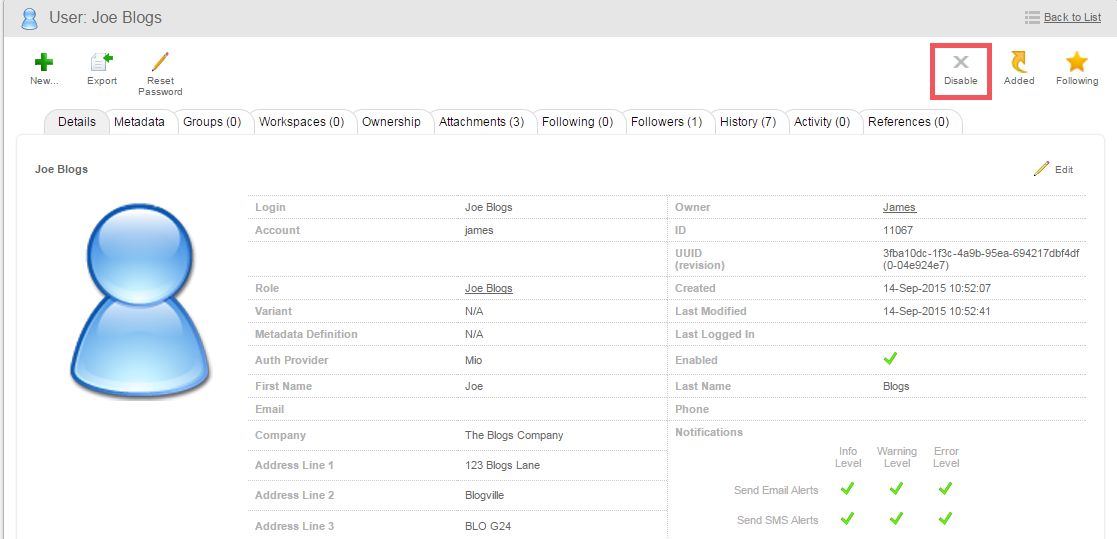
In the Users list, click on the user you wish to disable. This will take you to the user’s Details page.
-
Click the Disable button.
-
In the Disable User dialog box, click Yes to confirm.
To delete a user:
-
Once you have disabled a user, a Delete button will appear in the user’s Details page.
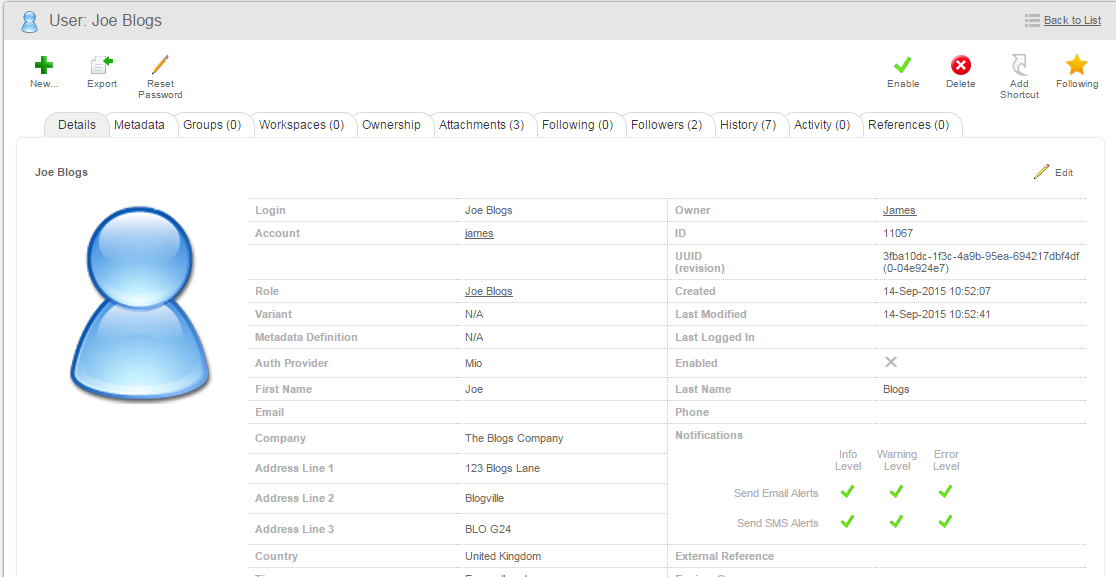
-
In the Delete User dialog box, click Yes to confirm.
Acting as another User
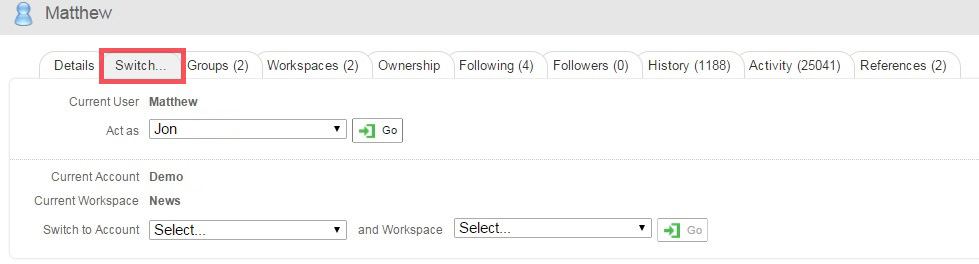
The Switch tab allows you to act as another user and switch between accounts. You can use this function to complete work on someone else’s behalf. For example, If User A acts on behalf of User B, User A will take on all the permissions that belong to User B.
To act as another user:
-
In the Dashboard tab, click your name located in the top right corner of the screen.
-
In the User Details section, click the Switch tab.
-
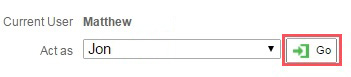
Click the Act as drop down menu, and select a user from the list.

-
Click Go.
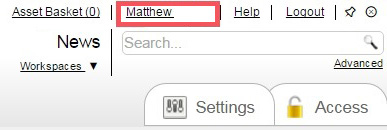
-
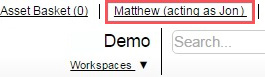
When you are acting as somebody else, it will display in the top right corner of the Dalet Flex console. For example if your name was ‘Matthew Carter’ it might say Matthew Carter (acting as Jon Folland).
If you are acting as another user, and you use one of the Dalet Flex applications such as the Metadata Designer, FlexMAM, or FlexREVIEW, it will show you as that user, as apposed to acting as that user. Unlike in the Dalet Flex console, it will NOT say acting as… before the users name inside the application. An example can be seen in the Metadata Designer below.
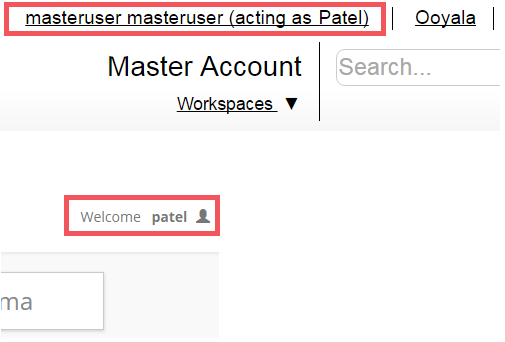
Despite this, any actions you perform in the application will appear in the activity log on the Dalet Flex console, and will show you acting as that user.