Workspaces
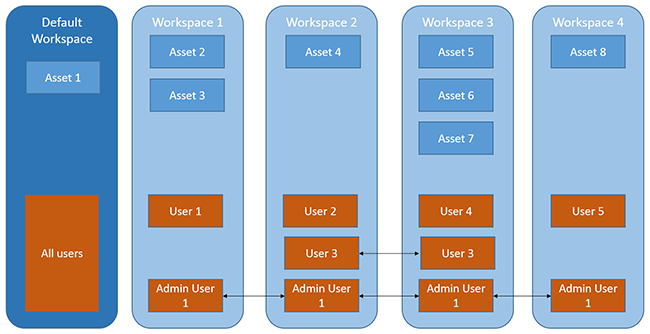
A workspace represents a collection of users that share specific assets, players, jobs, workflows, and user tasks. A workspace belongs to an account and provides a means of grouping together users who wish to collectively work on assets. Hence a workspace allows users of Dalet Flex to work in a project context.
The following properties can be viewed at workspace level:
- Owner: Typically the person that created the workspace in the system.
- Members: A collection of users that belong to this workspace.
- Account: The account that the workspace belongs to.
The main features of this functionality are:
- That content can be shared on a per project basis.
- Once created, you can switch between different workspaces.
- Members can be assigned to workspaces.
Workspace Object Properties
| Property | Support | Explanation |
|---|---|---|
| Scope | account, user | The scoping of this object |
| Visibility |  |
Whether the object supports visibility |
| Plugins | |
Supports plugins |
| Extended Config. | |
Whether the object has an extended configuration tab |
| Scripting | |
Whether the object can be configured using scripting |
| Enable / Disable |  |
Whether the object can be enabled and disabled |
| Start / Stop | |
Whether the object can be started and stopped |
| Copy | |
Whether the object can be copied |
| Export / Import | |
Whether the object can be exported and imported |
| Delete | |
Whether the object can be deleted |
| Unique Name | |
Whether the object name must be unique within its scope |
| Variants | |
Whether the object supports variants |
Creating a Workspace
-
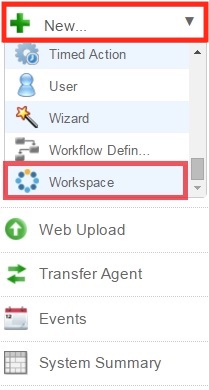
In the toolbar, click New and select Workspace from the drop down menu.
-
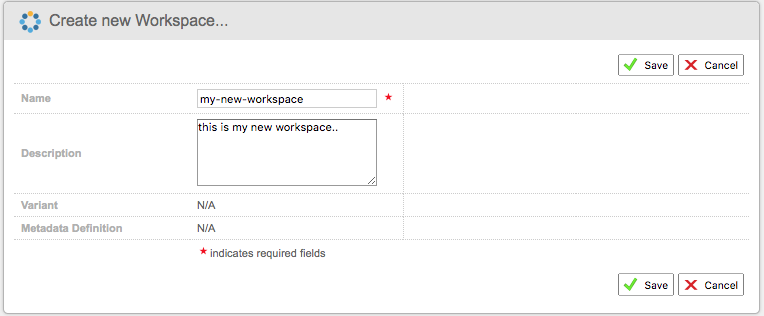
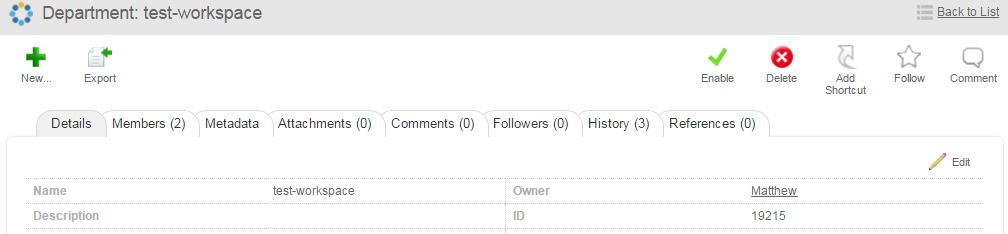
In the Create new Workspace… section, enter a Name and optional Description for your workspace.
-
When you have finished specifying the details for your workspace, click Save.
Enabling a Workspace
Click the Details tab, and then click the Enable option.

Adding and removing members in a Workspace
To add members:
-
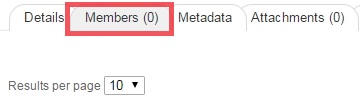
In the Workspace details screen, click the Members sub-tab.
-
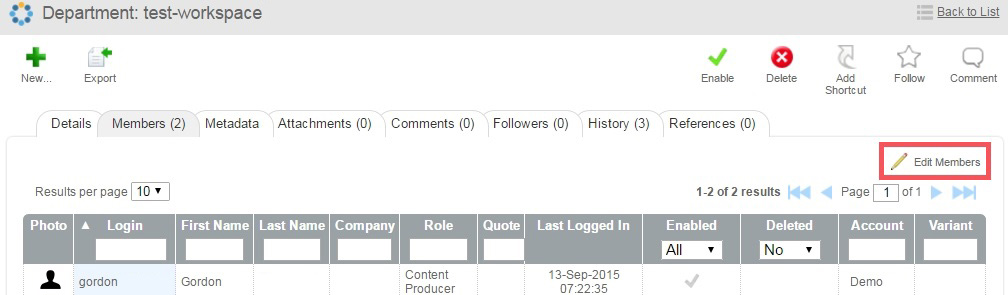
Click Edit Members.

-
Select a user from the Non-Members box, and then click the Arrows icon.
-
The user will then appear in the Members box.
-
When you have finished adding members to the workspace, click Save to finalise.
-
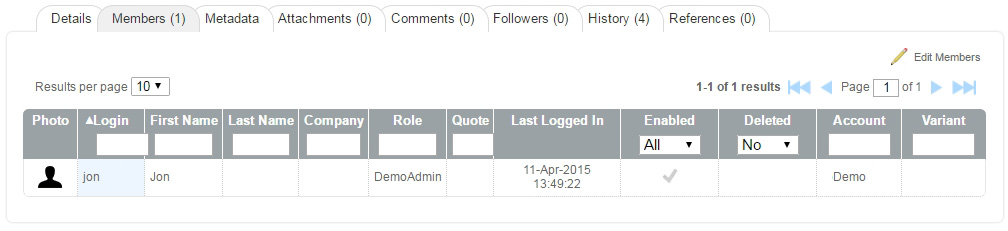
Now, when you click the Members sub-tab, you will see all the users you have added to the workspace.

To remove members:
-
Navigate to the Details section for your chosen workspace.
-
Next, click the Members sub-tab.

-
Click the Edit Members option.
-
Select a user from the Members box and click the Arrows icon.
-
The user is then removed from the Members box, and will appear in the Non-Members box.
-
Once you have removed all the appropriate members from the workspace, click Save to finalise.
-
When you return to the Details section for the workspace, you will see that the user(s) no longer appear under the Members sub-tab.
Selecting an existing Workspace
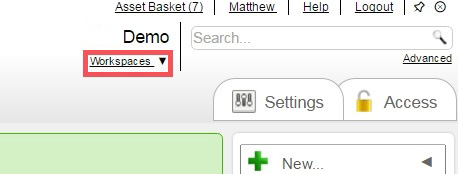
If you are a member of more than one workspace, you can switch between different workspaces within an account quickly and easily with the Workpaces drop down menu.
-
In the Dalet Flex console, click the Workspaces drop down menu at the top-right, underneath the account name.
-
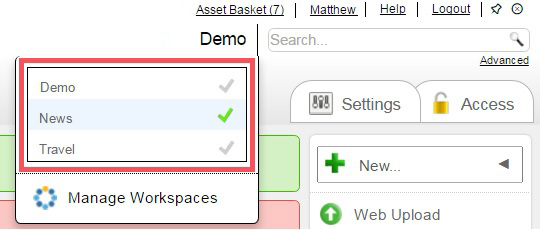
From the drop down menu, select a workspace from the list. The tick next to your selected workspace will turn green.
-
You can see which workspace you are currently in, as the name will be present above the drop down. In the example below, the current workspace is called News.

Sharing Items that are Within a Workspace
To begin sharing assets, you can ingest assets into the system using the Web Transfer or via a hot folder. Learn more about how to set up and use Flex Web Transfer here. Once you have ingested assets, you can do the following to share the assets amongst members assigned to a workspace:
-
Select a workspace.
-
Ingest an asset into Dalet Flex (i.e. media asset: such as an mp4 file).

-
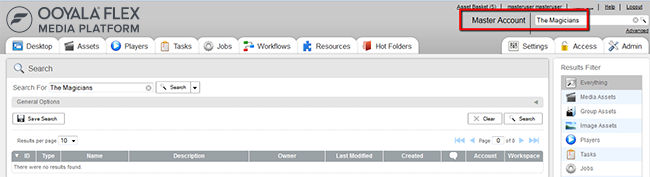
Check that your asset has been ingested. As you can see, the master workspace is still selected as the workspace. 
-
Run a global search for your asset.

-
See that the asset is displayed. You can check against the time stamp.

-
Switch workspace to another workspace. When you search for the same asset in this workspace, it will not display the asset.
Accessing Objects in Different Workspaces
Some global searches in Dalet Flex allow you to search across all of the workspaces that you are a member of. In this case you will be returned a list of objects that may reside in different workspaces to the one you are currently in.
-
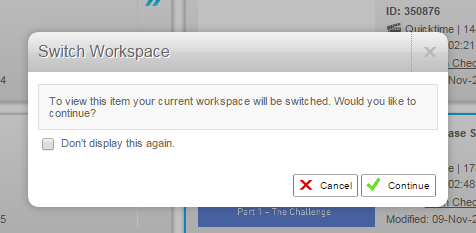
If you roll-over an object that exists in a different workspace to the one you are currently in, a pop-up will appear.
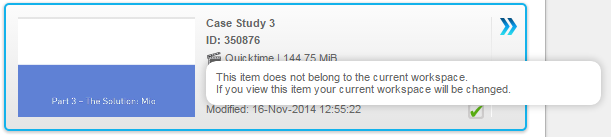
-
If you click on this object, you will be presented with a pop-up window asking whether you would like to switch workspaces in order to see the details of this object. If you click Continue, the workspace will be switched and the details for the object will be displayed.