Accounts
An account represents the highest level of scoping for Dalet Flex objects, and nothing can be accessed outside an account. An account is normally assigned to a company or business unit. It can consist of sub-accounts, groups, roles, workspaces, and users. Object visibility is currently set at the account level.
Most customisation of Dalet Flex occurs at the account level. The following properties can be set and viewed at account level:
- Dalet Flex Console URL: Typically the account name (with character escaping where necessary) pre-pended to the main Dalet Flex console domain, for example: account.ooyalaflex.com
- Root Account: The person who owns all the accounts/sub-accounts and also administers and manages the entire account.
- Metadata: Custom fields for managing basic account details.
- Members: A collection of users that belong to this account.
- Sub-Accounts: A collection of sub-accounts that belong to this account.
- Groups: A collection of groups that belong to this account.
- Roles: A collection of roles that belong to this account.
- Variants: Can be used to customise existing object types.
- Properties: Supports the advanced configuration of Dalet Flex at the account level and also environmental variables.
- Theme: The branding, look and feel of an account.
The Root Account
The Root Account is created when a new Dalet Flex platform is installed. The root account owns all other accounts, and is only accessed by the super user. A root account is primarily used for setting up other accounts, as well as system-wide configuration.The root account is immutable and always exists.
There are two types of accounts that can be created with the root account.
- Account
- Sub-Account
Creating an Account
-
Log in in as super user (also known as Owner) the owner of the account that will be making the new account or sub-account.
-
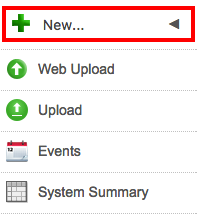
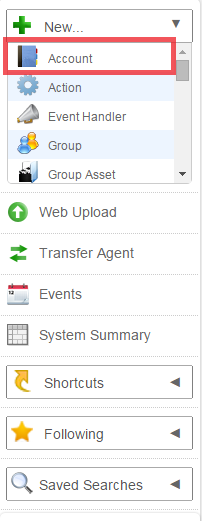
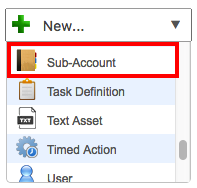
On the Toolbar, click New and select Account from the drop down menu.
-
From the drop down, select Account.
-
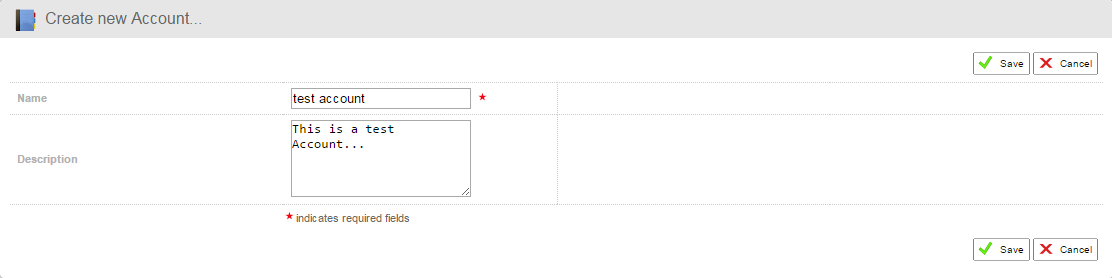
In the Create new Account section, fill in a name and an optional description.
-
Click Save to finalise.
-
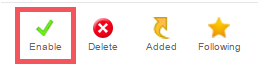
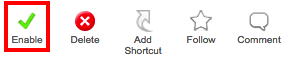
Click Enable to enable the account.
-
Set up any properties for your new account. In particular, obtain and apply URLs.
Creating a Sub-Account
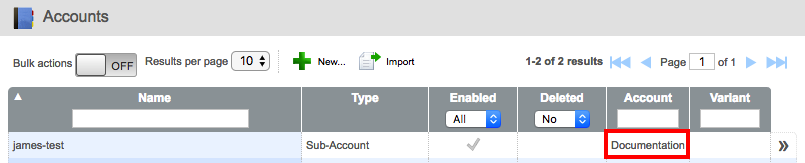
A sub-account represents an account that belongs to an existing account. Sub-accounts are useful, for example, when an account that belongs to a single company needs to be split up into multiple business units with self-administration. An account can access all of the objects that belong to its sub-accounts.
To create a sub-account, follow these steps:
Make sure you are logged into the account, in which you want to create the sub-account.
-
On the Toolbar, click New.
-
From the drop down, select Sub-Account.
-
In the Create New Sub-account section, fill in the name and an optional description.

-
Click Save to finalise.
-
Click Enable.
-
Once the sub-account is enabled, it is automatically available as a sub-account of the account you are in.
Account Metadata
When you have created your account, you can apply metadata to that account by clicking the Metadata sub-tab, which is located in the account details screen.

When you click the Metadata sub-tab, several metadata fields are displayed. These fields deal with publish functionality, authentication, and analytics configuration for the account.
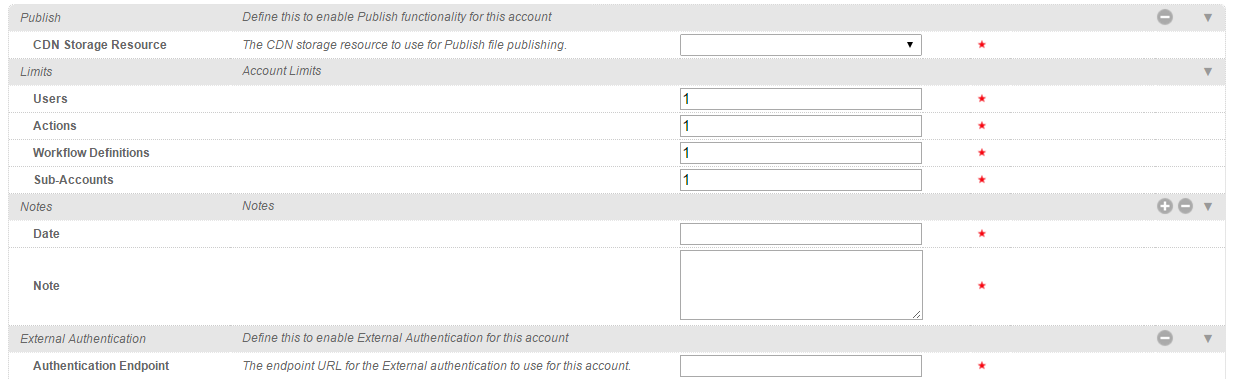
The following metadata fields are present for accounts:
| Field | Field Type | Mandatory | Multiplicity | Description |
|---|---|---|---|---|
| Publish | complex |  |
0..1 | Define this to enable Publish functionality for this account. |
| CDN Storage Resource | single option |  |
The CDN storage resource to use for Publish file publishing. | |
| Limits | complex | |
Account limits. | |
| Users | string | |
Maximum number of users allowed in the account. | |
| Actions | string | |
Maximum number of actions allowed in the account. | |
| Workflow Definitions | string | |
Maximum number of workflow definitions allowed in the account. | |
| Sub-Accounts | string | |
Maximum number of sub-accounts allowed in the account. | |
| Notes | complex | |
0..* | Notes |
| Date | string | |
The date on which the note was written. | |
| Note | string | |
The note. | |
| External Authentication | complex | |
0..1 | Define this to enable external authentication for this account. |
| Authentication Endpoint | string | |
The endpoint URL for the external authentication to use for this account. | |
| Default Role | single option | |
Role to be assigned to new user. | |
| Default Workspace | single option | |
The default workspace for the new user. | |
| Workspace Membership | single option | |
0..1 | The workspaces for the new user. |
| Default Timezone | string | |
The default timezone for the new user. | |
| Default Country Code | string | |
The default country code for the new user. Example: “en” (English), “ja” (Japanese), “us” (United States). | |
| Default Owner | single option | |
Owner to be assigned to new user. | |
| Authentication Provider | single option | |
Authentication provider. | |
| SAML Configuration | complex | |
0..* | Define this to enable SAML authentication for this account. |
| SAML IDP Display Name | string | |
SAML Identity Provider name to be used in login forms. | |
| SAML IDP metadata URL | string | |
SAML Identity Provider URL to retrieve metadata. | |
| Authentication | complex | |
Definition of the authentication features and constraints. | |
| Lock Minutes | string | |
Define the lock time that should pass to unlock the account after several failed attempts to log in (#). | |
| Maximum number of failed attempts | string | |
Define the maximum number of failed attempts before lock the user (#). | |
| Maximum number of forced attempts | string | |
Define the total number of failed login attempts before the user’s account is disabled. (#). | |
| Password | complex | |
Definition of the password constraints. | |
| Days to expire | string | |
Amount of days a password expires after been defined (#). | |
| Maximum password length | string | |
The maximum amount of characters that the password should contains (#). | |
| Minimum password length | string | |
The minimum amount of characters that the password should contains (#). | |
| Type of Password Validation | single option | |
Define the mechanism used to validate the password. | |
| Validation Types | complex | |
Definition of the password constraints. | |
| Type of Sequence | boolean | |
Type of sequence allowed to use in the password. | |
| Regular Expression | string | |
Regular expression to define the allowed characters on the password. | |
| Custom Configuration | boolean | |
Set of custom configuration available on the password validation process. | |
| Analytics configuration | complex | |
Definition of the authentication features and constraints. | |
| Web analytics collector URL | string | |
The endpoint URL for the Publish instance to use for sending events. | |
| Publish Token | complex | |
Token created in Publish to increase security. | |
| Keyframe Storage | complex | |
0..1 | Required to configure where Keyframe images for this account will be stored |
| Keyframe Storage Resource | single option | |
The Keyframe storage resource to use for storing Keyframe images. |
Switching Accounts
-
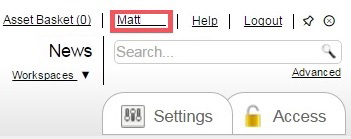
In the Dashboard tab, click your name located in the top-right corner of the screen.
-
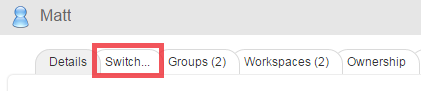
In the User Details section, click the Switch tab.
-
In the Switch to Account field, select an account from the drop down.

-
In the Workspace field, select a workspace.

-
Click Go.

Adjusting the Theme
Once an account has been created, you can continue configuring it using the various sub-tabs located in the Details screen for the account. One of the most useful sub-tabs is the Theme sub-tab. This tab allows you to customise the Dalet Flex console, so that it matches your organisation’s look and feel

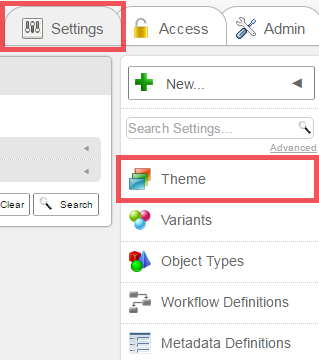
Alternatively, click the Settings tab, and then select the Theme option from the toolbar.
To adjust the theme of your account:
- In the details screen for the account you wish to edit, click Edit.
- Click the Theme sub-tab, and click the Edit option.
- You can adjust the following areas:
-
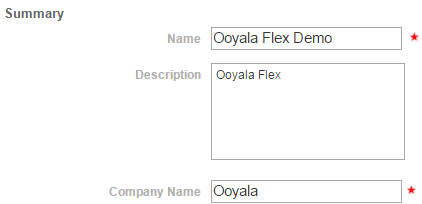
Summary: Name, Description, and Company Name fields.
- You can change the summary text by deleting the default text, and then entering new text. The Name and Company Name fields are mandatory, and must be filled in.
- You can change the summary text by deleting the default text, and then entering new text. The Name and Company Name fields are mandatory, and must be filled in.
-
Links: Logo URL, Header Link URL, and Help Link URL.
- You can change the links for the various fields by entering a valid URL.

- You can change the links for the various fields by entering a valid URL.
-
Colors: Header Text, Header Background, Tabbed Navigation, Table Header Background etc.
- Change the color for a particular area of Dalet Flex by simply selecting the color from the colour picker, or entering a hexadecimal colour code.
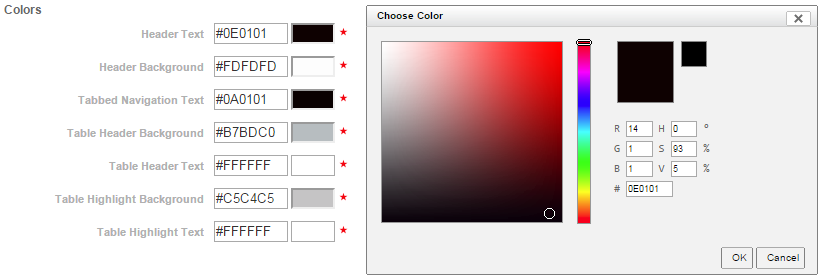
- Change the color for a particular area of Dalet Flex by simply selecting the color from the colour picker, or entering a hexadecimal colour code.
-
Images: Login Logo, Main Logo, Client Splash Logo, Bookmark Icon, Client Logo
- To add an image simply click the Choose File button next to the respective field, and select the image file.
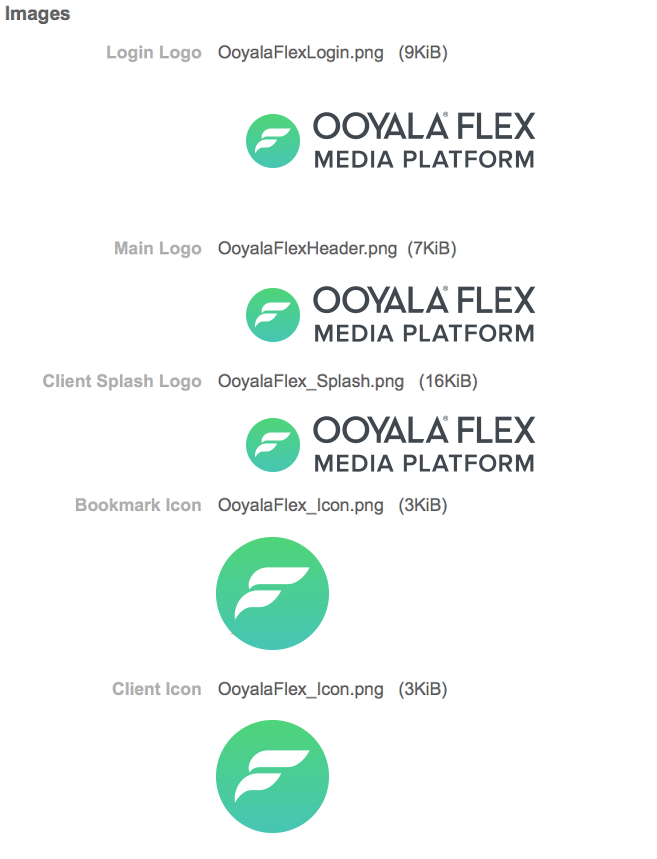
- To add an image simply click the Choose File button next to the respective field, and select the image file.