Adding Timeline Markers
You can post a timeline marker against one or more frames in a video. This is achieved by specifying in and out points. When a marker is added to a timeline, you can fill in metadata, so that other users can see information about the marker.
To add a marker, follow these steps:
-
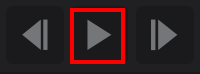
In the Manage Asset screen, start playing the video.
-
When you reach the point in the video, where the marker begins, click the Set In
 icon.
icon. -
The in point is created, represented by an orange line. By default, the out point is at the end of the timeline.

-
When you reach the point in the video where the marker ends, click the Set Out
 icon.
icon. -
The range between the in and out points is indicated by the orange line.

-
Click the Mark with Metadata
 icon.
icon. -
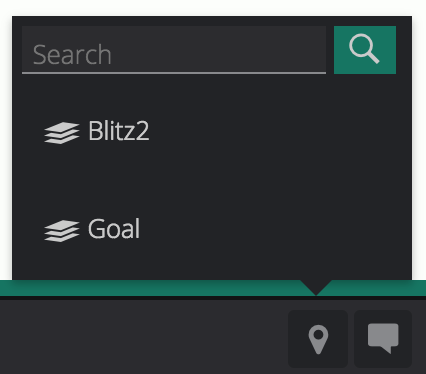
From the menu, select a timeline.
-
In the right-hand panel, fill in the metadata fields.

-
Click Save
 .
. -
The range of frames associated is marked on the timeline.
Adding Markers in Full Screen View
You can add timeline markers while you are in full screen mode. To enter full screen mode, click  .
.