User Groups
User groups are used to segregate users within an account, sub-account, or the root account for the purposes of:
- Assigning event notifications
- Assigning tasks
- Metadata field access
Most importantly, a user group represents a collection of users that share a specific task. Typically a task is assigned to a user group.
The following properties can be viewed at user group level:
- Owner: Typically the person that created the user in the system.
- Members: A collection of users that belong to this user group. (A user can belong to more than one group)
- Account: The account that the user group belongs to.
| Property | Support | Explanation |
|---|---|---|
| Scope | account, user | The scoping of this object |
| Visibility |  |
Whether the object supports visibility |
| Plugins | |
Supports plugins |
| Extended Config. | |
Whether the object has an extended configuration tab |
| Scripting | |
Whether the object can be configured using scripting |
| Enable / Disable | |
Whether the object can be enabled and disabled |
| Start / Stop | |
Whether the object can be started and stopped |
| Copy | |
Whether the object can be copied |
| Export / Import | |
Whether the object can be exported and imported |
| Delete | |
Whether the object can be deleted |
| Unique Name | |
Whether the object name must be unique within its scope |
| Variants | |
Whether the object supports variants |
Creating User Groups
-
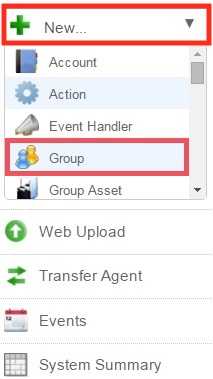
On the toolbar, click New and select Group from the drop down menu.
-
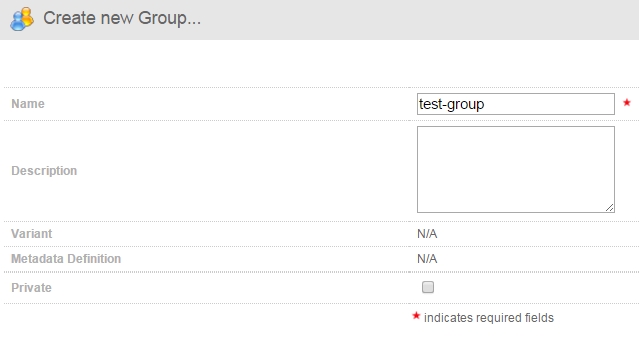
In the Create a new Group… screen, enter the details for your new group.
-
If you want to make the group private, check the Private checkbox.

-
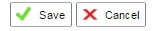
Once you are happy with your settings, click Save.
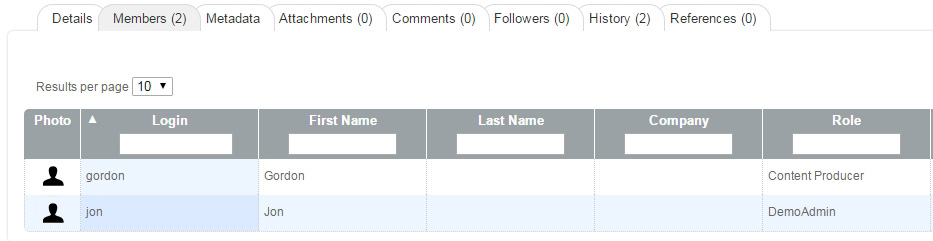
Adding members to the Group
-
In the Group Details screen, click the Members sub-tab.

-
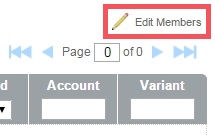
In the Members sub-tab, click the Edit Members option.
-
To add a member, select a user from the Non-Members box, and click the Arrows icon.
-
The user will then be added to the Members box.
-
When you have finished adding members to the group, click Save to finalise.
-
Now, when you click on the Members sub-tab, you will see all the members you have added to the group.
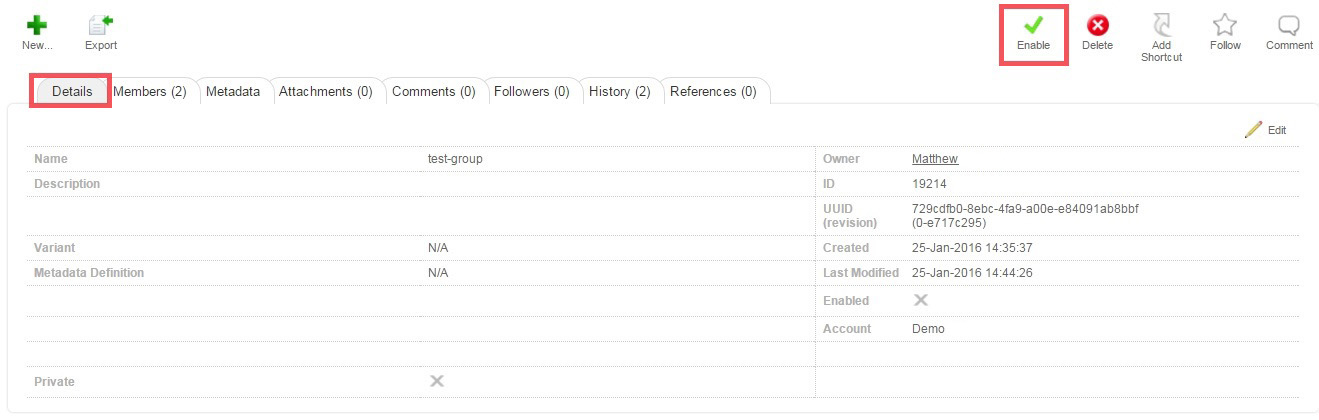
Enabling a Group
To enable a group, navigate to the Group Details screen, and click the Enable option.