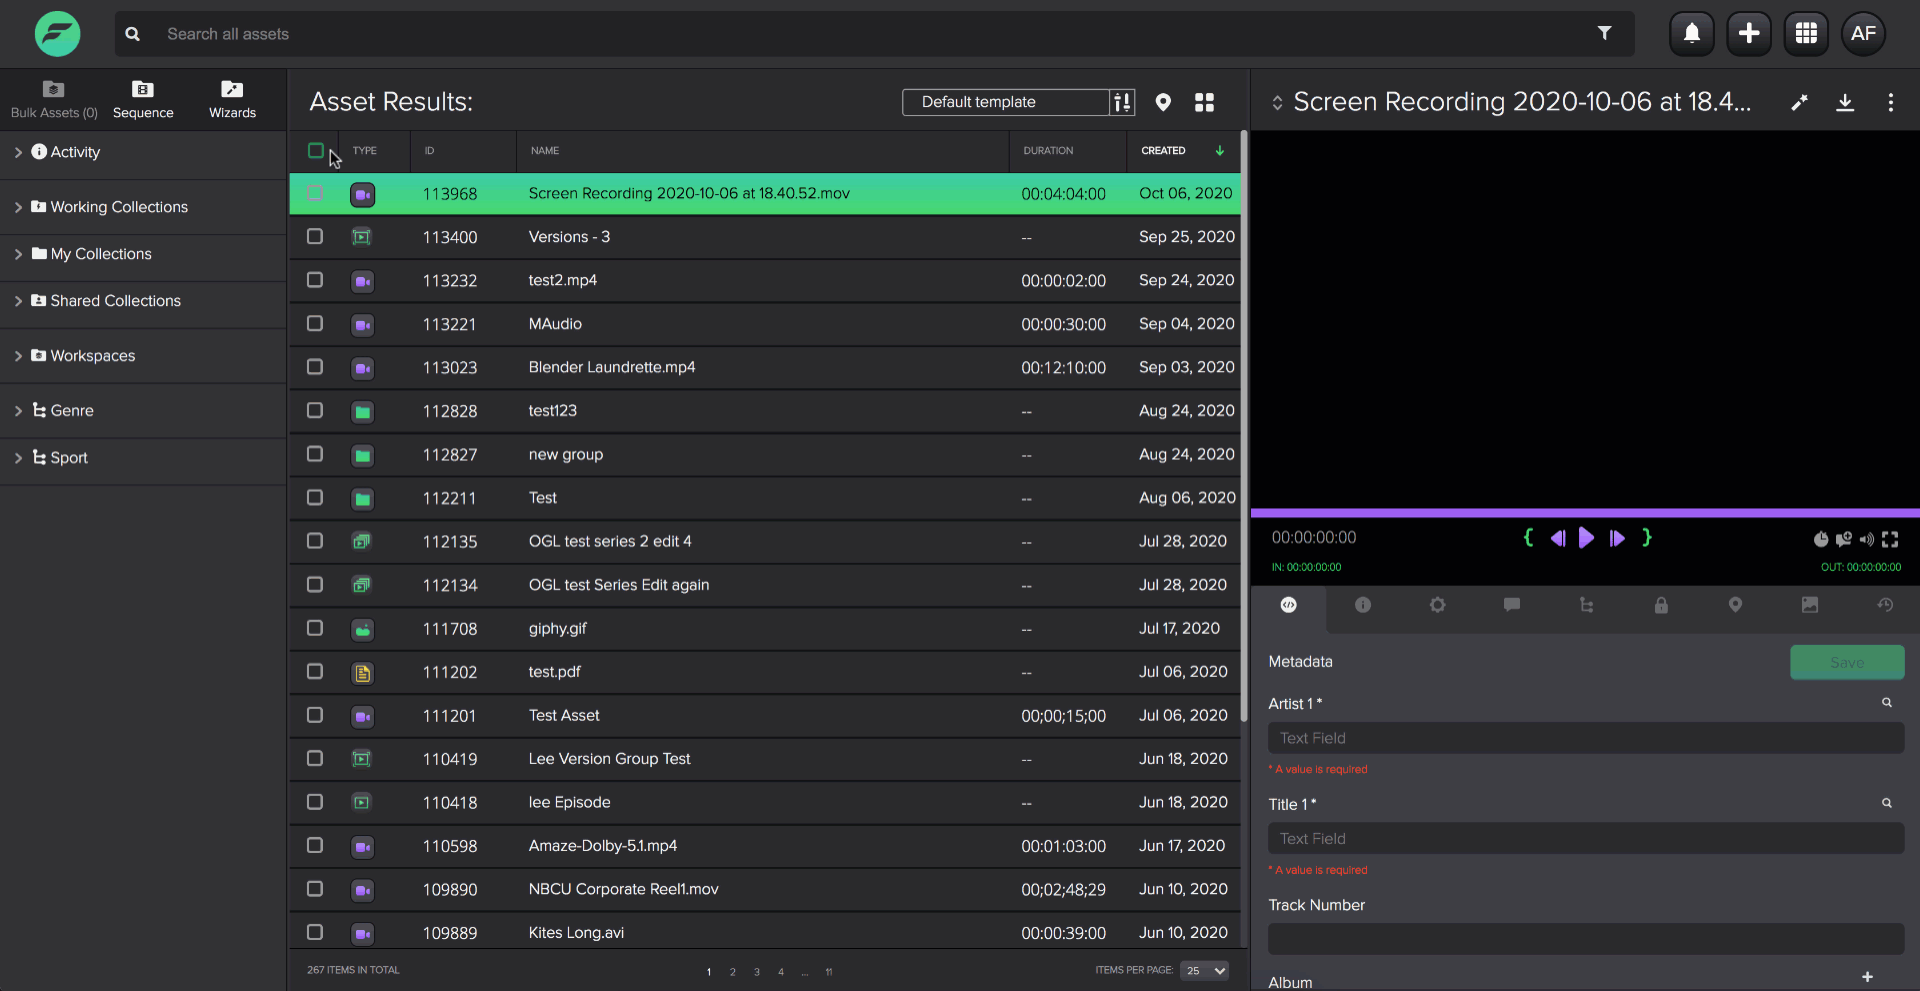
Asset Types
Asset types in FlexMAM include Video, Audio, Image, Document and Live assets, as well as User Defined Objects (UDOs), asset Placeholders, Groups, and Packages.
Managing UDOs
User Defined Objects or UDOs, are slightly different to other asset types in the way that they can be managed. Different UDO types can be configured in Flex Core. Find out more about User Defined Objects here.
To create a root UDO:
- Click the
 button at the right of the header.
 - Select the type of UDO you want to create. This depends upon the types of UDOs preconfigured in Flex Core. For example, you may have configured UDOs for TV series, or music albums.
- In the pop up, enter a name and select a type from the TYPE drop down menu.
- Click Next.
- You can add metadata to your UDO if you wish, or skip this step and add metadata at a later time.
- Click Save and you should be able to see your new root UDO in your asset list, and create children within your root UDO.
To create a child UDO:
- Double click the UDO for which you want to create a new child.
- In the UDO hierarchy, click the which appears on hover.
- In the pop up window, enter a name for your new child UDO.
- Click Next, and your UDO will be created.
To view your custom panel tab:
A custom panel can be found in the tab labeled  . This panel will display a preconfigured custom page relevant to the specific UDO. Please contact your administrator or Dalet representative for more information regarding this feature.
To expand a UDO:
You can expand a UDO hierarchy by double clicking it. Once you have done this, you can see it its child folders and assets, e.g. different series of a show.
To pin a UDO:
You can pin a UDO or any child folder of a UDO for easy access by clicking ![]() . Any pinned UDOs will display in a Pinned section on the left folder navigation.
. Any pinned UDOs will display in a Pinned section on the left folder navigation.
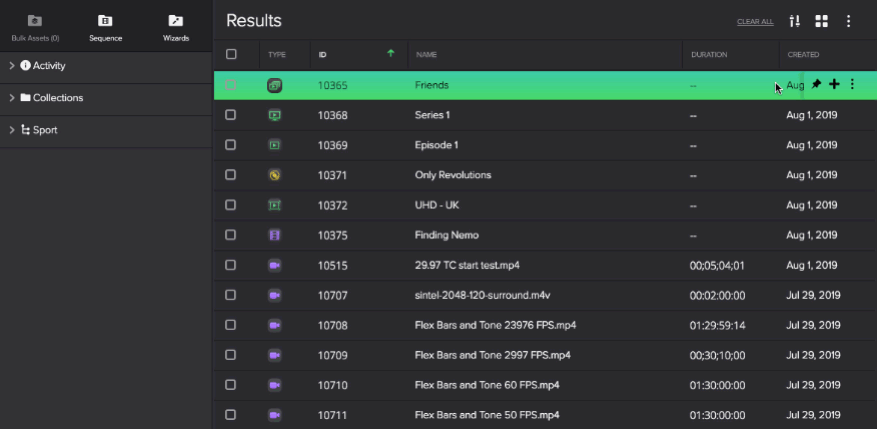
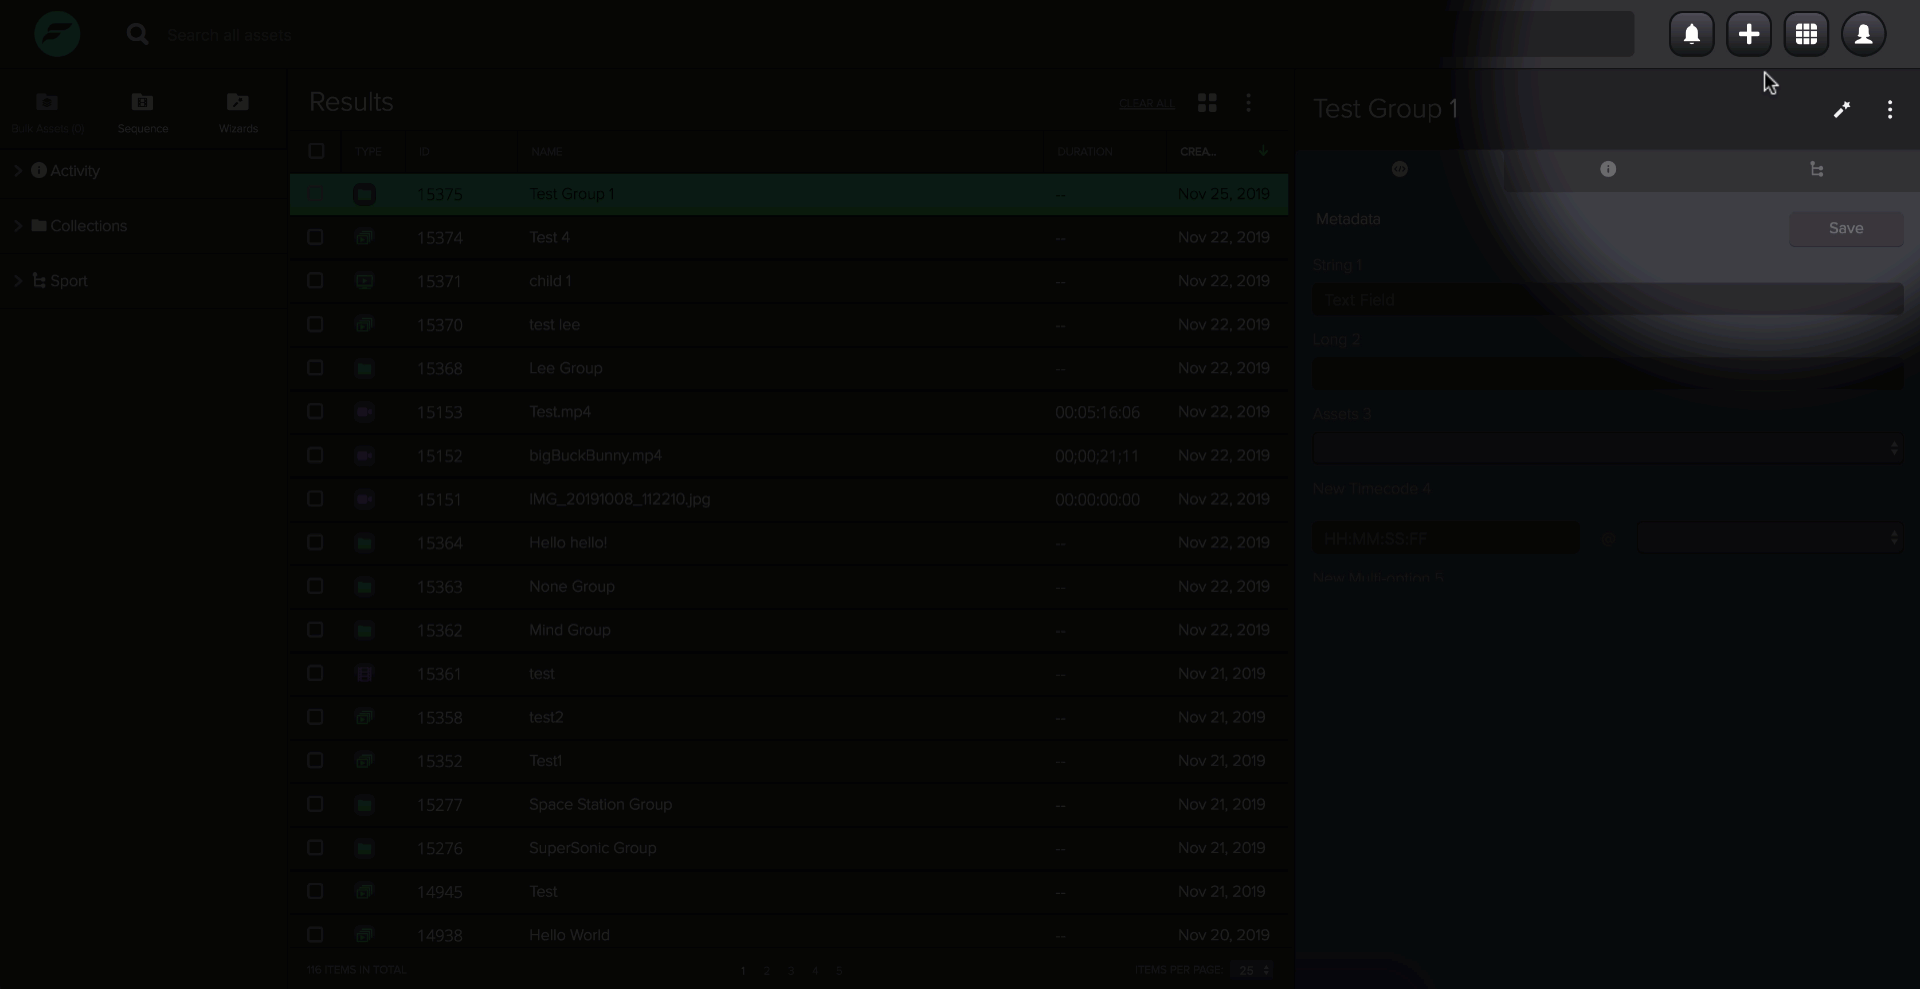
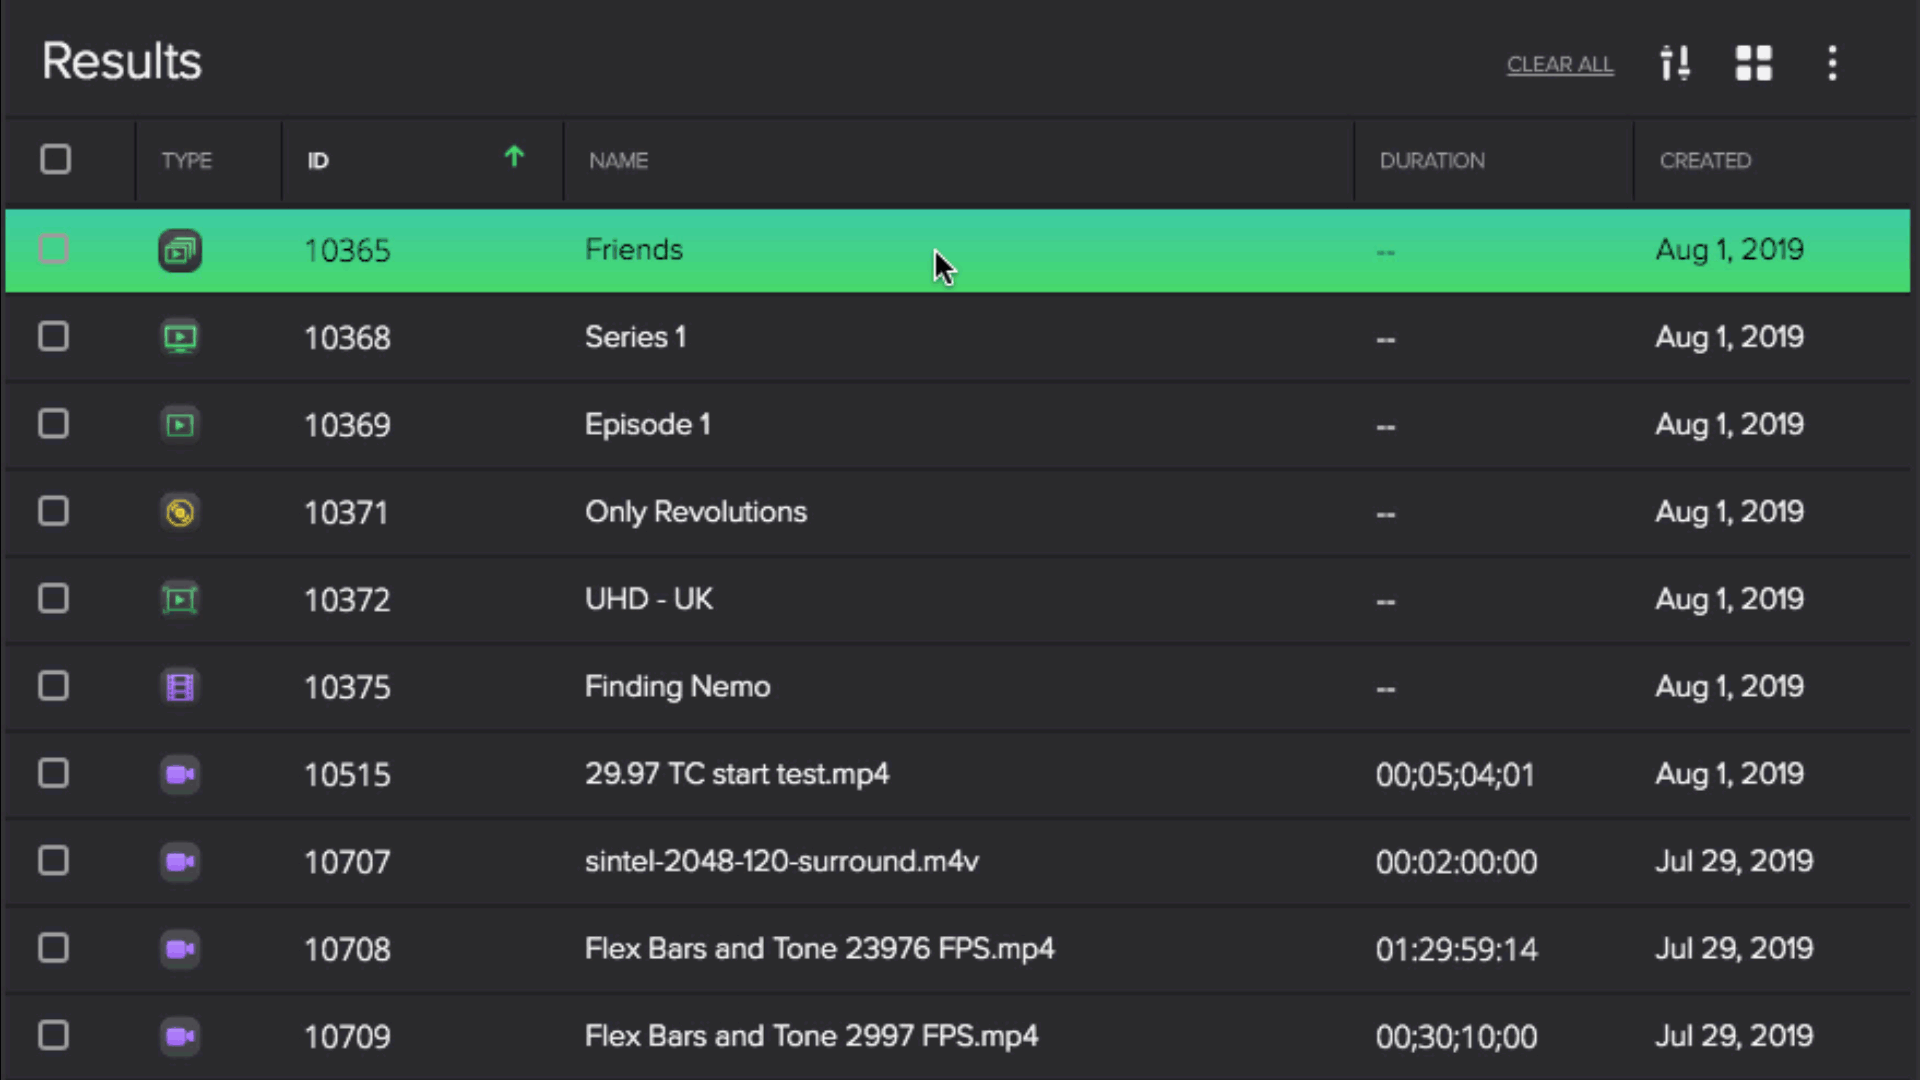
Managing Groups
Groups are only used in very specific circumstances and may not be relevant to all use cases. An example may be that you to create a Group to bundle a film trilogy together. Learn more about the Groups plugin here and how they behaved in the old MAM here.
You can access a the contents of a Group by double clicking it.
To create a group:
- Click the button at the right of the header.
- Select Group.
- In the pop up window, enter a Name for your group.
- Select a Type and Workspace.
- Click Save.
To add assets to a group:
- Pin your group by clicking the
 that appears when you hover over it.
 - Once pinned, your group will appear in the left panel.
- You can now drag and drop assets into the group.
To manage your group:
- Click once on a group.
- The panel on the left will display the metadata, information, and relationship tabs of the group.
- You can click on each tab to view and edit metadata, view information, and view the children and memberships of your group.
To open and view the content of a group asset
- Double click a group asset to view its contents.
- You can now preview any of the contained assets via their respective summary panel.
To perform actions on your group asset
Once you have double clicked on a group asset, you will see the following icons on the top right of you asset list:
- : Click this icon to pin your group
 : Click this icon to perform a wizard on your group
 : Click this icon to view information about your group
 : Click this icon to view and perform additional actions on your group.
Managing Package Assets
You can view and manage package assets in FlexMAM. Package Assets are not unlike Groups, meaning that it contains more than one file, but is presented as a single unit. In FlexMAM, you will be able to expand the package and view its contents, but it will remain a single package and will be managed as one.
In FlexMAM, packages are identified with this icon 
Clicking on a package asset will select it and open the right panel and tabs in the same way as any other asset. You can then double click to expand and view the files within your package.
Using Placeholders
Placeholders can be created before assets are ingested so that you can manage the asset beforehand, such as create metadata for the asset.
To create a placeholder:
-
- Click the button at the right of the header.
- Click the
- Click the placeholder icon.
- In the Create placeholder pop up, select either video or image for your Placeholder Type, depending on the type of asset you will later import.
- If you selected video, you will also be prompted to select a type from the drop down menu. Learn more about types here.
- Select a Workspace.
- Click Save.