Using Metadata Definitions
Searching for Existing Definitions
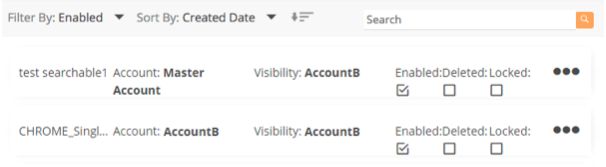
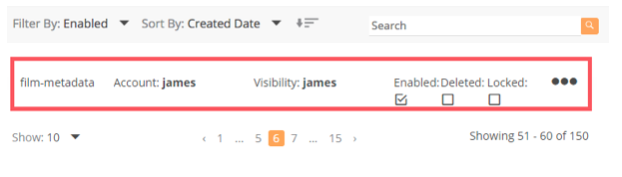
You can search through existing metadata definitions using the search bar located above the list of existing definitions.
To use search for a definition:
-
Click inside the search bar, which is located in the top right of the list of metadata definitions.
-
Enter an existing metadata definition.

-
The list will then filter down to metadata definitions that contain that specific name.
Filtering
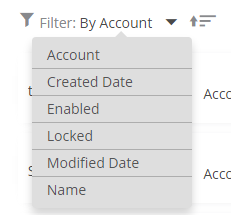
You can use the following filters to narrow down the list of existing metadata definitions:
- Account
- Created Date
- Enabled
- Locked
- Modified Date
- Name
Using Configuration Tabs
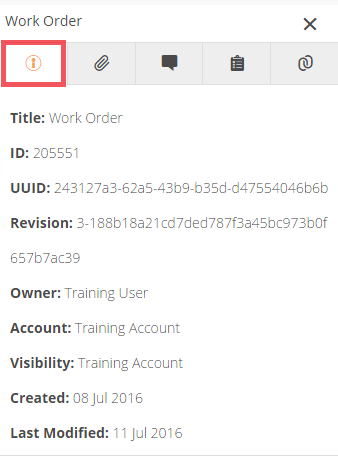
When you click on an existing metadata definition from the list, a configuration panel will appear on the right-hand side of the screen. This panel has various tabs, which can help you view information about your metadata definition, as well as perform certain actions against them.

The tabs are as follows:
-
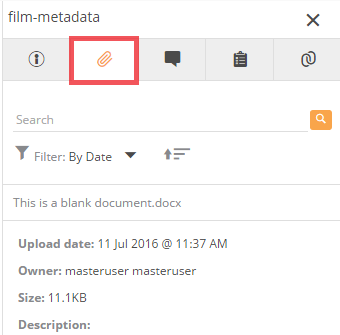
Information tab: This shows you information about your metadata definition, such as the title of the definition, ID, UUID, the owner, the Account it was created in, the visibility, creation date, and when it was last modified.
-
Attachment tab: This enables you to attach a file to the metadata definition, such as a document. It will also list any existing attachments in this tab.
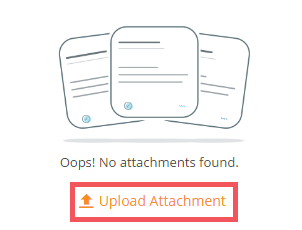
To upload an attachment:
-
Click Upload Attachment.
-
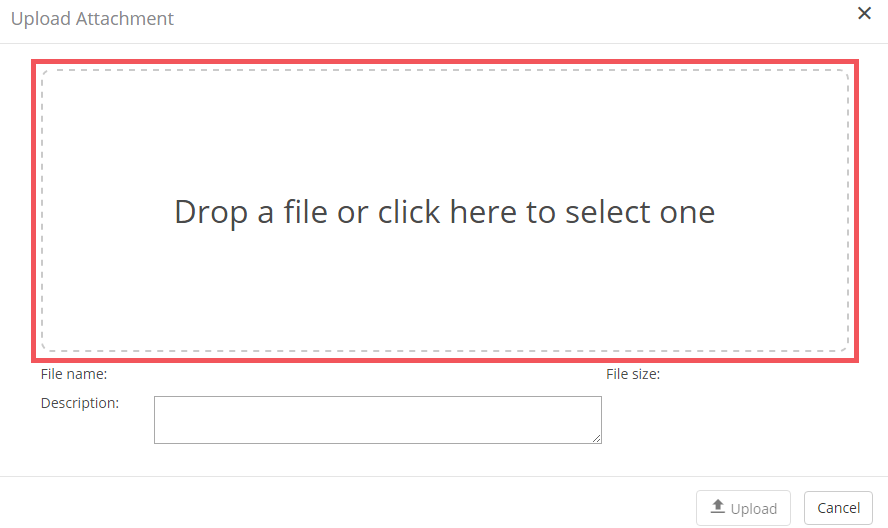
In the Upload Attachment pop-up, either drag the file into the upload area, or click inside the upload area to manually browse to the file.
-
Click Upload, and the file is attached to the metadata definition.
-
Comments tab: This enables you to post a comment against your metadata definition.
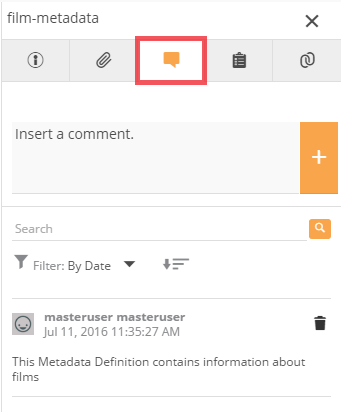
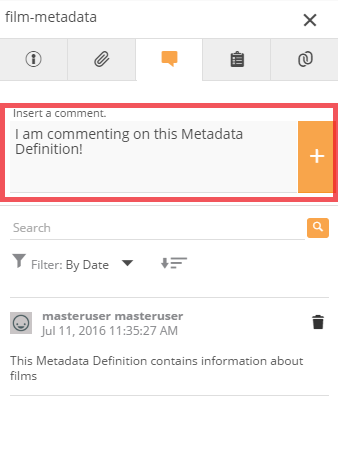
To post a comment against a metadata definition:
-
In the Insert a comment box, enter your comment.
-
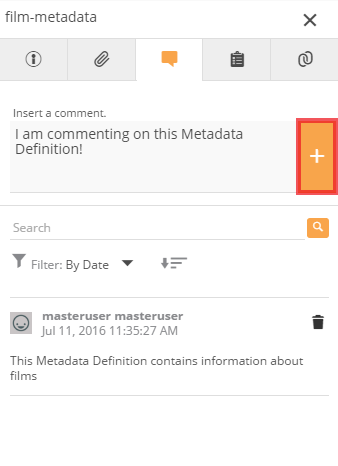
Click the + icon.
-
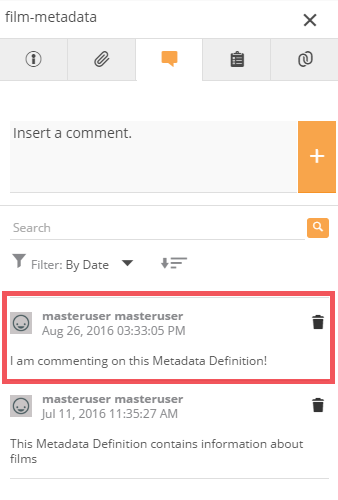
Your comment is posted below.
-
You can change the order in which the comments are displayed by clicking the Ascending / Descending icon. By clicking this icon, the comments will be displayed in either ascending order or descending order.

-
If you have a very long list of comments, and you need to locate a specific comment, you can enter a keyword or phrase associated with the comment. When you click the search icon, that comment will appear below.

-
You can also filter through the list of comments by date and user.

-
-
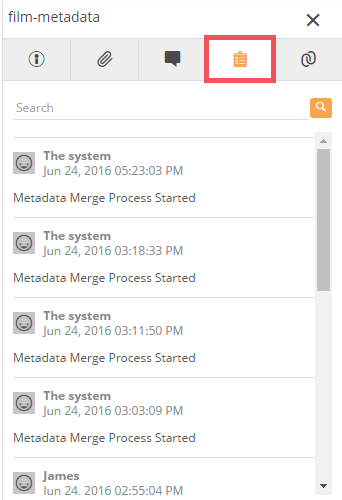
History tab: This lets you view the history of your metadata definition.
-
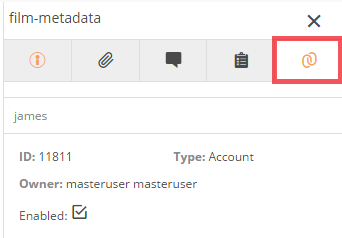
References tab: This shows you all the objects that are referenced by your metadata definition. For example any variants.
- To close the Configuration tabs panel, click the Close icon.
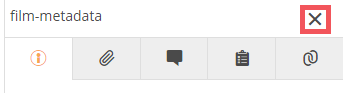
- To close the Configuration tabs panel, click the Close icon.
Performing Actions
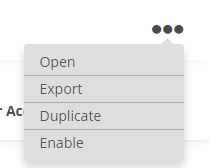
You can perform actions against existing metadata definitions, such as opening, exporting, duplicating, and enabling a metadata definition.
-
Hover over an existing metadata definition in the list, and click the ellipsis.

-
From the drop down menu, select one of the options, in order to perform the action.
Validating and Saving
Your metadata definition is automatically validated as you add and configure your fields. Every field that is added to the canvas must have a valid name and display name. The following rules apply:
- Both name and display name are mandatory.
- If a field has already been saved, the name will no longer be editable. It will be greyed out.
- The field name and display name cannot be more than 50 characters each in length
- The field name can only comprise lower case letters, numbers and hyphens. For example, “a-field-name”
- The field name must be unique within the current metadata definition.
When you save a metadata definition, Flex will find all related metadata instances and update the model. This is known as a metadata merge. As a result of this, the save process could take some time to complete. This is also the reason why if you try and save a metadata definition that already exists, you will be presented with a pop-up dialogue asking you to confirm that you wish to proceed with a merge that may result in the loss of data.