Timed Actions
Timed actions are used by Dalet Flex to carry out work at regular intervals. A timed action is a special type of action that can only be run at a pre-configured time. Once the timed actions are configured and started, Dalet Flex’s internal job scheduler runs the timed action at the intervals specified.
Types of Timed actions
There are two types of timed actions available in Dalet Flex’s various toolbars:
- Synchronous: These are actions that run immediately.
- Asynchronous: These run a background job against a Dalet Flex action.
Background Jobs
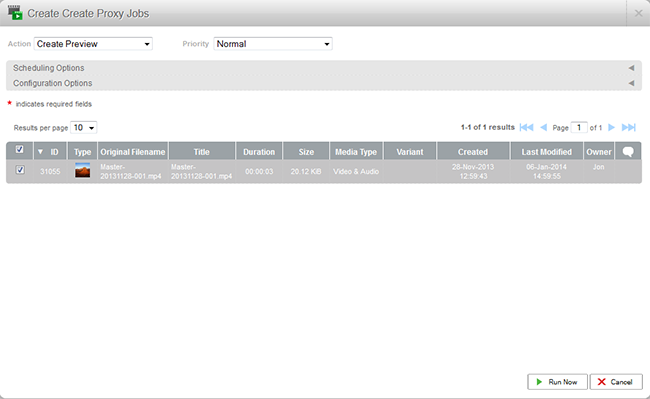
Background jobs are used to run long-running work in the background. Typically any actions related to assets (transcode, export, and so on) result in the creation of a background job. When this type of action is selected, the user will be directed to a pop-up where they can schedule and configure their job. Once scheduled, the newly created job can be monitored via the Jobs tab.
Timed Action Object Properties
| Property | Support | Explanation |
|---|---|---|
| Scope | Account | The scoping of this object |
| Visibility |  |
Whether the object supports visibility |
| Plugins |  |
Supports plugins |
| Extended Config. | |
Whether the object has an extended configuration tab |
| Scripting | |
Whether the object can be configured using scripting |
| Enable / Disable | |
Whether the object can be enabled and disabled |
| Start / Stop | |
Whether the object can be started and stopped |
| Copy | |
Whether the object can be copied |
| Export / Import | |
Whether the object can be exported and imported |
| Delete | |
Whether the object can be deleted |
| Unique Name | |
Whether the object name must be unique within its scope |
| Variants | |
Whether the object supports variants |
Creating a New Timed Action
-
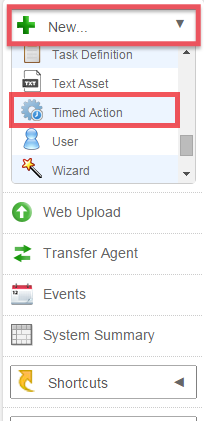
On the toolbar, click the New option and select Timed Action from the drop down menu.
-
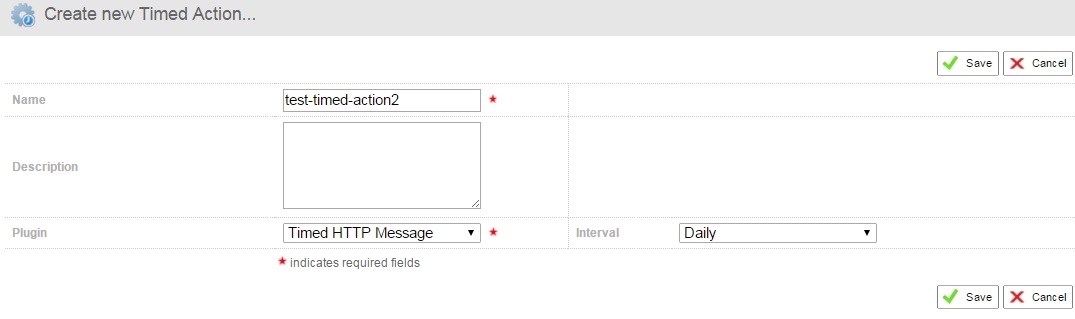
In the Create new Timed Action section, fill in the relevant details such as a name, plugin (e.g. HTTP Timed Message), interval, and so on. If you wanted the action to run once every day, you would select the Daily option from the Interval drop down. In this example, we will create an HTTP message timed action, so that we will select the timed HTTP message plugin. With this plugin, you can create a timed action that sends out a message if a certain event occurs. For example, you could create a timed action that sends out a message to a specific user if there are failed workflows.
-
Once you’ve created your timed action, click the Configuration tab, and then click the Edit link to define the values that you wish to assign to your new timed action.
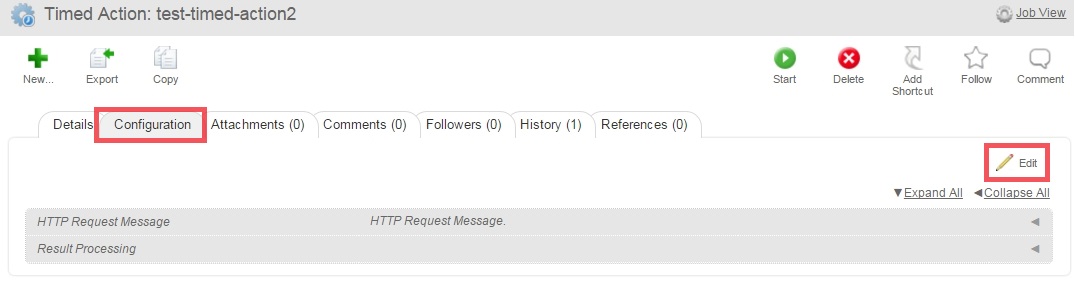
-
In this example, you will see the configuration options specific to the HTTP timed message action. The configuration options will differ depending on which plugin you select. So for the HTTP timed message action, you will see fields for URL, Request Type, Headers, and so on, in the HTTP Request Message section. Some timed actions do not support configuration.
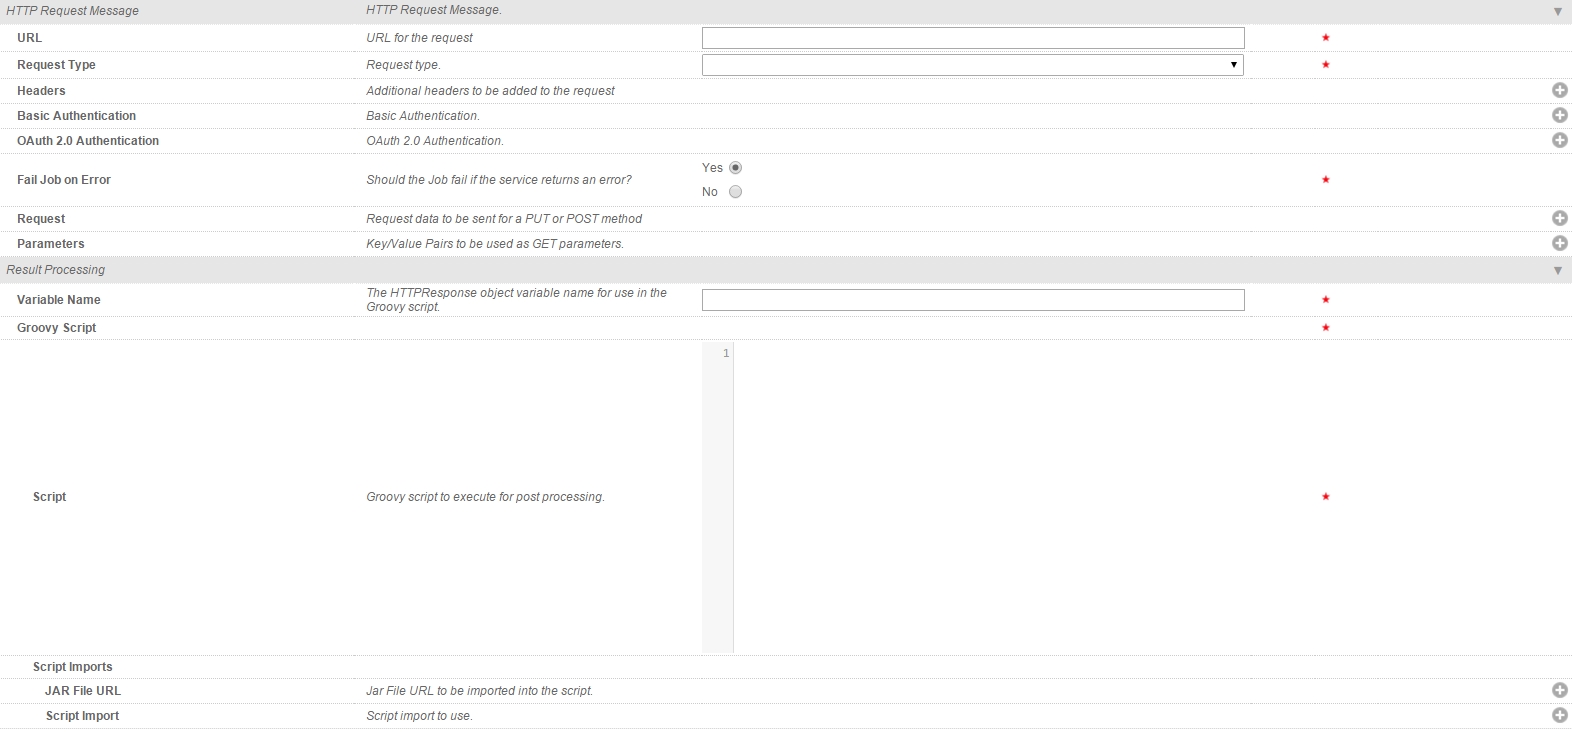
-
Once you have entered the configuration details for your timed action, click Save to finalise.
-
Once you have set up your timed action, click the Start option, to start your timed action.