Timeline Configuration
You must configure a timeline in the Metadata Designer before you can use it in MAM. Once a timeline has been configured in the Metadata Designer, it will appear in MAM.
To configure a timeline, you must do the following:
- Create a Type
- Create Metadata for the Timeline
- Create a Timeline
Creating a Type
To create a type:
-
In the Metadata Designer, on the left-hand toolbar, select the
 option.
 -
On the canvas, click the
 icon.
icon. -
In the Create Type pop-up, enter the details for the type:
- Name: enter a name
- Object Type: select Clip, Media Asset, or Segmented Asset from the drop down menu.
- Metadata Schema: optionally, you can associate an existing metadata definition with the type if required.
- Default Type: tick the checkbox to make this type the default
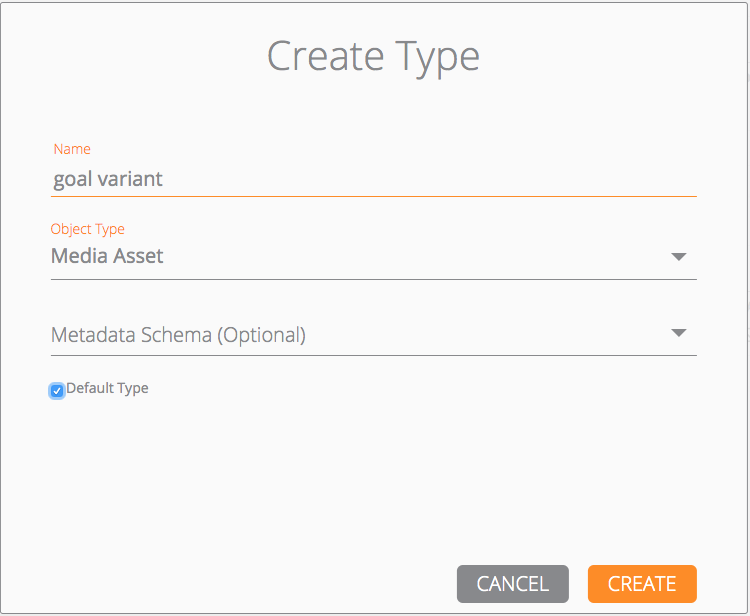
- Click Create.
Creating Metadata for the timeline
The metadata you are creating here will be associated with a marker on the timeline. For example, if you wanted to place a marker on the timeline every time a goal is scored, you would populate this metadata schema with fields that describe the goal.
To create timeline metadata:
- In the Dalet Flex console, on the toolbar, click New and then Metadata Definition.
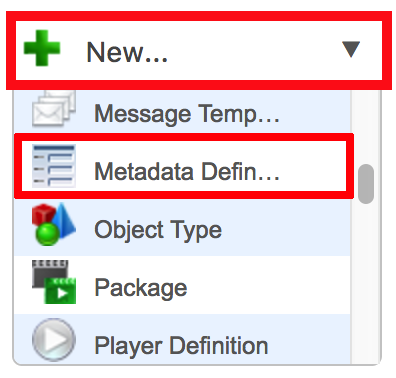
- This will launch the Metadata Designer.

- In the Name field, enter a name for the definition.
- In the Visibility field, select the accounts, sub-accounts, and groups that will be able to access this metadata definition.
- In the Description field, enter an optional description.
- On the metadata canvas, find String in the Primitives drop down.
- Drag and drop them to the canvas and configure the metadata fields.
- Click the Save icon.

- Select the Enable checkbox.
To create a timeline:
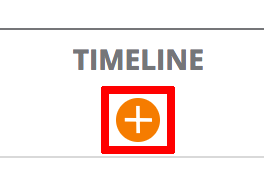
- On the Type screen, select the + icon, located under the Timeline heading.
- In the Create Timeline pop-up, enter the details for the timeline.
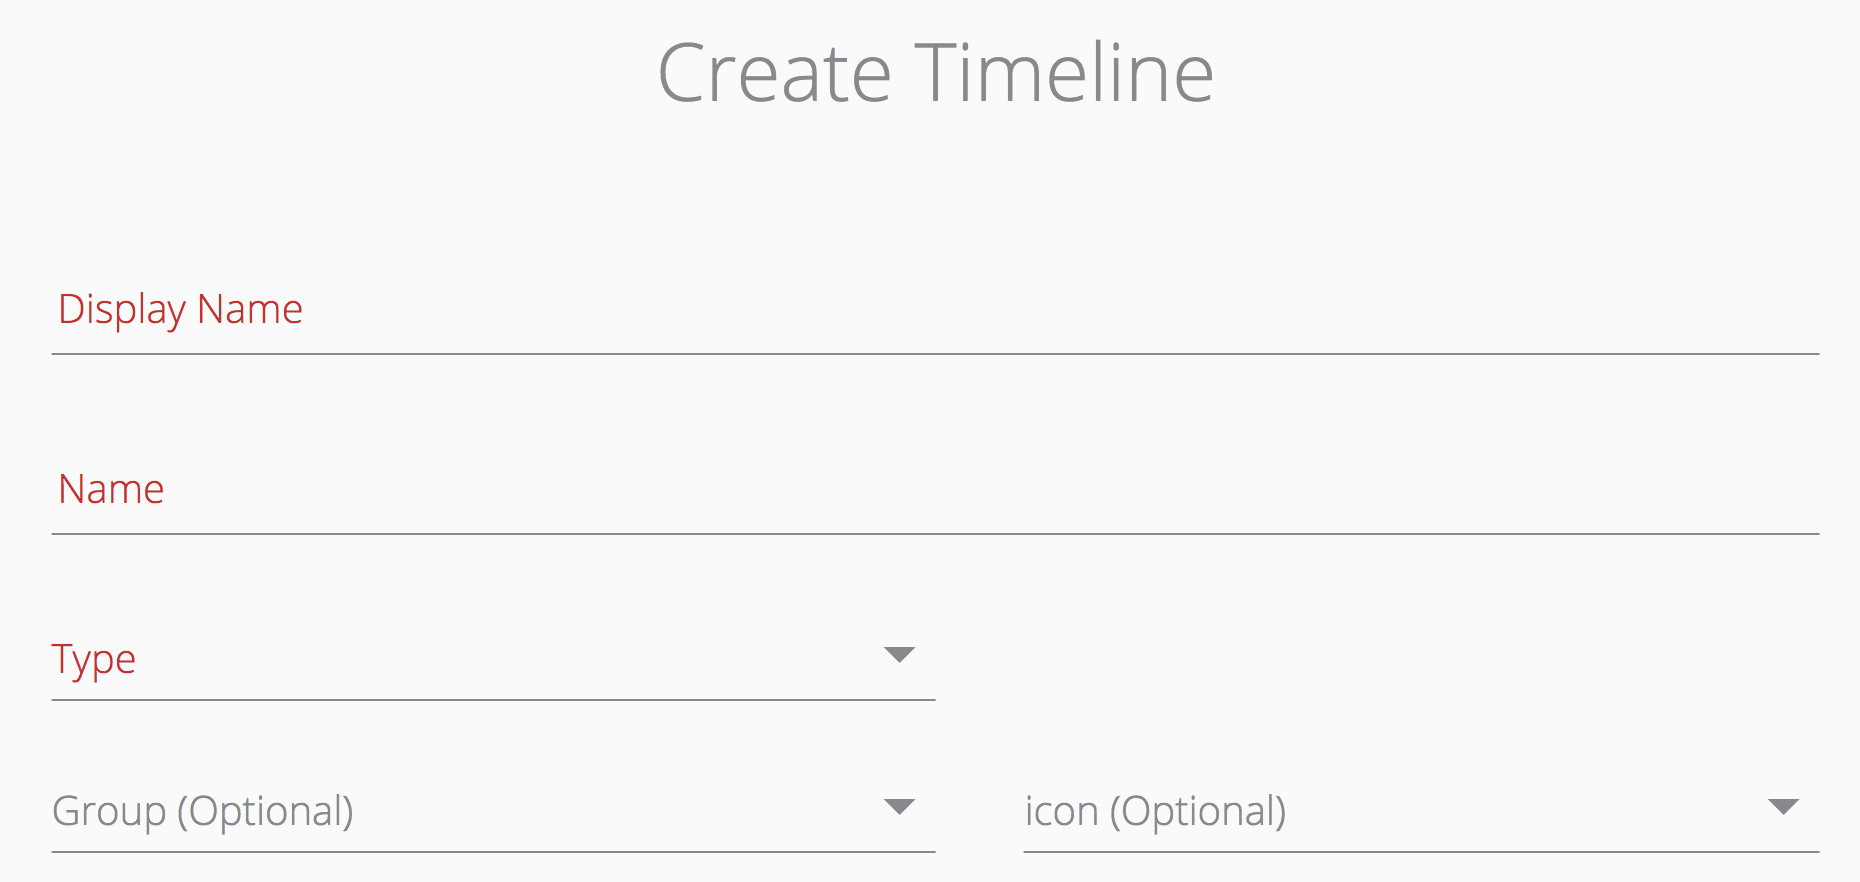
- In the Display Name field, enter a display name.
- When you enter a display name, the Name field is automatically populated to match the Display Name field. This can be changed if needed.
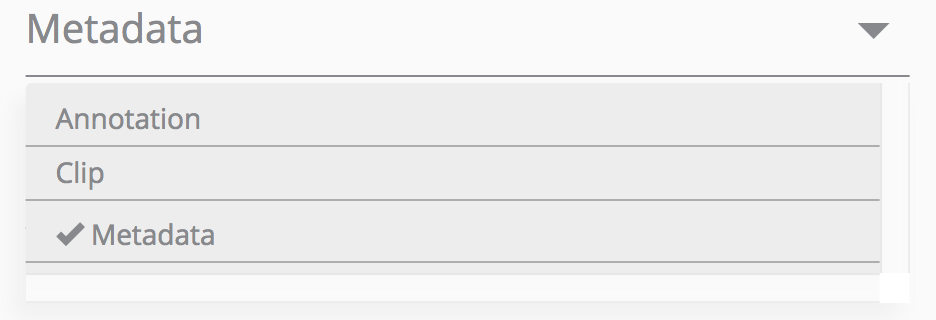
- From the Type drop down, select Metadata. This lets you associate the metadata schema with the timeline.
- From the Group drop down, select a group (this is optional).
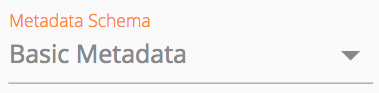
- From the Metadata Schema drop down, select the metadata definition that you want to associate with the timeline.
- Click Create.
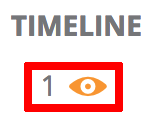
- When the timeline has been created, an eye icon is present under the TIMELINE column. A number is also present next to this icon. The number tells you how many timelines are associated with that particular variant. If you click on the eye, you’ll see the details for each timeline.
Uploading a Custom Marker Icon
You can upload an image to act as a marker on a timeline.
To upload a custom marker icon:
- Click the Custom Marker icon
 , located to the right of an existing timeline.
 - Drag and drop an image into the Select Icon box. Alternately, you can click inside the upload area and manually browse to the file.
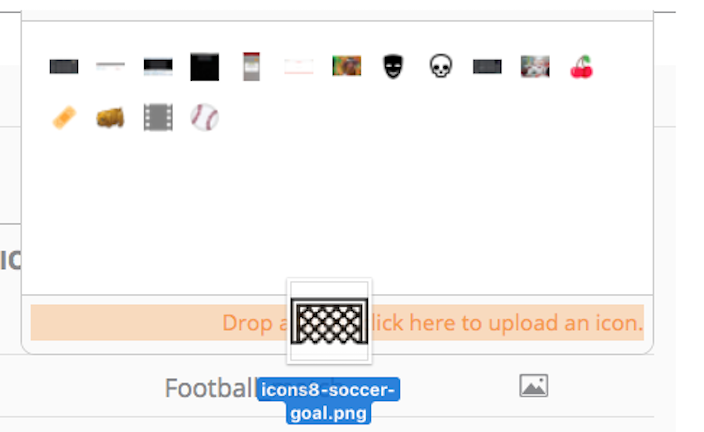
- Select your image.
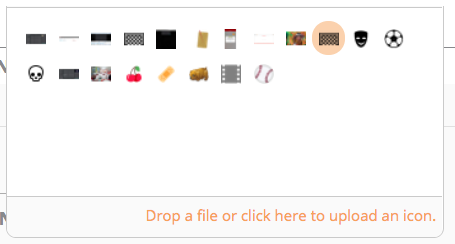
- Your image is now set for the timeline.

Adding Multiple Custom Markers for the Same Asset
You can apply multiple custom markers per asset. These markers then appear in multiple timelines below the player in MAM.
Example: in a football match various different events occur, such as yellow cards, red cards, injuries, goals, and free
kicks. In order to differentiate between these events you could apply a different custom marker icon for each one. For
instance a goal could be represented by a football icon, or an injury could be represented by an icon that looks like a bandage.
This can be achieved by creating a group. If multiple timelines are in one group, each of those timelines will appear below the
asset in MAM.
To add multiple custom markers for the same asset
- Click the
 icon underneath the Timeline column, next to the type of your choice.
 - In the Create Timeline box, fill in the details for the timeline.
- In the Display Name field, enter a display name.
- The Name field is populated automatically to match the Display Name field. This can be changed if you wish.
- From the Type drop down, select Metadata.

- From the Metadata Schema field, select a metadata schema.
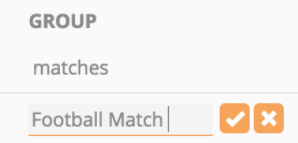
- In the Group field enter a name for the group. Group names must be between 2 and 40 characters and only include alphanumeric characters and underscores, e.g., Football Match. You can add more timelines to this group once the group has been created. For example, in a group called Football Match, you might decide to add other timelines such as Injury, Goals, Yellow Card, Red Card, and so on.
- Click Create.
- The timeline is created and is placed in the new group. You can now add other new timelines to this same group so that they are grouped together under a single category.
Notes:
- If you create a new timeline and wish to add it to an existing group, start typing the name of the group in the Group field, and select it from the drop down.

- You can move a timeline into another existing group, as well as create a new group directly under the Group heading in the Timeline Configuration list.
- If no timelines exist in a group, the group is automatically deleted.
- To delete a timeline from a group, click the Delete icon.