Filecatalyst Integration
FileCatalyst is a transfer accelerator which enables you to quickly upload batches of large files to Dalet Flex.
The key difference between the FlexMOVE and the FileCatalyst Transfer Agent is as follows:
- FlexMOVE: uses HyperText Transfer Protocol (HTTP) and Transmission Control Protocol (TCP).
- FileCatalyst Transfer Agent: uses User Datagram Protocol (UDP).
Prerequisites
Please take into account the following prerequisites:
- You must have a FileCatalyst license.
- You must have the FileCatalyst Transfer Agent installed locally on your machine.
- You must have both an Dalet Flex user and a FileCatalyst user.
- The storage location of the FileCatalyst Server needs to be shared with Dalet Flex. In other words, each user of FileCatalyst must have a storage location linked to their username. The storage location must then be shared with Dalet Flex, in order for the files to be ingested by Dalet Flex.
For further information on FileCatalyst, please see the official FileCatalyst documentation.
Setting Up FileCatalyst
Creating a Storage Resource
-
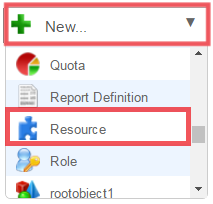
On the toolbar, click New and select Resource from the drop down menu.
-
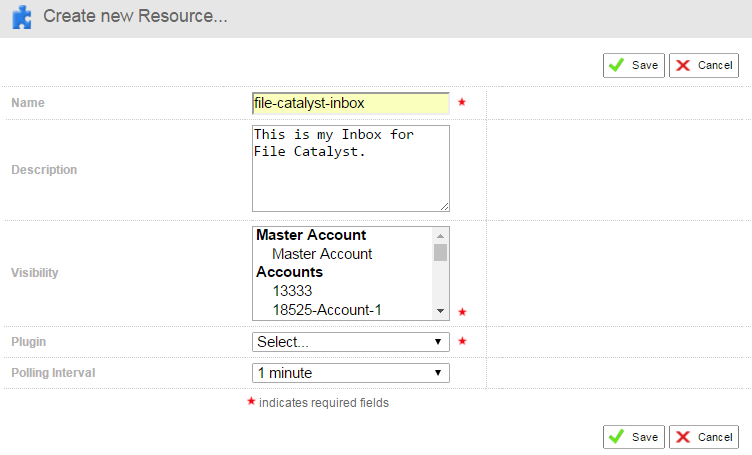
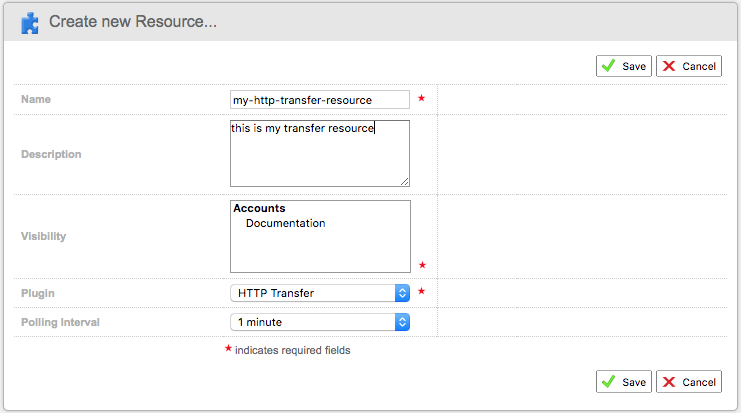
In the Create new Resource… screen, complete the following fields:
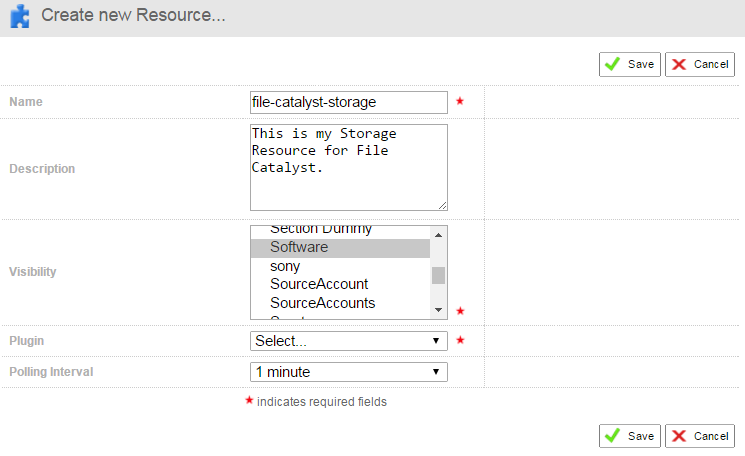
- Name: enter a name for your storage resource
- Description: enter and optional description
- Visibility: select a visibility. These are accounts, sub-accounts, workspaces, and groups that can see this storage resource.
- Plugin: select Storage Resource from the drop down menu.
- Polling Interval: select a polling interval from the drop down menu.
-
Click Save.
-
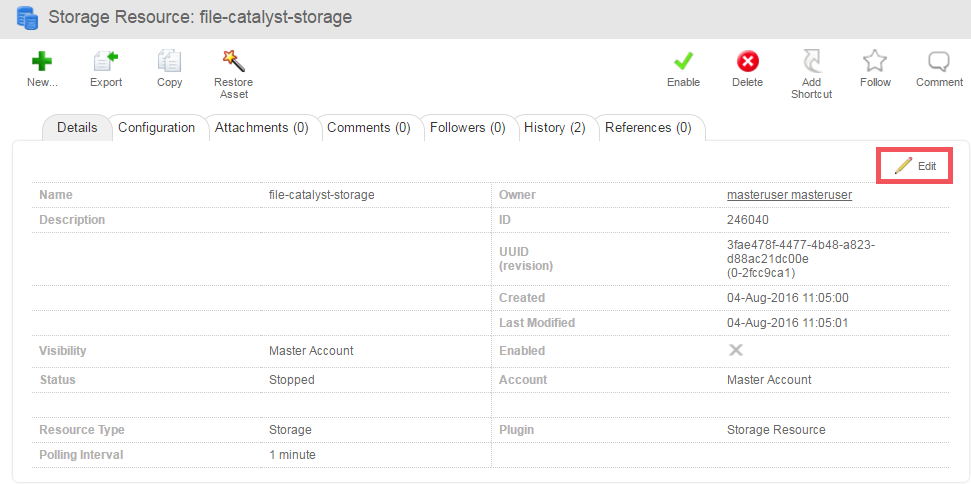
Click the Configuration tab.

-
Click Edit.
-
From the Protocol drop down, select either SFTP or FILE. Currently SFTP and FILE are the only supported protocols.

- If you select the SFTP option, you must add a private key file in the Private Key File field.

- If you select the SFTP option, you must add a private key file in the Private Key File field.
-
The Hostname field is optional. This field accesses the location (mandatory except for FILE, S3, Google, or Dropbox protocols).
-
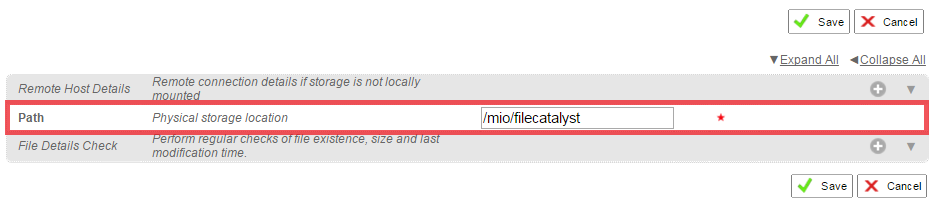
In the Path field, enter the path to the storage resource. This path must point to the physical storage location.
-
Click Save.
-
Click Enable.

-
Click Start.
Creating an Inbox
-
On the toolbar, click New and select Resource from the drop down menu.
-
In the Create new Resource… screen, complete the following fields:
- Name: enter a name for your storage resource
- Description: enter and optional description
- Visibility: select a visibility. These are accounts, sub-accounts, workspaces, and groups that can see this storage resource.
- Plugin: select Storage Resource from the drop down menu.
- Polling Interval: select a polling interval from the drop down menu.
-
Click Save.
-
Click the Configuration tab.

-
Click Edit.
-
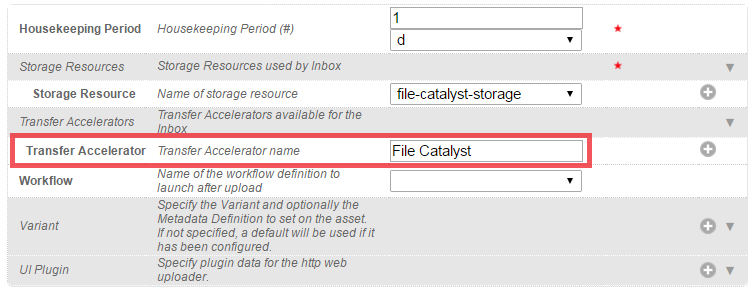
From the Storage Resource drop down, select the storage resource you have created for use with FileCatalyst.

-
In the Transfer Accelerator field, enter a name for the transfer accelerator. Example: FileCatalyst.
-
Click Save.
-
Click Enable.
-
Click Start.

Creating a HTTP Transfer Resource
Regardless of whether you wish to use FileCatalyst or use the ordinary FlexMOVE, you must create and configure a HTTP transfer resource. The HTTP transfer resource is required for every type of transfer related scenario.
-
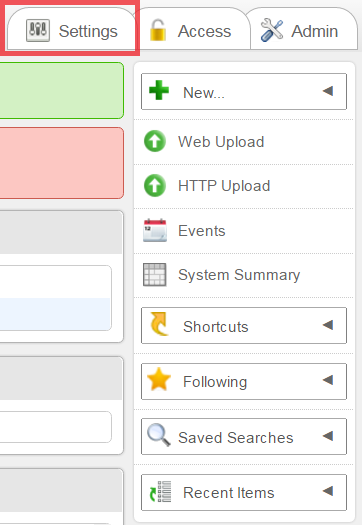
In the Dalet Flex console, on the right-hand side of the screen, click the Settings tab.
-
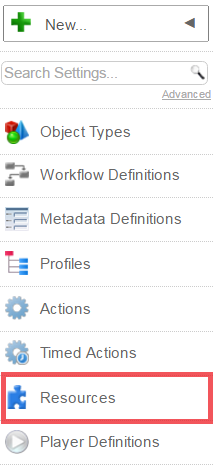
From the toolbar, click Resources
-
On the Resources screen, click New.

-
In the Create a New Resource… screen, enter the details for your HTTP transfer resource.
- Name: enter a name for your transfer resource
- Description: enter and optional description
- Visibility: select a visibility. These are accounts, sub-accounts, workspaces, and groups that can see this storage resource.
- Plugin: select HTTP Transfer Resource from the drop down menu.
- Polling Interval: select a polling interval from the drop down menu.
-
Click Save.
-
On the Transfer Resource screen, click the Configuration sub-tab.

-
Click
 .
. -
In the Public End Point field, enter the URL of the FlexMOVE instance associated with this resource.

-
In the Internal End Point field, enter the URL used by Enterprise to communicate the FlexMOVE instance associated with this resource (For example: when starting / stopping the resource).

-
Click Save.
-
Click Enable.

-
Click Start.

Logging In
-
On the toolbar, click Upload.

-
In the FlexMOVE window, click the FileCatalyst tile.

-
In the User Name field, enter your FileCatalyst username.

-
In the Password field, enter your FileCatalyst password.

-
In the Transfer Agent Port field, enter the FileCatalyst TransferAgent port. This is the port on which the FileCatalyst Transfer Agent runs.

-
Click Confirm.
Uploading Files Using FileCatalyst
-
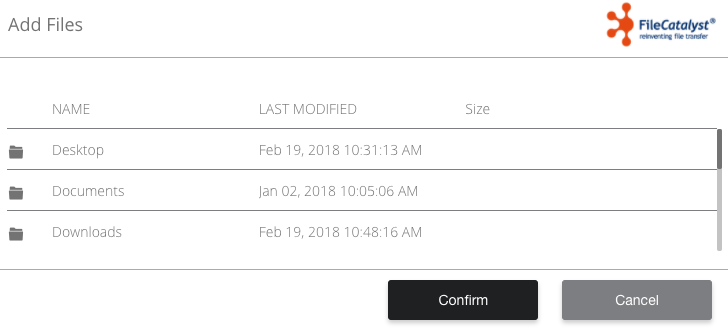
On the Add Files page you can see the local storage on your machine, such as the Desktop, Documents, and Downloads folders. Double-click on a directory to open it.
-
Select one or more files you wish to upload. When a file is selected, a tick appears in the check box next to it.
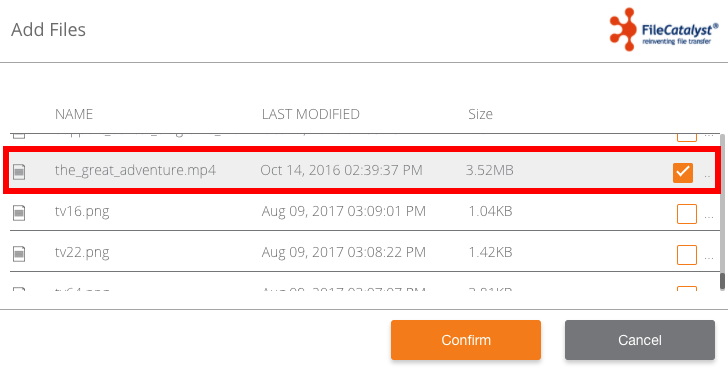
-
Click Confirm.
-
From the Inbox drop down, select an existing inbox.

-
From the Workspace drop down, select an existing workspace.

-
Click Select.
-
On the Upload page, you may be required to enter metadata for the assets you have chosen. If the metadata contains mandatory fields, you must fill them in before the files can be uploaded.

-
Click Upload and the files upload to Dalet Flex.