Manage Asset View
To access the manage asset view, click the Manage Asset option at the bottom of the Asset Summary panel, or double click the asset tile in the browse/search windows.

The first thing you will see in the Manage Asset view is the player. You can play/pause the selected asset and skip to the previous/next frame using the player controls. You can also set in and out points, and then comment on the range you have selected. If you have been viewing the video in the preview, and you switch to the Manage Asset view, the video continues to play from where you left off on the Summary panel.

In the Manage Asset view, five tabs are also displayed vertically on the right-hand side of the page.
These tabs are as follows:
The Asset Overview tab
Here, you can view the basic details and relationships for that asset, change the details, and apply tags. The status of the media asset is also displayed.
A media asset can be in the following states:
- Approved
- Locked
- Exists
- Archived
- Deleted
- Purged
- Published
The following example shows a published asset:
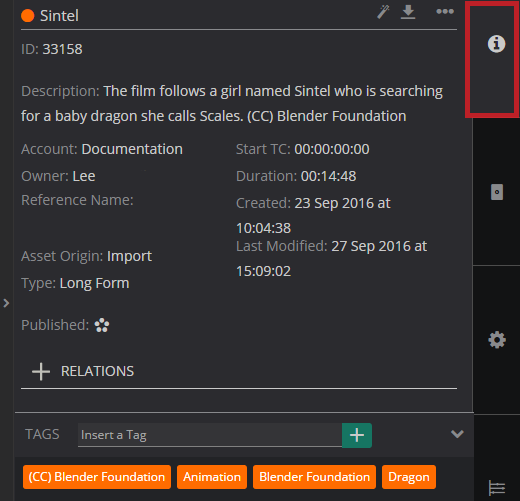
You can see what children the asset has, and download these children from this page.
Metadata tab
Here, you can view the metadata associated with the asset, as well as edit the information in the metadata fields.
To change the information in these fields, simply select edit, make your change, and save it.

Technical Metadata tab
Here, you can view the technical metadata for the asset. Technical metadata includes file, format, video stream, and audio stream details. These details cannot be altered.

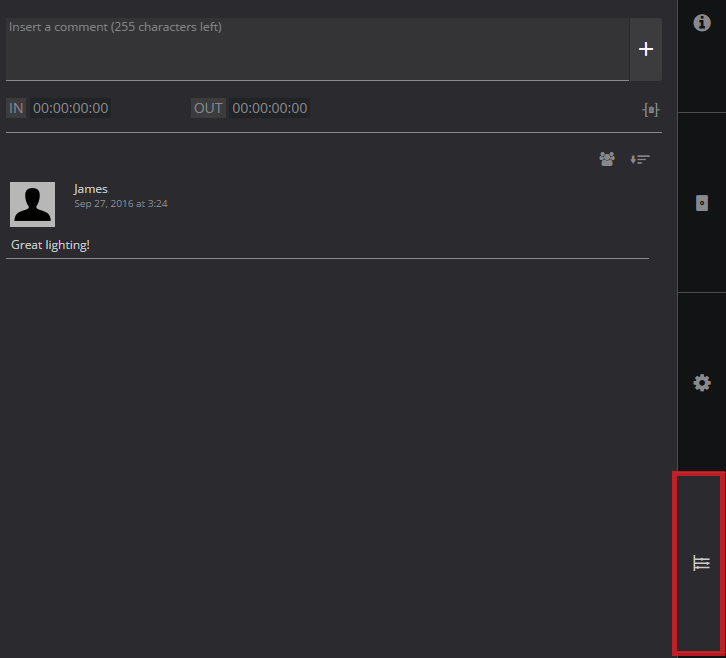
Timelines tab
Here, you can post new comments and markers against an asset.
Keyframes tab
Here, you can extract keyframes from the asset, as well as upload keyframes straight from your computer. Refer to the side panel for specific functionality.
