Dalet Flex documentation has moved!
This page is no longer actively maintained. For the latest documentation, please visit us at our new support portal: https://support.dalet.com
Web Transfer Resource
Before FlexMOVE can be used, you must first do the following:
- Create and configure an Dalet Flex HTTP Transfer Resource.
- Create a storage resource.
- Create and configure an inbox resource.
When you create resources, they should be created in the account where you want to use those resources.
Once these steps have been completed, you can use FlexMOVE to upload files.
Creating a HTTP Transfer Resource
-
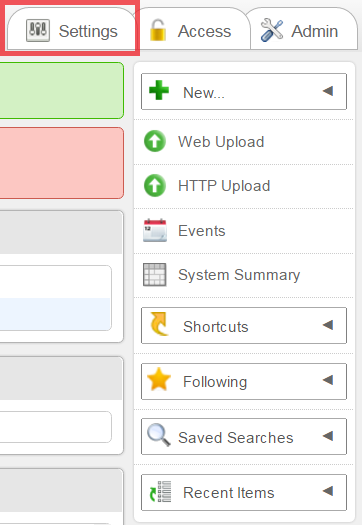
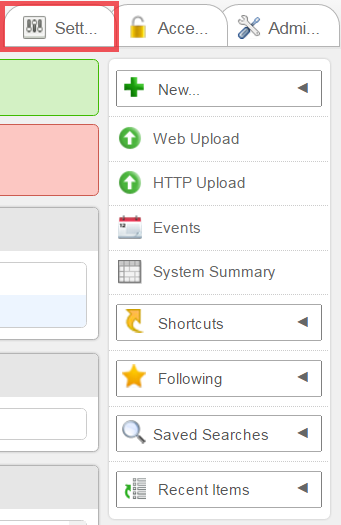
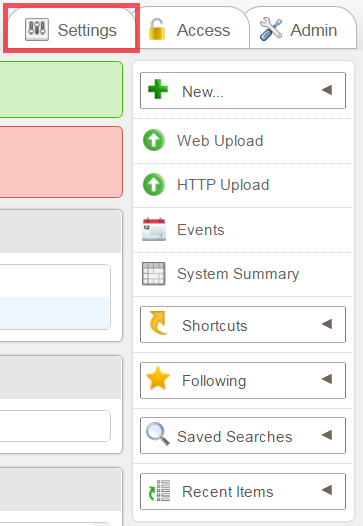
In the Dalet Flex console, on the right-hand side of the screen, click the Settings tab.
-
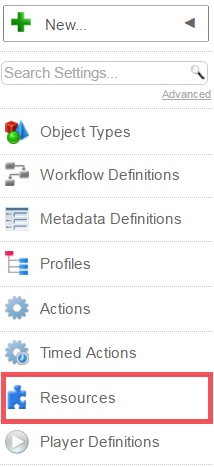
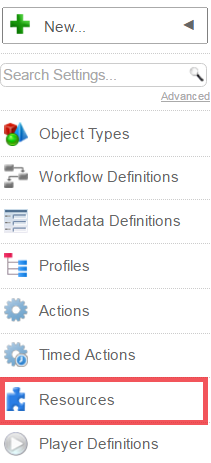
From the toolbar, click the Resources option.
-
On the Resources screen, click the New option.

-
In the Create a New Resource… screen, complete the following fields:
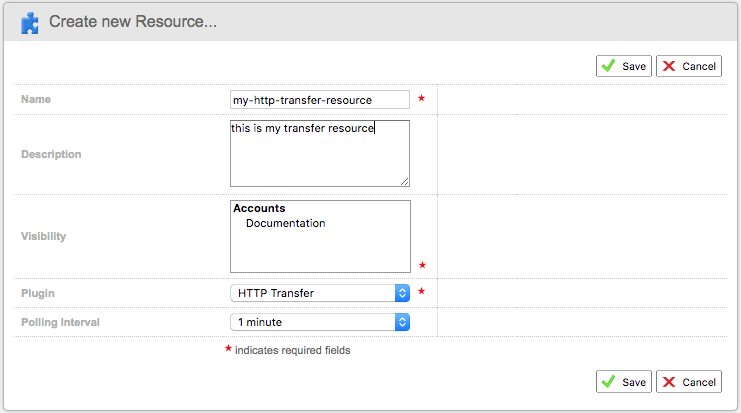
- Name: enter a name for your HTTP transfer resource
- Description: enter an optional description
- Visibility: enter a visibility for your resource, e.g. which accounts, sub-accounts, and groups that the resource can be viewed by
- Plugin: select the HTTP Transfer Resource option from the drop down menu
- Polling Interval: select a polling interval from the drop down menu
-
Click Save.
-
On the Transfer Resource screen, click the Configuration sub-tab.

-
Click the Edit
 option.
 -
In the Public End Point field, enter the URL of the web transfer instance associated to this resource.

-
In the Internal End Point field, enter the URL used by enterprise to communicate the web transfer instance associated with this resource (For example: when starting / stopping the resource).

-
Click Save.
-
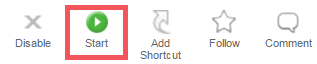
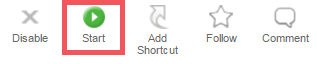
Click the Enable option.

-
Click the Start option.

Creating a Storage Resource
-
In the Dale Flex console, on the right-hand side of the screen, click the Settings tab.
-
From the toolbar, click the Resources option.

-
In the Resources screen, click the New option.

-
In the Create a new Resource… screen, enter the details for your storage resource.

- Name: enter a name for your storage resource
- Description: enter an optional description
- Visibility: enter a visibility for your resource, e.g. which accounts, sub-accounts, and groups that the resource can be viewed by
- Plugin: select the Storage Resource option from the drop down menu
- Polling Interval: select a polling interval from the drop down menu
-
Click Save.
-
On the Storage Resource screen, click the Configuration sub-tab.

-
Click the Edit option.
-
From the Protocol drop down, select the Storage protocol to use.
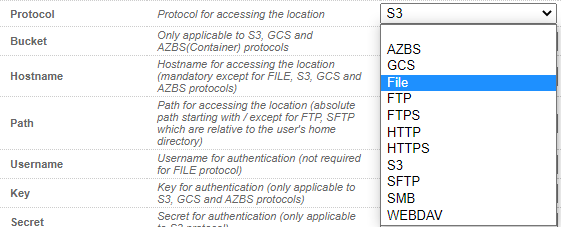
If you have selected the SFTP option, you must specify a private key file in the Private Key File field.

-
In the Path field, enter the path for the physical storage location.

-
Click Save.
-
Click Enable.
-
Click Start.
Creating an Inbox Resource
-
On the right-hand-side of the Dalet Flex console, click the Settings tab.
-
From the toolbar, click the Resources option.
-
In the Resources screen, click the New option.

-
On the Create a new Resource… screen, enter the details for your inbox resource.
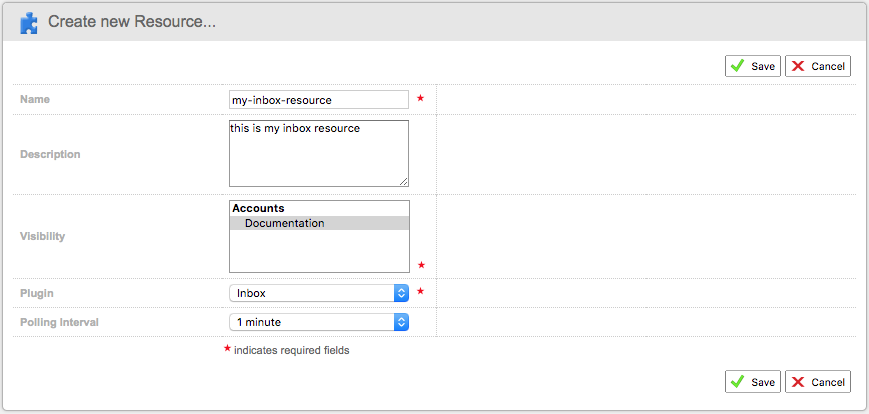
- Name: enter a name for your inbox resource
- Description: enter an optional description
- Visibility: enter a visibility for your resource, e.g. which accounts, sub-accounts, and groups that the resource can be viewed by
- Plugin: select the Inbox Resource option from the drop down menu
- Polling Interval: select a polling interval from the drop down menu
-
Click Save.
-
Click the Configuration sub-tab.

-
Click the Edit
 option.
 -
From the Storage Resource field, select a storage resource that you have created.

-
Click Save.
-
Click Enable.
-
Click Start.